Review: Blackmagic Studio Camera 4K Plus, Studio Camera 4K Pro, and Web Presenter 4K
Someone with virtually no experience can operate the Studio Cameras or Web Presenter 4K in no time.
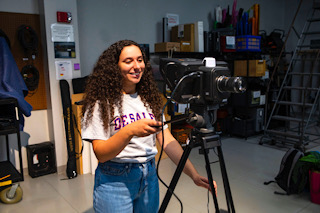
TV studio cameras have made a large leap forward with the addition of two new Blackmagic Design cameras: Blackmagic Studio Camera 4K Plus and Blackmagic Studio Camera 4K Pro. If your goal is to stream on the Web, then the Blackmagic Web Presenter 4K is the way to go.
In this review, I’ll be using both Blackmagic Studio Cameras on a live shoot as well as discussing how to stream footage from any camera to YouTube, Twitter, Facebook, and other platforms using the Blackmagic Web Presenter 4K.
Features-Blackmagic Studio Camera 4K Plus
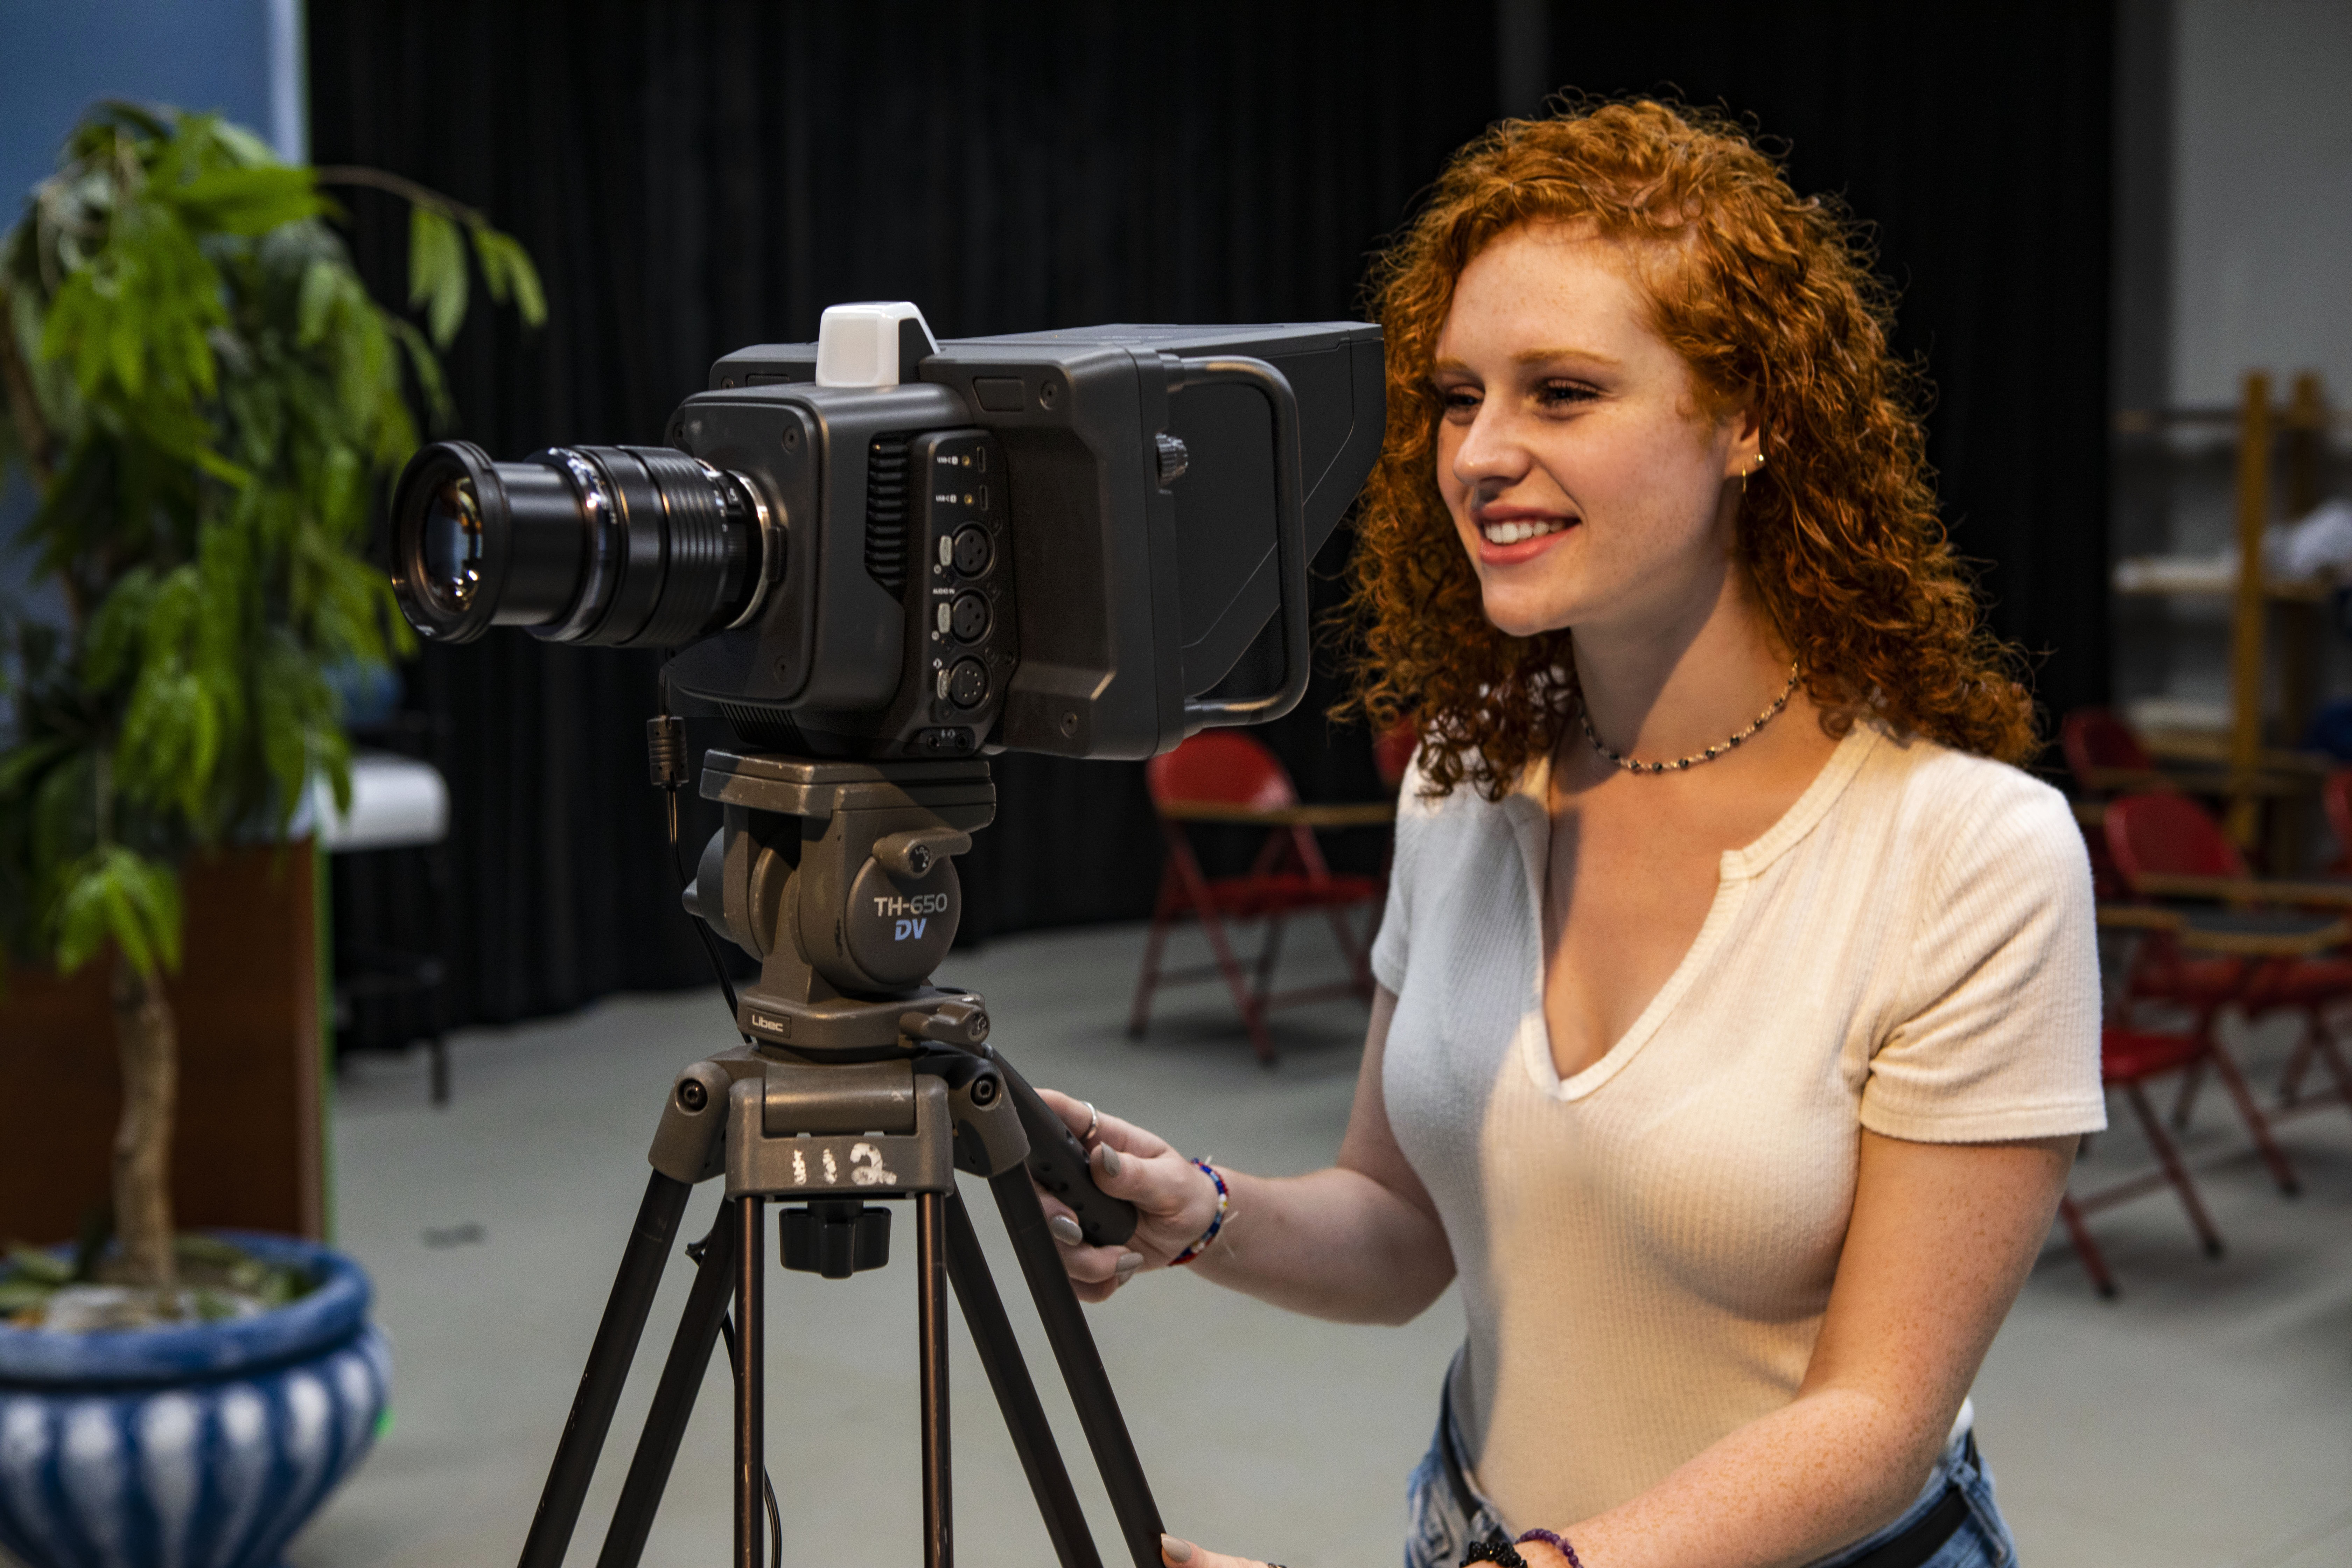
With the Blackmagic Studio Camera 4K Plus, you have a lightweight camera body with a 7-inch 1920x1200 color screen that accepts a micro 4/3 lens (not included) or any lens that can be adapted to the MFT mount. Shooting in 1080p, your frame rates begin at 23.98fps and top out at 60fps; and in Ultra High Definition’s 3840x2160 you may use the same frame rates as in 1080p—that’s eight different frame rates in HD and eight different frame rates in UHD.
Codecs include Blackmagic RAW Constant Bitrates in 3:1, 5:1, 8:1, and 12:1; or with Blackmagic RAW Constant Quality in Q0, Q1, Q3, and Q5. The camera offers two USB-C 3.1 Gen 1 expansion ports for attaching accessories or for external drives to record footage.
Users can control lens’ zoom and focus on the Blackmagic Studio Camera 4K Plus with Blackmagic Zoom Demand and Blackmagic Focus Demand, making it even more studio friendly. Both units weren’t available for this review but will be shortly.
The front of the Blackmagic Studio Camera 4K Plus accepts the micro 4/3 lens. On the side, there’s an HDMI Out, 12V input, two USB-C 3.1 A and B ports, and a microphone input as well as a headphone output.
The back features foldable sunshade that protects the seven-inch LCD touchscreen from glare. Facing the LCD screen on the left is a settings dial that controls the active feature selected, a Back button that closes the menu settings and returns a live image to the LCD, an F1 button that controls the focus zoom, F2 that triggers auto focus, and F3 to access auto iris. These function buttons are of course customizable. The power switch is below the function controls. On the right side you have control over the screen’s brightness, contrast, and peaking settings.
The professional video industry's #1 source for news, trends and product and tech information. Sign up below.
Across the top of the LCD screen, you can select the features you want to adjust. Touching the frame rate icon opens a slider to control the rate, and touching the shutter speed, iris, timecode, gain, and white balance icon controls each of those features. Any of these adjustments may be controlled by the slider bar below or using the settings dial on the left. Touching the last icon brings up a second menu with record, monitor, audio, setup, presets, and LUTS. You couldn’t ask for a more user-friendly camera.
This camera with its HDMI output was designed to be paired with the ATEM Mini live production switchers.
Features-Blackmagic Studio Camera 4K Pro & Web Presenter 4K
The Blackmagic Studio Camera 4K Pro is identical to the Blackmagic Studio Camera 4K Plus except for its 12G-SDI outputs, 10G Ethernet connection, XLR audio inputs, and the PGM (Program) button. Pressing the PGM button displays the return feed on the LCD. Facing the front of the camera, the right side has an HDMI Out, 12G-SDI Out, SDI In, 10GigE, and two 12V inputs (one being a 4-pin). The left side is topped by the two USB-C 3.1 inputs, two XLR audio inputs, a five-pin intercom port, and connector microphone in and headphone output.
If your goal is to stream live, you can attach a camera via the SDI input of the Blackmagic Web Presenter 4K. The rackmountable 5.51x6.90-inch unit does all of the work. High-definition video inputs from 720p, 1080i, 1080p, and 2160p at eight different frame rates may be streamed via an Ethernet connection using Real Time Messaging Protocol to Twitter, Twitch, Skype, YouTube Live, Facebook Live, Microsoft Teams, Wowza Streaming Engine, and Open Broadcaster.
The front has a covered USB-C 3.1 input; On Air, Menu, Off, Set, Call, and Lock Control Panel Buttons; a 2.2-inch LCD display, and a Spin Knob Control to access the features. The rear panel has the 3-prong female IEC power input (cable not included), 4 pin 12V DC input, Live Stream Ethernet port, USB-C 3.1 Webcam Out, HDMI Monitor Output, SDI Monitor Out, SDI Loop Out, and SDI input.
In Use To test these units, our TV/Film Department hosted a mass audition of 75 actors in our TV studio. Using the Blackmagic Studio Camera 4K Plus (with an Olympus M.Zuiko Digital ED 12–40mm f2.8 PRO Lens) as the wide master shot camera and the Blackmagic Studio Camera 4K Pro (with an Olympus M.Zuiko Digital ED 60mm f2.8 Macro Lens) framed the medium close-up.
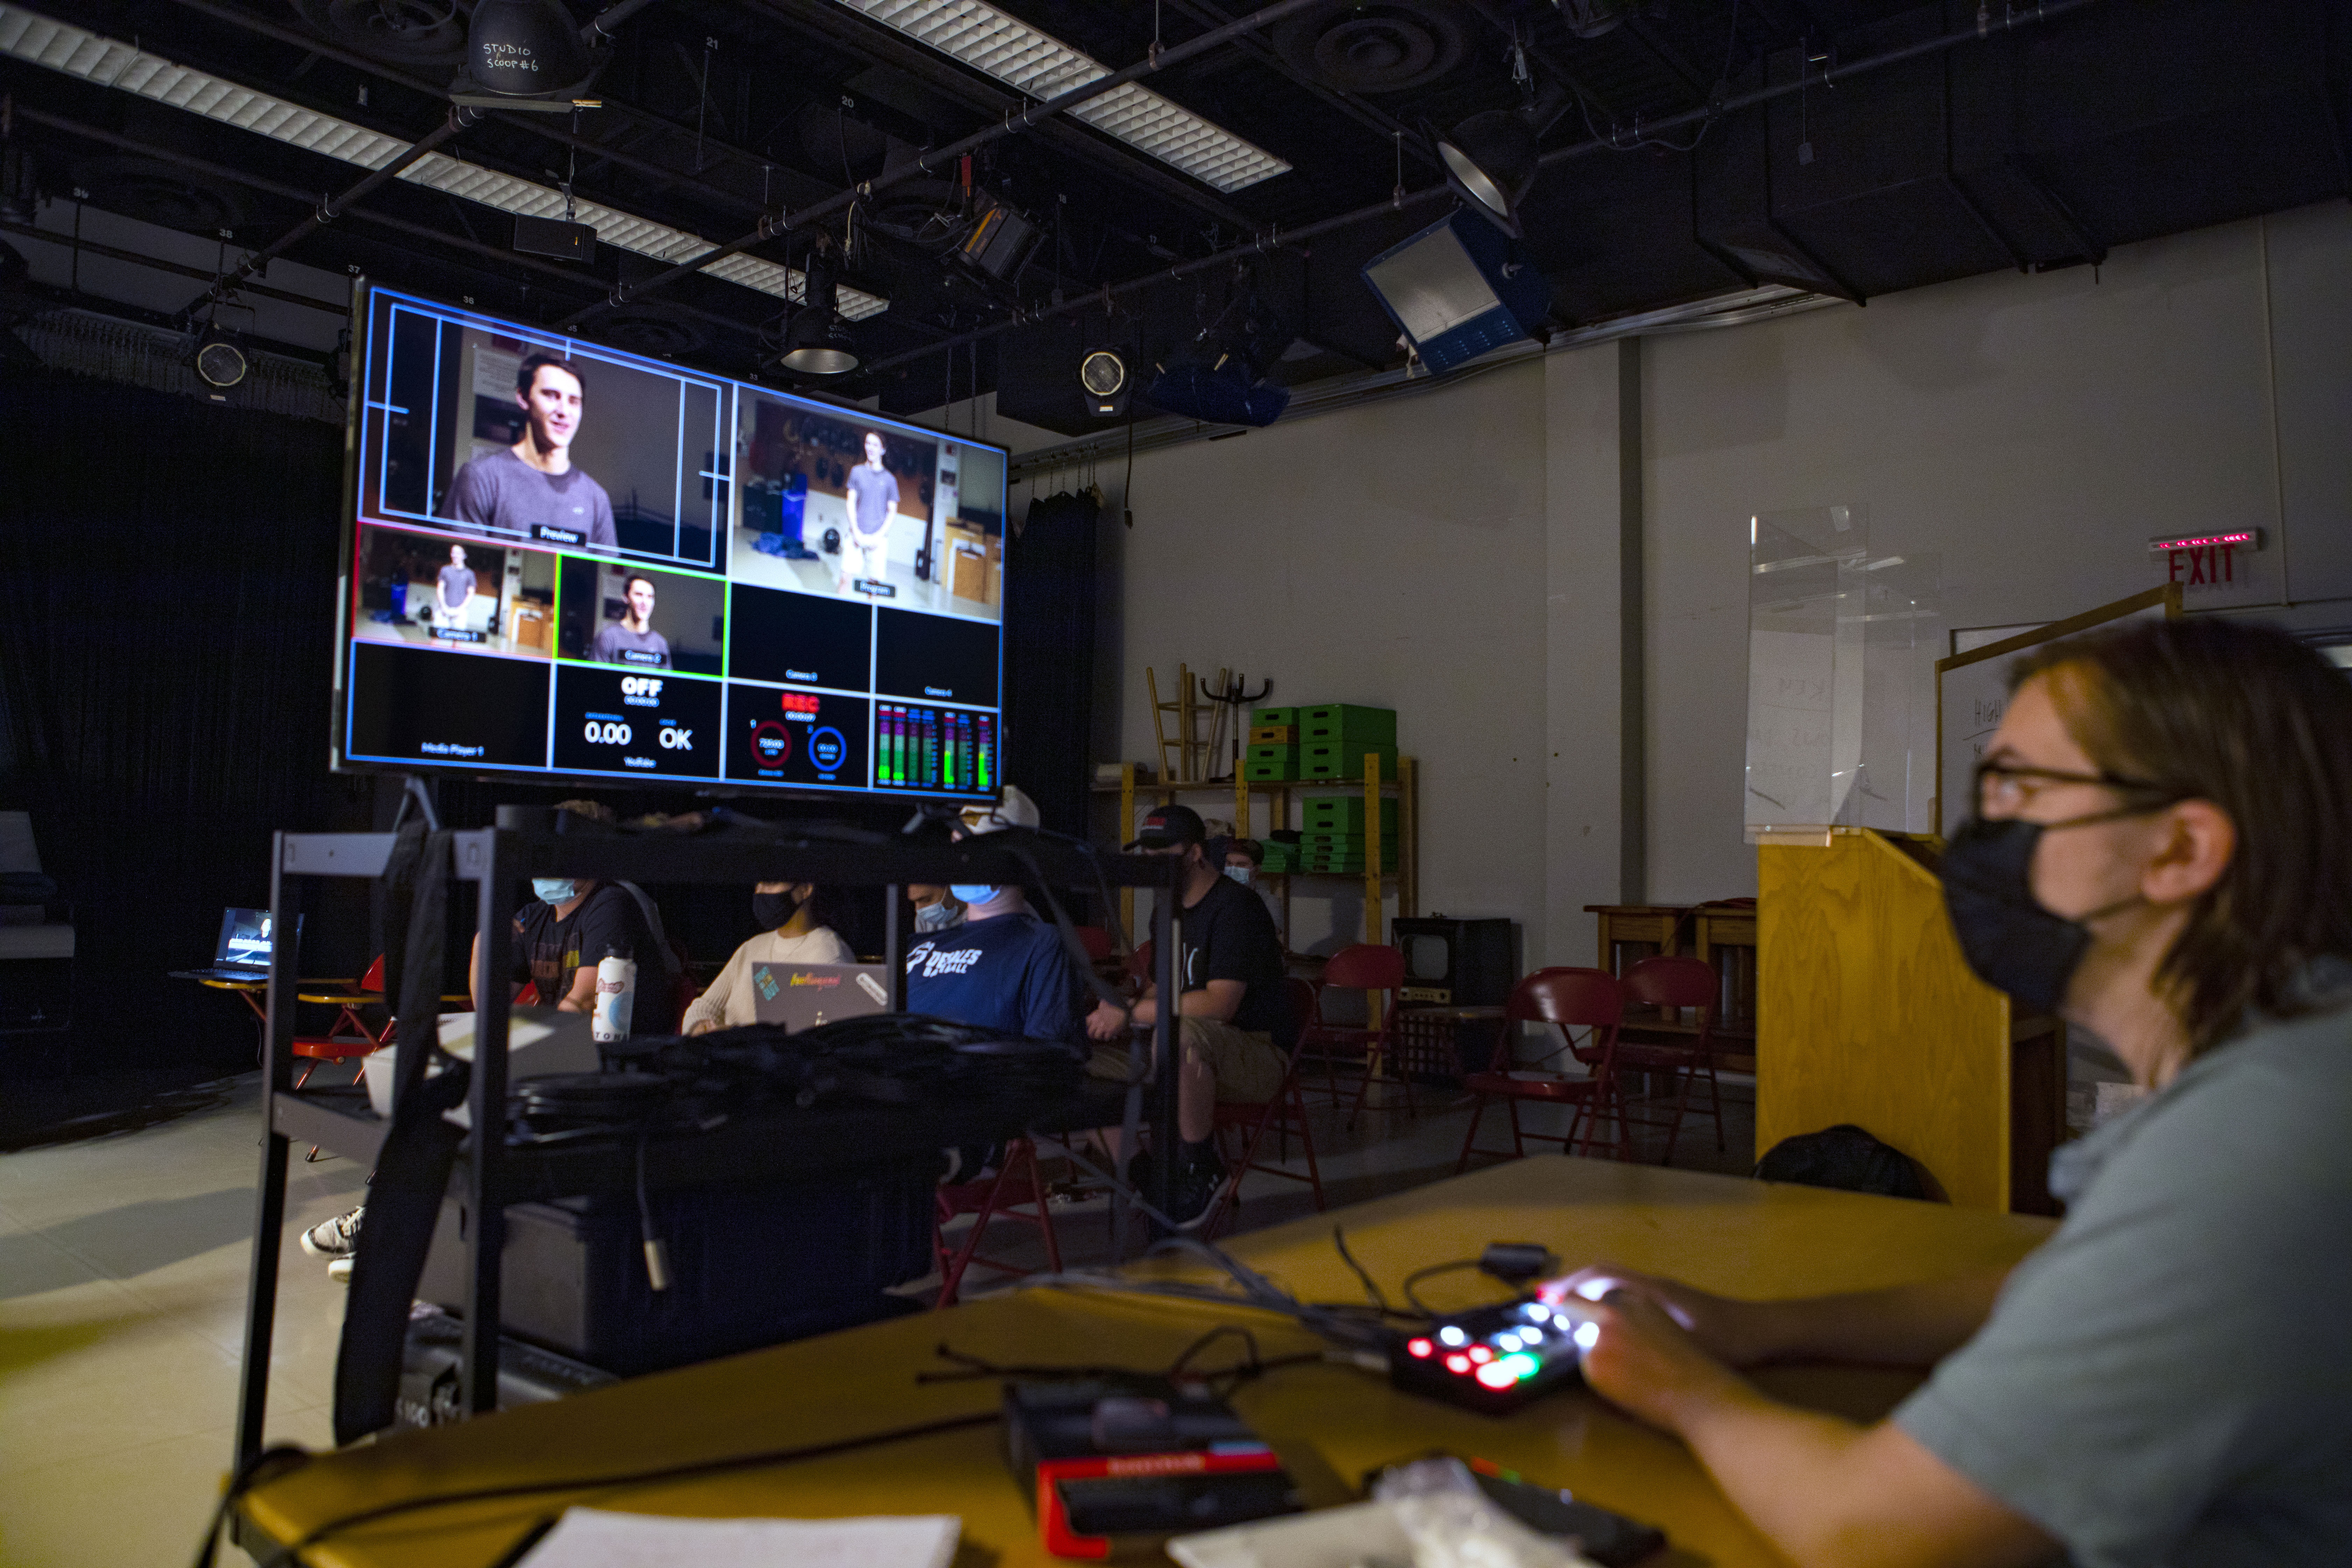
The cameras were connected to a ATEM Mini Pro live production switcher via HDMI cables, and everything was viewed on a 48-inch Samsung UHD monitor. The 1920x1080 footage was recorded to a SanDisk Extreme Pro 2Tb SSD drive connected to the ATEM Mini Pro. The cameras were capable of shooting in UHD, but I chose 1080p because of its smaller file size. The entire process took less than 15 minutes to set up. Having the cameras on tripods rather than pedestals also made the assembly process much easier.
As each actor introduced him or herself, the Blackmagic Studio Camera 4K Plus was live capturing a head-to-toe long shot. When their monologue began, the image was switched to the Blackmagic Studio Camera 4K Pro for the MCU. When the monologue was completed, the actor would reintroduce themselves and we would switch back to the wide shot.
Throughout the evening, the freshmen students on the crew were extremely impressed with the cameras’ ease of use, large touchscreen, and the red or green tally light that indicated a Program (Live) or a Preview shot. The actors, who preferred the tally lights, would turn their attention to the Live camera. In the past, we would have a floor manager point to which camera was live.
Because some actors wore reflective white clothing and others light absorbing darker colors, adjusting the iris was as easy as moving the slider to the left or right. Giving the operator the ability to control the shooting parameters without needing an extra person in the control room to video shade streamlined the size of the crew. This is the first time in 10 years we didn’t just use one camera for the auditions. This new two camera process will be the way to go in the future.
The Blackmagic Studio Camera 4K Pro with its SDI outputs functioned perfectly with our Roland Switcher if we had wanted to use just one camera with our existing switcher in the control room.rInstead of having the technical director isolated in our control room, we preferred to have him be part of the action in the TV studio and the ATEM Mini Pro was a better solution. Because the ATEM Mini Pro accepts only HDMI inputs, we used those outputs on both cameras.
Using the Blackmagic Studio Cameras switching live also saved a great deal of time in posting online—we simply removed the hard drive and each of the actors’ files were complete and ready for viewing and uploaded to the Web.
Our studio has three pedestal-mounted 3 CCD 1080i $65,000 cameras with a 4-inch black and white viewfinder connected via a fiber optic cable to our Roland Switcher. Without the tally lights on top of each camera functioning, it was always difficult to determine which camera was live. For an investment of around $6,000, our studio could have three tripod-mounted Blackmagic Design cameras with 7-inch color viewfinders, the ability to shoot in 4K, operator-controlled touch screens, and functioning tally lights. No matter how bad your math skills may be, $6,000 is much less than $195,000!
The Blackmagic Web Presenter 4K was ready to use out of the box. The perfect choice of camera was the Blackmagic Studio Camera 4K Pro because of its SDI outputs. Connecting the camera’s SDI cable to the SDI input on the Blackmagic Web Presenter 4K allowed the visual and audio components to be activated. I connected our 48-inch Samsung UHD monitor to the Blackmagic Web Presenter 4K using an HDMI cable and attached an Ethernet cable into the Live Stream port.
Note: Since I wanted to stream from our university, I contacted our IT Department to allow the Blackmagic Web Presenter 4K access to our internet. Without their assistance, our firewall would not have accepted this new device.
The actual setup is extremely user friendly with an easy-to-follow menu. Pressing the Menu button, I chose Live Stream, 1080p 24 as the Stream Standard, Auto Mode as the Video Output, and YouTube as the Platform. Turning the dial, I accessed Setup and scrolled down to the Protocol, IP Address, etc., and chose Ethernet rather than Mobile as my Connection Priority.
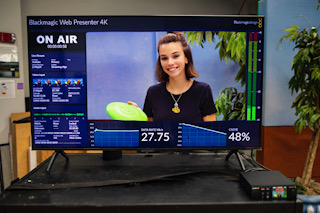
The Samsung monitor displayed whether I was On Air or Off. As the talent rehearsed her blog, I watched the monitor and noted that the image was satisfactory and the displayed auto levels were correct. Also displayed was the Live Stream I was using, the Video Input and its parameters, the Data Rate in megabytes per second, as well as the Cache.
Making the feed live is as simple as pressing the On Air button. Immediately, the words On Air flash in red and you’re off and running. As with students, they pulled out their phones and watched the feed on YouTube—immediate gratification!
Showing my age, in the past a setup with several cameras and a switcher would require a few hours to run cable, time the switcher, set up the monitors and record the final product to tape, as well as involving more personnel. Streaming the result was not an option. However, I did learn valuable engineering skills. Without explanation from me, the students immediately figured out the touchscreen—just like their phones…
Summary
Shooting in a studio has never been easier or more affordable thanks to Blackmagic Design. Depending on your specific needs (SDI capabilities) for a camera, both the Blackmagic Studio Camera 4K Plus and Blackmagic Studio Camera Pro 4K are identical internally as well as using a touchscreen to adjust settings.
The only visual differences externally are that the Blackmagic Studio Camera 4K Plus has a Back button above the F1 through F3 buttons and the Blackmagic Studio Camera 4K Pro has a PGM button above the function keys as well as SDI and XLR connections. The Blackmagic Web Presenter 4K is the perfect way to stream your video—which is where most of the video we create ends up.
Someone with virtually no experience can operate the Studio Cameras or Web Presenter 4K in no time.
Application
Blackmagic Studio Camera 4K Plus—may be used in any size TV Studio where one or more cameras are needed. Easily connects via HDMI to Blackmagic’s ATEM Mini line of live production switchers.
Blackmagic Studio Camera 4K Pro—may be used in any size TV Studio where one or more cameras are needed. Easily connects via HDMI to Blackmagic’s ATEM Mini line of switchers, and has SDI capability, which allowing users to connect it to switchers like the ATEM Constellation 8K, as well as XLR audio connectors.
Blackmagic Web Presenter 4K—connect any SDI input and stream live to a multitude of Web platforms via Ethernet or mobile phone.
Key Features
Blackmagic Studio Camera 4K Plus—Seven-inch color touchscreen, all settings easily adjusted by sliders, green/red tally lights, Blackmagic RAW capability, mini connector audio input and headphone jack, HDMI output, HD or 4K capability, and records to media via a USB-C port.
Blackmagic Studio Camera 4K Pro—Seven-inch color touchscreen, all settings easily adjusted by touchscreen sliders, green/red tally lights, Blackmagic RAW capability, mini connector audio input and headphone jack, HDMI output and SDI outputs, XLR audio inputs, HD or 4K capability, and records to media via a USB-C port.
Blackmagic Web Presenter 4K—SDI input, HDMI output, easy to use menu and set-up options, and streaming ability in HD or 4K.
Price—Available through Blackmagic Design authorized resellers
Blackmagic Studio Camera 4K Plus - $1,295 USD
Blackmagic Studio Camera 4K Pro - $1,795 USD
Chuck Gloman is Associate Professor with the TV/Film Department at DeSales University.
