Review: DJI Air 2S Drone
It's very user friendly, takes little time to learn, and the automated features make you look as if you were a much more experienced pilot

Drones are used for many purposes: air scouting, search and recovery, mapping, real estate, filmmaking, and much more. The Air 2S Drone is one of DJI’s compact and foldable consumer drones that utilizes the features of more expensive drones at a more affordable price. With the ability to fly manually as well as using the automated modes, your stills or motion video are stable and breathtaking, and with its avoidance features—you’ll keep your talent and the drone safe.
Features
My review DJI Air 2S arrived with the four-rotor drone, three flight batteries, battery charger, six complete pairs of extra propellers, ND filter set (4, 8, 16, 32), the controller, battery charging hub, and a shoulder bag carrying case. If you purchase the Smart Controller, you can access everything through its 5.5-inch screen. The standard Controller’s antennas extend to allow your smartphone (Android or iPhone) to attach. Download the DJI Fly App and you’re ready to begin.
With about 15 minutes of actual constant flight time from each battery, the 21-oz. Air 2S has three flight modes which are selectable on the Controller: Normal allowing speeds up to 33.5mph, Cine up to 11mph, and Sport up to 45mph. With a flight ceiling of a little over three miles, the one inch, 20-megapixel CMOS sensor can capture:
- 5472 x 3078 5.4K video at up to 30fps;
- 3840 x 2160 Ultra HD and 2688 x 1512 2K at up to 60fps, and
- 1920 x 1080 HD at up to 120fps
Twenty megapixels still images in 5472 x 3648 and 5472 x 3078 will be captured in DNG, jpeg, and Raw. Both video and stills are stored internally in the drone on a micro-SD card.
The Air 2S drone has four foldable rotor arms, each capped with a collapsible blade. Looking down on the drone, the Lithium-Ion battery snaps in place and a power button sits in the center. The rear features two sensors and the front has four sensors and the gimbal-controlled camera below. The bottom has more sensors, a landing light, and red and green lights on each rotor arm.
The Remote Controller transmits a 2.4 – 5.8 GHz signal and has an operating distance of five miles. Two joystick controllers on the top control the up-down, side-to-side, and rotation of the drone; a button that activates the still or video mode; and a programmable function button on the upper left. The three flight modes (Cine, Normal, and Sport) are selectable, a power button on the right, and a return to home button on the left.
The backside facing you houses the joysticks when not in use and a charging input. The front has an antenna that slides out to accommodate almost any size smartphone to act as a viewing screen and a record stop/start button on the lower right and a rotating wheel on the left that operates the gimbal.
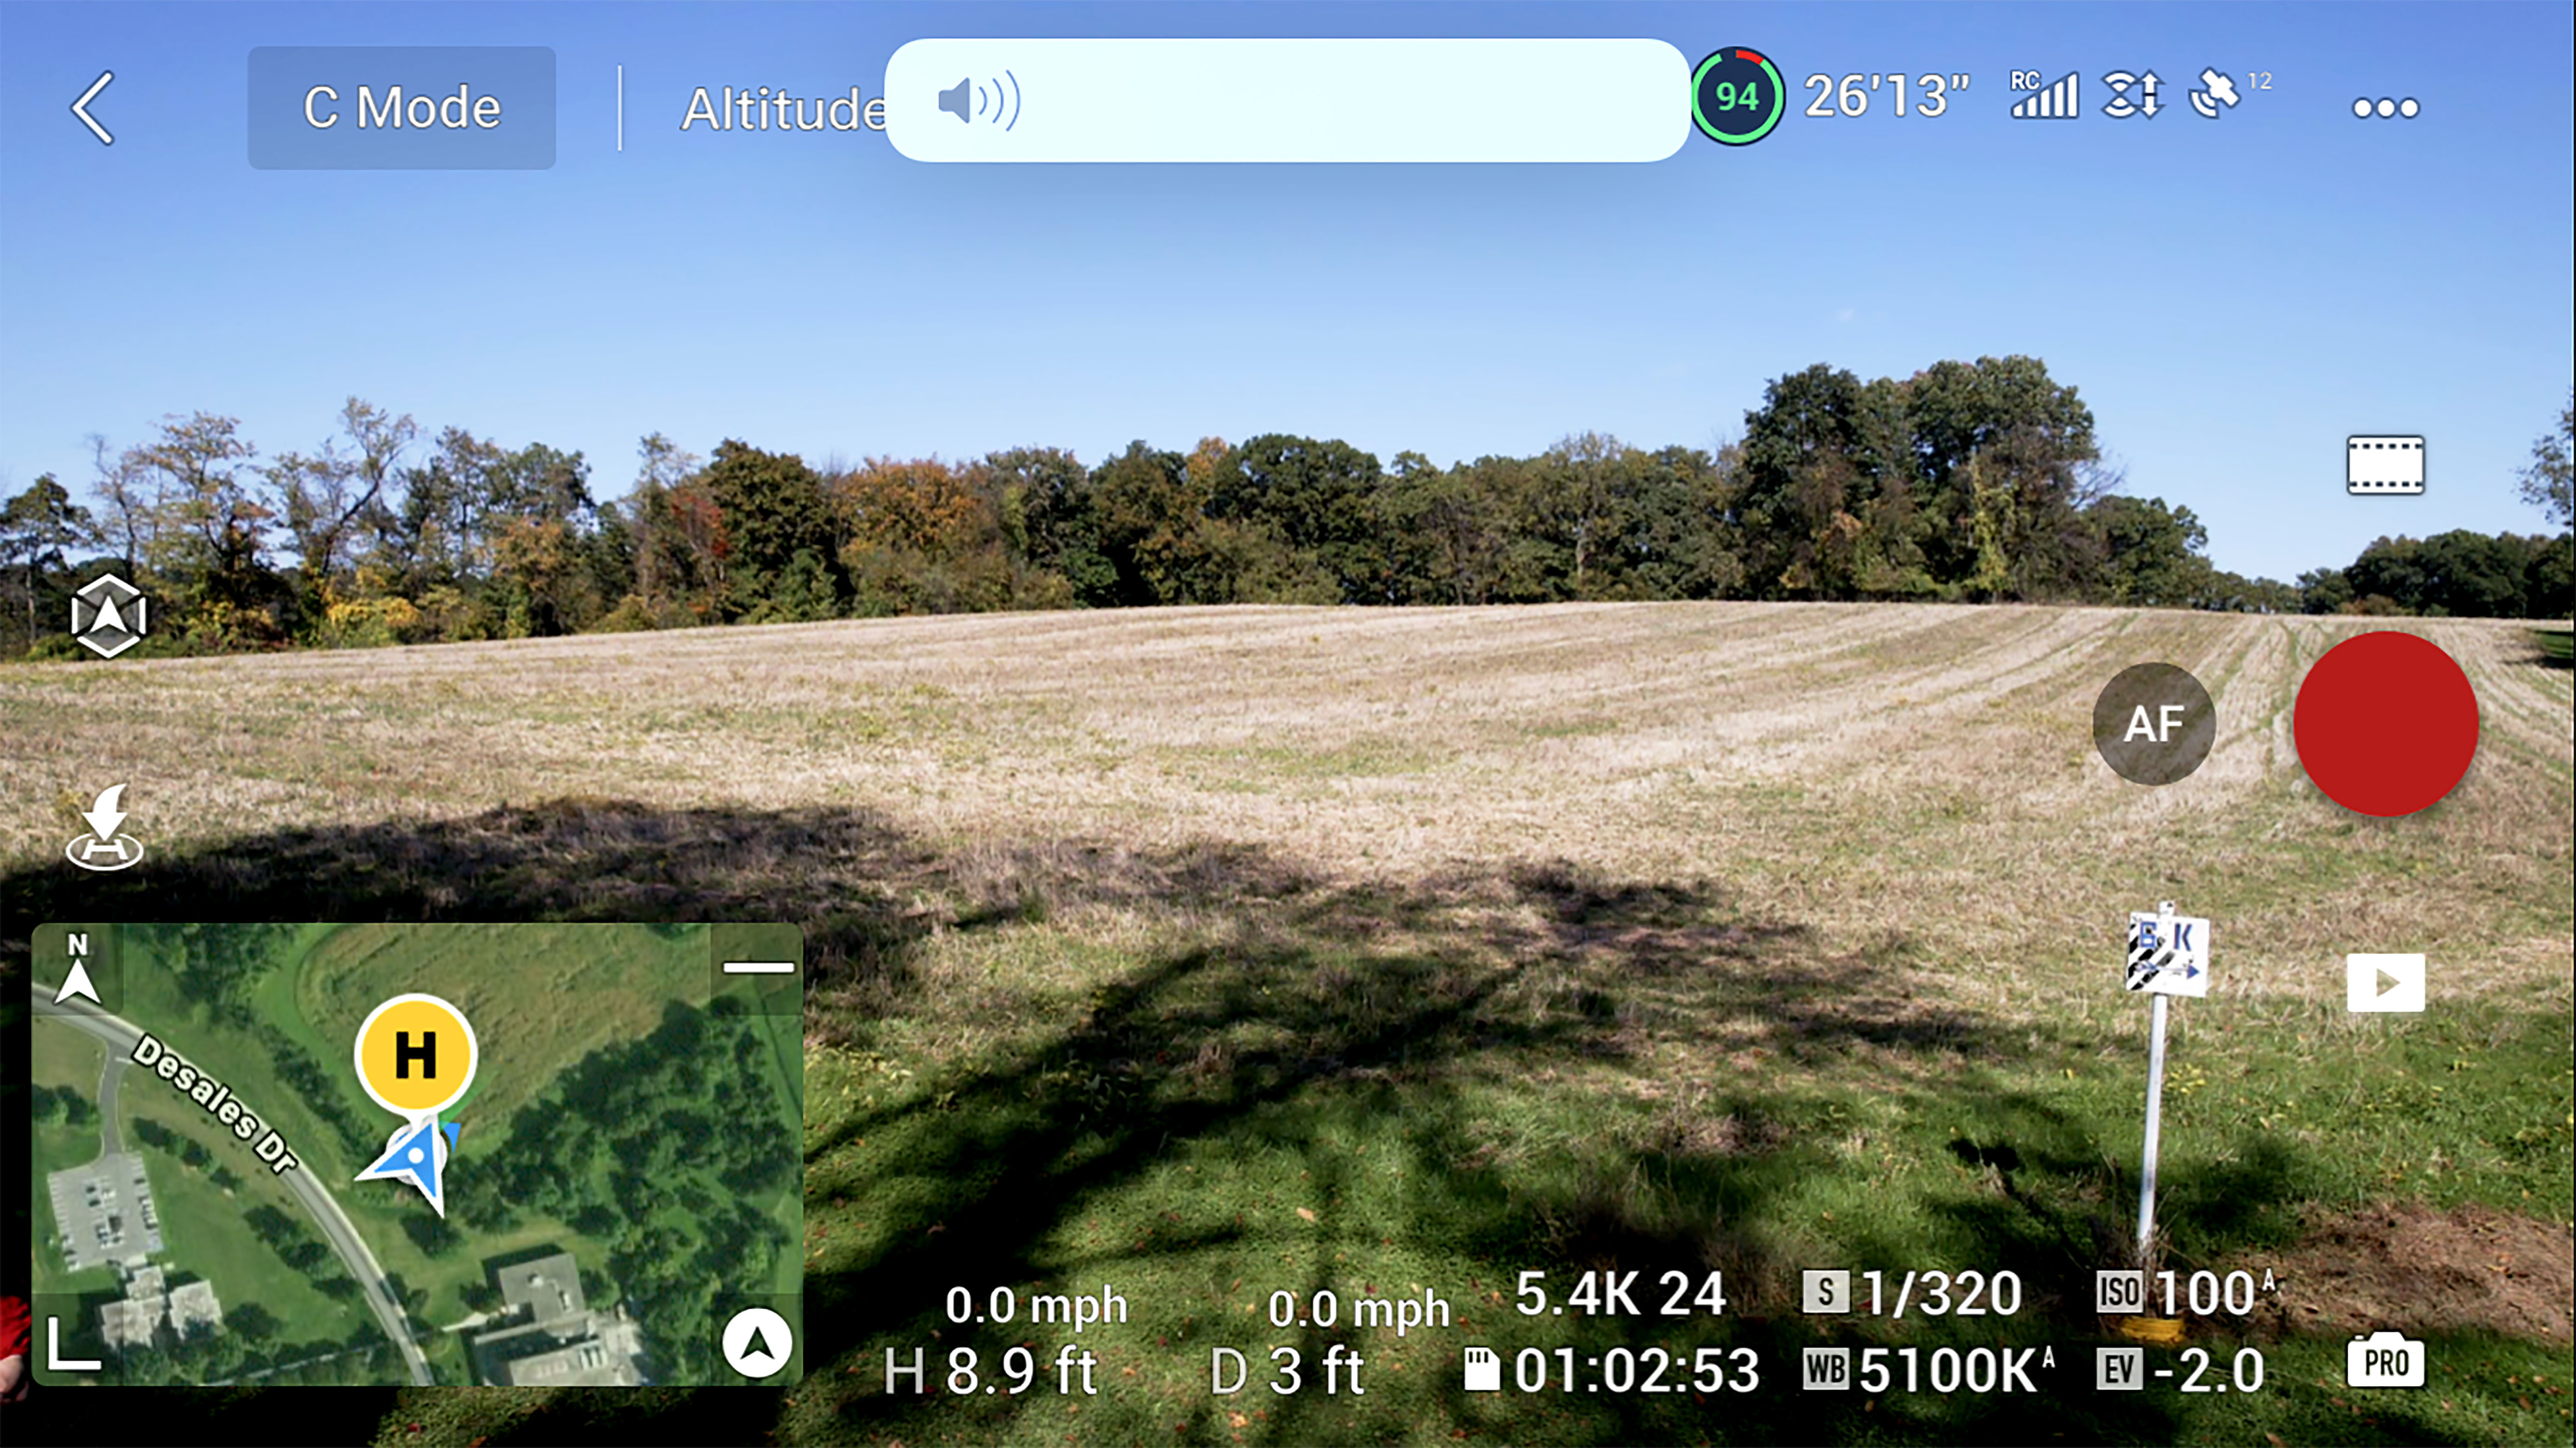
Downloading the DJI Air App allows total control via your phone’s touchscreen. Across the top from left to right is shooting mode, battery life, flight time, satellites, and menu access. From top to bottom on the right is the touch selection for still or video, record button, and playback.
If Auto Focus or Manual Focus is selected, it will be displayed opposite the record button with either AF or MF. The bottom has an expandable satellite map image, air speed, altitude, the image size, and frame rate if video (and file type if still image), shutter speed, ISO, color temperature, and time available on the micro-SD card. Each of these settings are adjustable by touching the screen. On the far left is the automatic take off, or if in flight, the automatic landing.

When activating the three-dot icon for the menu, it opens Safety, Control, Camera, Transmission, and About. Each one of these has drop-down menus allowing total operator control.
If all the safety features and obstacle avoidance on the DJI Air 2S weren’t enough, there are several automated flight filming solutions to make it even easier to get your shot. MasterShots automatically follows your talent in the Proximity, Landscape, or Portrait Mode. ActiveTrack 4.0 keeps your talent or object centered in the frame while in flight, POI 3.0 will circle the object, and Spotlight 2.0 tracks the talent while keeping it centered and allows you to control the flight path.
QuickShot Mode will put the drone in aerial maneuvers while shooting in Circle, Rocket, Dronie, Helix, Boomerang, or Asteroid. Lastly, in the Hyperlapse Mode you can chose one of four options: Circle, which generates a time lapse video while flying around your talent; Course Lock prompts the drone to fly in a straight line as the gimbal tracks it; Waypoint allows you to set up to five points and the drone records a time lapse at each point; and Free give you total manual control over everything.
In Use
I had the perfect use for the DJI Air 2S. In my short film, “Granny’s House,” her granddaughter must walk miles through the woods and open fields to get to where her grandmother lives—her journey seen by air.
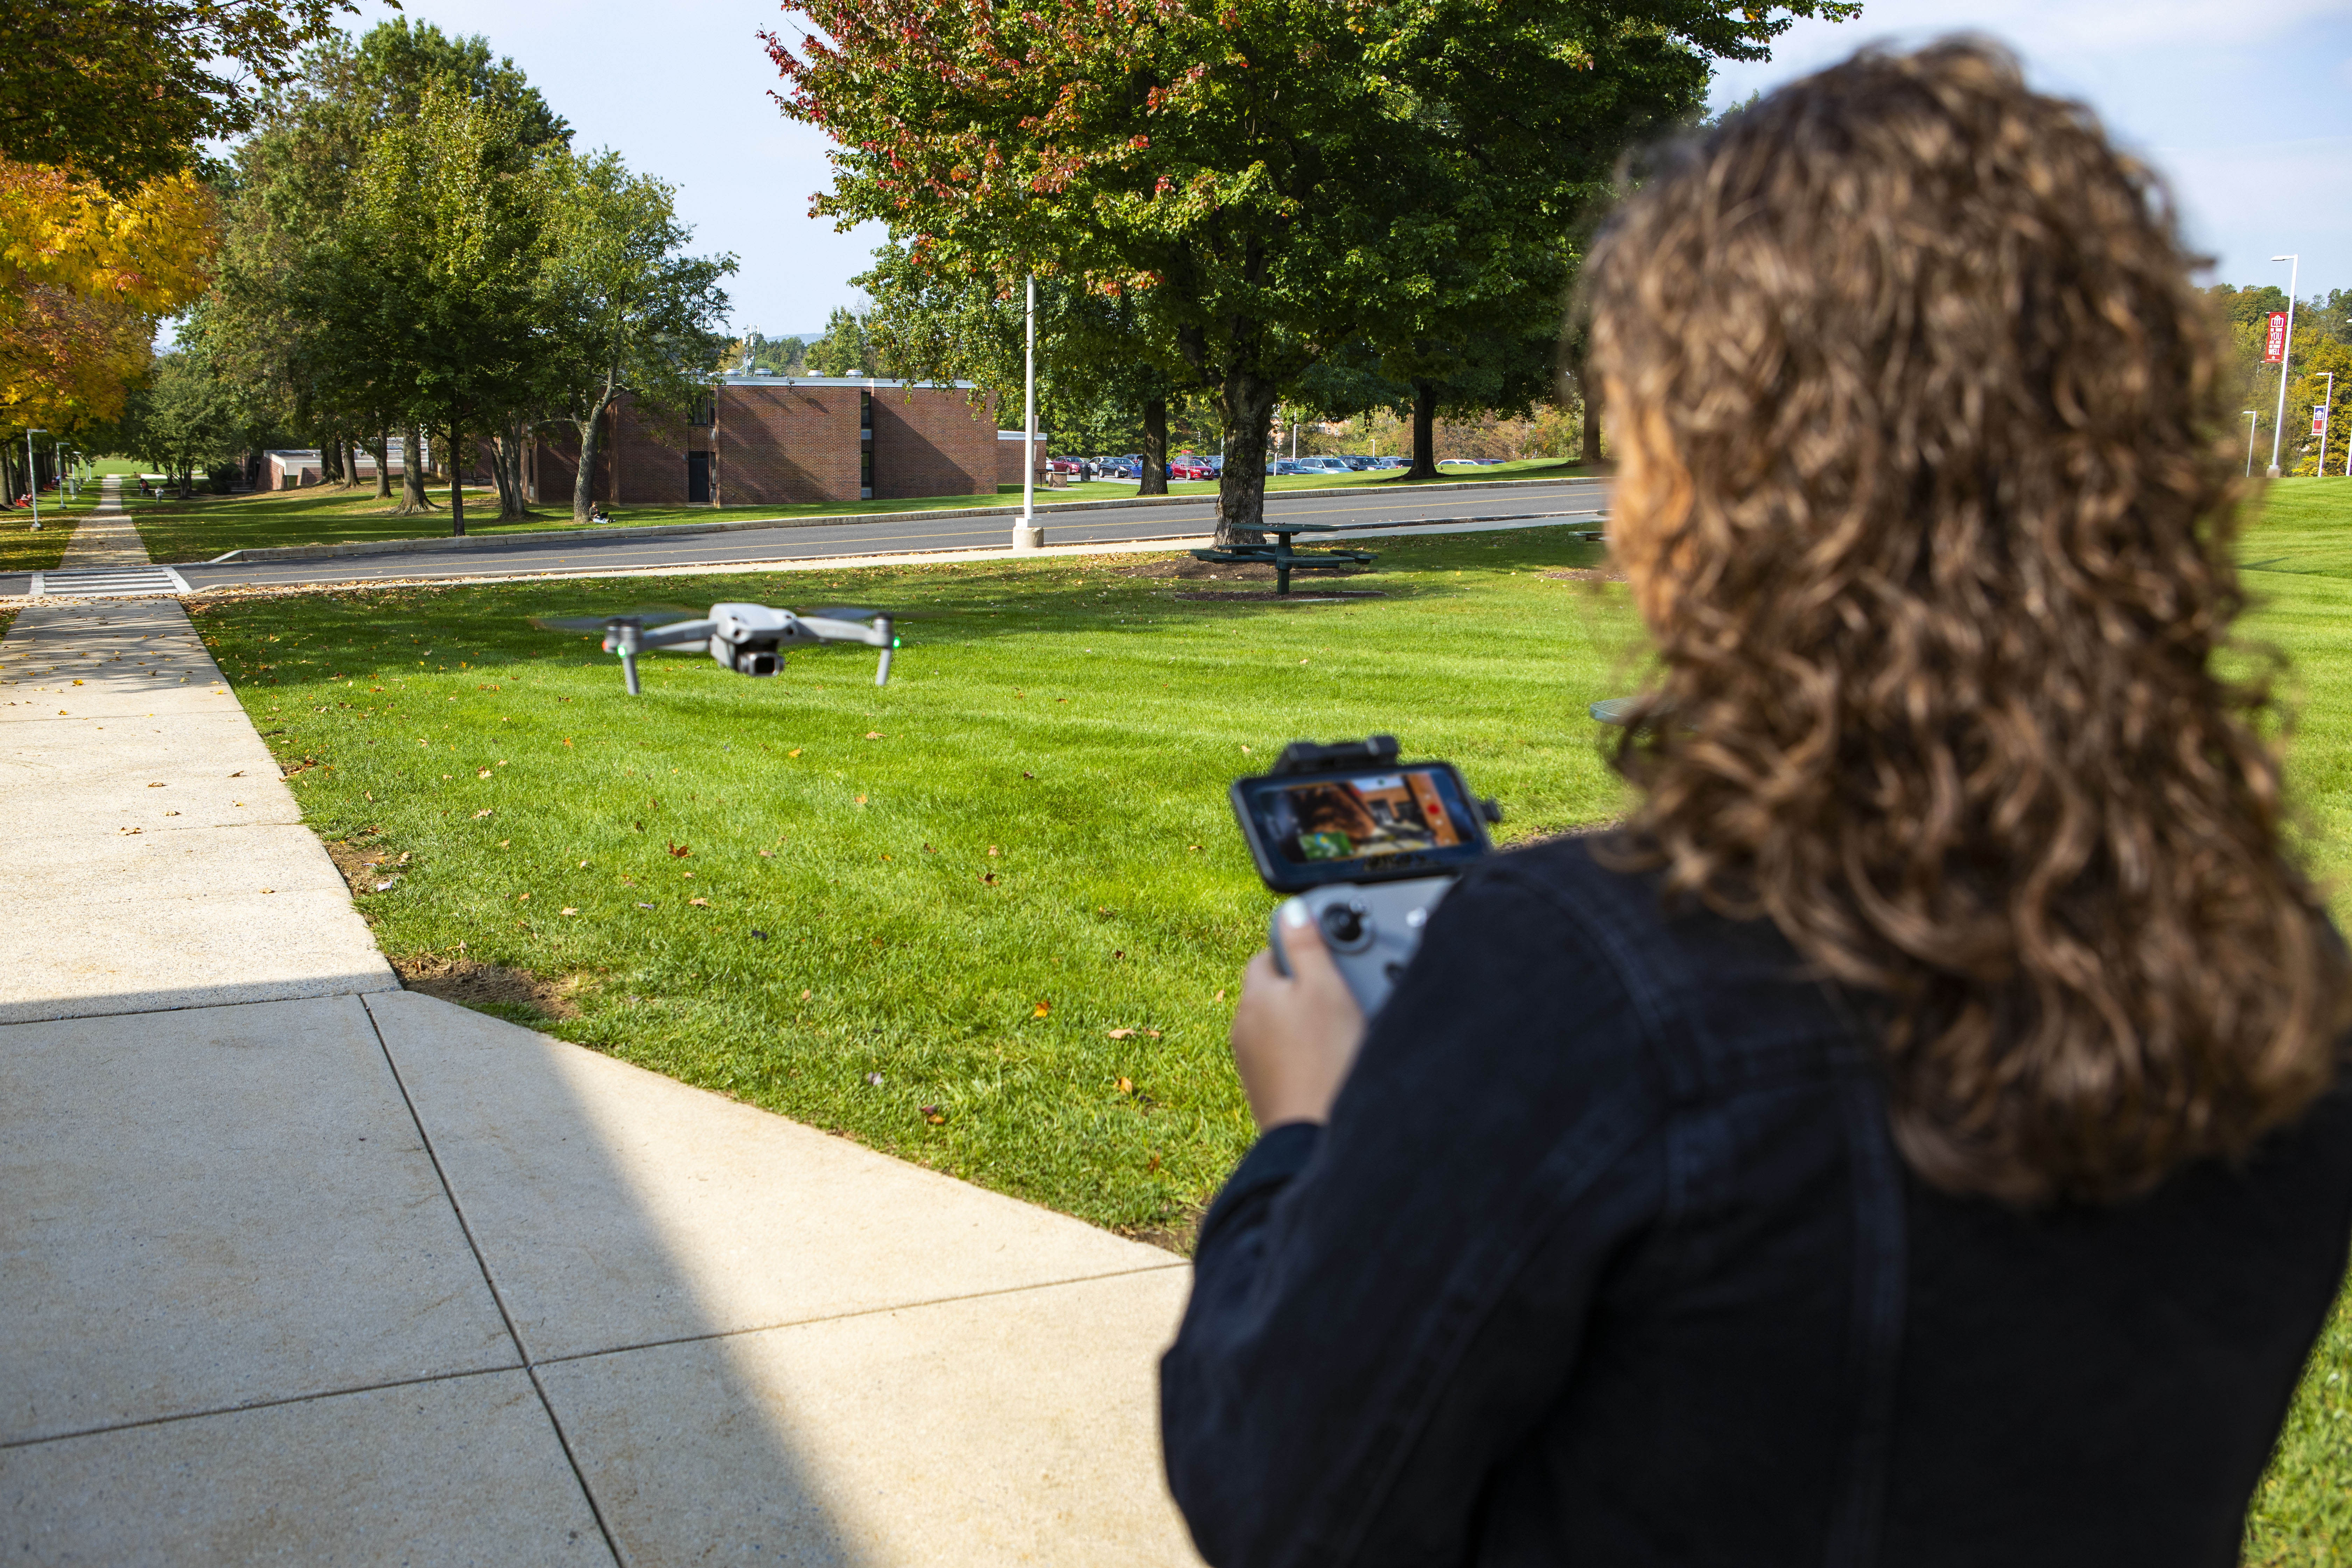
Setting the up the drone was as easy as charging the batteries and attaching the joysticks to the controller. The DJI Fly App is essential to the operation without having the Smart Controller. Once downloaded to my iPhone and updated with the latest version, I familiarized myself with its operation by practicing on our university’s 575 acres.

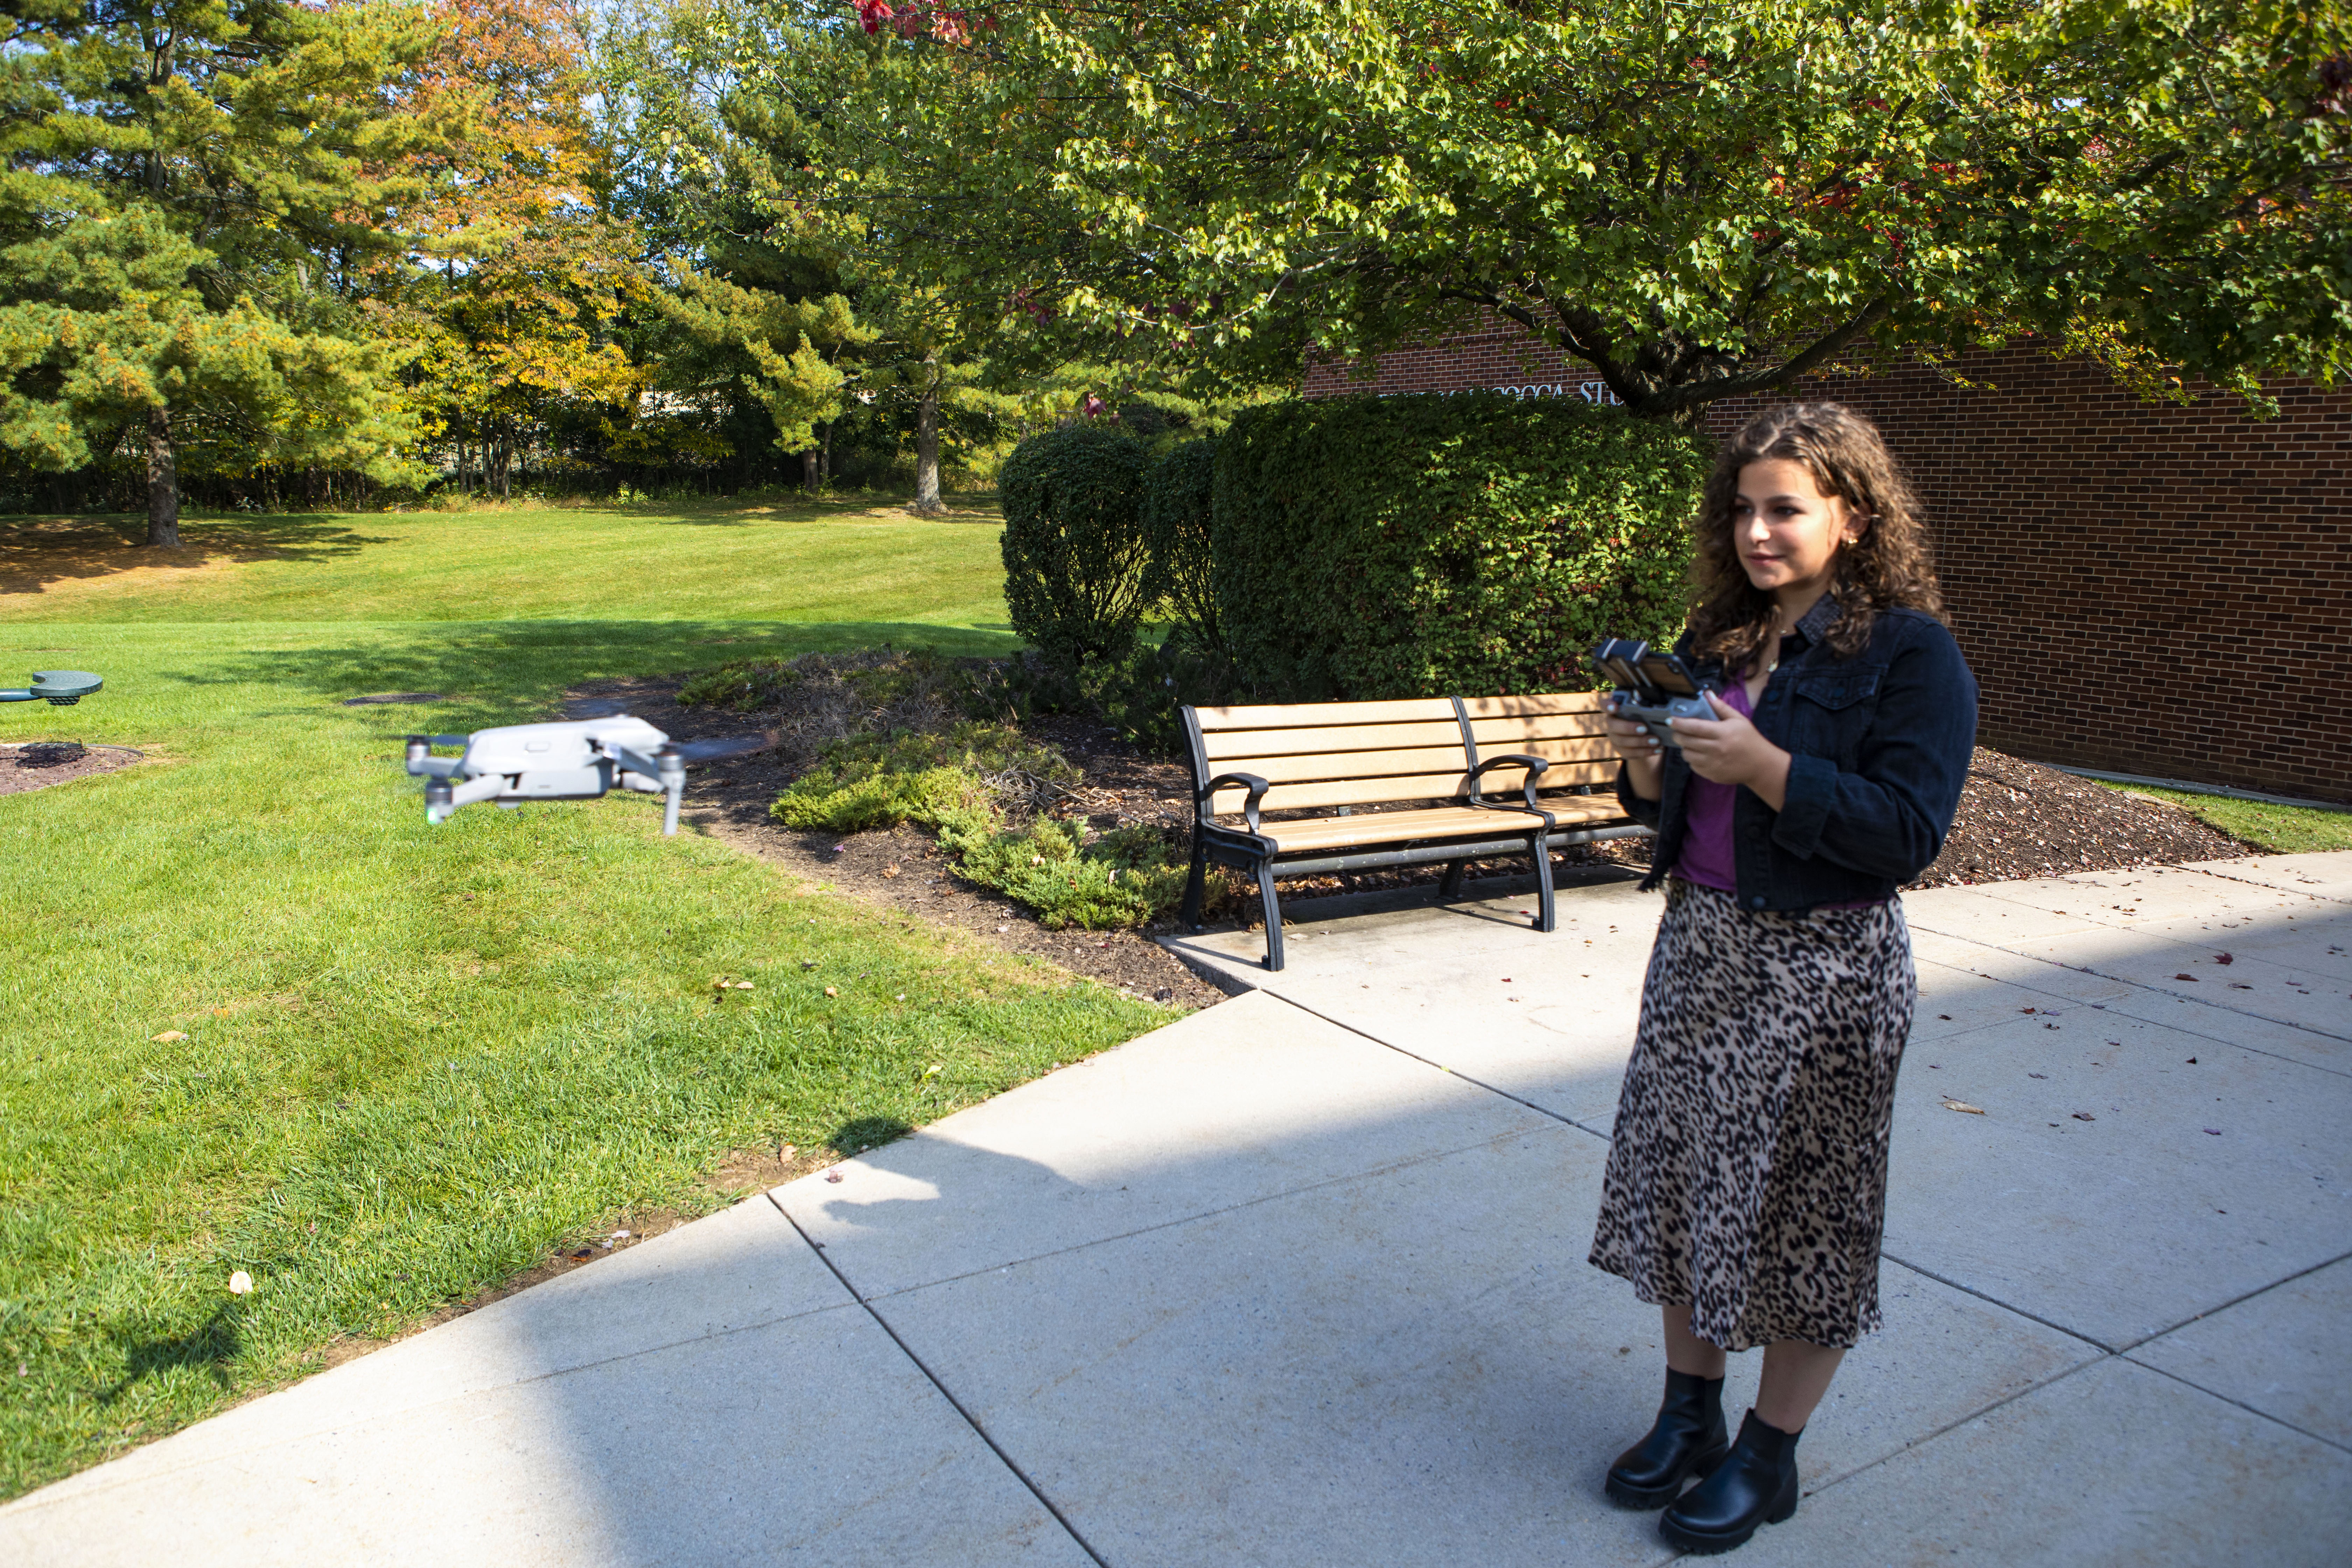
Once both the drone and controller were powered on and the App opened, pairing the two took only a few minutes. Pressing the “take off” icon on the phone, the drone lifted a few feet off the ground and hovered—waiting for its next command. Delani and I appreciated that, as it was much less intimidating. It waits for you.

Keeping the Controller set to Cinematic (for slower, smoother travel), the first shot we filmed was the young actress walking across an open field as the DJI Air 2S circled around her. I got the drone to a height of about 50 feet and simply pressed that icon for the circular flight.
Using my finger, I traced a green box around the talent, knowing that it would track her as she walked. Immediately, a short countdown appeared on the screen, the video recording started, and the drone began flying around her. Much like a shot in an expensive car commercial, the Air 2S did a far better job that I ever could do by completing a perfect 360 degree move around my talent.
Also trying Rocket Shot, the drone went straight up to a height of 90 feet and came back down. I did try several manual tracking “zooming past the talent” shots as she walked, but the automated features did a much better job than I could have.
Having everything at your fingertips while using the Air 2S is helpful. I know the state of my drone’s battery level, each shot’s elapsed time, how much space is left on the card, altitude, speed, and my exposure parameters—everything you need to know and more! During one of my more complicated shots, my iPhone rang with a FaceTime call. I landed the drone, then answered the call.
With nine other drone shots in the opening of the film, I was confident that I got what I wanted and put the Air 2S through its paces. I charged each of the three drone batteries four times (getting about 15 minutes of flight time before I landed with 30 percent remaining) and the Controller’s battery twice. I also liked the fact that the Controller charged my phone.
Honestly, I’ve used very few drones because it takes coordination that I seem to be lacking. After almost filling a 64GB Micro SD card I can honestly say that this is the easiest and most user-friendly drone I’ve ever flown. I tried non-automated shots that I wouldn’t have done with other drones because DJI takes the fear out of flying a drone. I doubt you’ll ever see one of my films anymore without drone footage. Check out “Granny House,” on YouTube.
Summary
If you want to add drone footage to any of your productions, then the DJI Air 2S is the perfect choice. It is very user friendly, takes little time to learn, and the automated features make you look as if you were a much more experienced pilot. With several shooting options, you can easily change frame rate, ISO, exposure, shutter, and more while in flight. The four neutral density filters add depth of field to your video and images.
Application
From students to professionals, anyone can become quickly familiarized with the Air 2S and all its innovations. While shooting, you want to spend as little time as possible focusing on (pardon the pun) on the settings. Flying the drone is where you’ll gain experience and mastery of your skills.
Key Features
DJI Air 2S Drone – a user-friend drone that can be set-up and flying in a few minutes. Obstacle avoidance, automated aerial moves, one touch takeoff and landing, and simplified operation make this a great starter (and professional) drone. Extra batteries with fast charging allow enough flight time, spare rotors and joysticks, and enough ND filters for all lighting situations. Folds for compact storage.
DJI Controller – adaptable to any smartphone, touchscreen access to any feature, programmable joystick operation, and convenient size.
Price – Available through DJI authorized resellers
DJI Air 2S Combo Drone - $1,295 USD
DJI Air 2D Combo Drone and Smart Controller - $1,749 USD
Contact
Website: www.dji.com
Phone: 818 235 0789
Get the TV Tech Newsletter
The professional video industry's #1 source for news, trends and product and tech information. Sign up below.
Chuck Gloman is Associate Professor with the TV/Film Department at DeSales University.

