Review: DJI Ronin4D
DJI has developed the perfect complete cinematic camera stabilizing system
Camera stabilizing systems are found in almost all shooting situations. The DP’s camera must be attached and balanced for most gimbals to properly function. DJI has developed the perfect complete cinematic system, the Ronin 4D for this purpose. Not only is the four-axis stabilization system nearly flawless, but it includes a camera with a 6K sensor. One of the key features is reduced set-up time.
Features
Everything a shooter needs is built into this “integrated cinematography solution” including four distinct areas or systems which I will discuss separately: the Cinematic Imaging System (camera); Four Axis Stabilization System (gimbal); LiDAR Focusing System (lens); and Wireless Transmission and Control System (remote monitor).
Offered in a combo kit, the Ronin 4D Cinema 6K camera (called that because of the included vertical Z-axis stabilization as part of the four-axis gimbal system) contains:
- Zenmuse X9 - 6K gimbal camera
- High-Bright 5.5-inch touchscreen 1920x1080 Main Monitor
- Handgrips
- TB50 battery, mount and charger
- AC power
- DL mount lens
- LiDAR range finder, and
- Carrying case
My review kit included essential extra features: a High-Bright seven-inch touchscreen Remote Monitor; 1 TB SSD media drive; 35mm Leica M lens; Wireless video transmitter; X9 focus motor; and a three-channel FIZ lens control unit.
The Cinematic Imaging System
The most important element of any digital camera is the sensor and the Ronin’s 24.1-megapixel 6008x3168, 17:9 full-frame CMOS sensor can shoot in H.264 and Apple ProRes 422 HQ in 6K up to 60fps, and 4K up to 120fps in 12-bit with the Zenmuse X9 sensor. Featuring dual-native ISOs of 800 and 4000 with more than 14 stops of dynamic range and exposure indices of 200 to 12,800, you’re ready for almost any lighting situation. The 16 neutral density filters are selectable for one stop through nine stop diffusion accessed through the menu.
My review Ronin had a DL Mount on the camera (and offered an M Lens Mount), which is a companion to the X9 Focus Motor. DJI provided one of their 35mm F2.8 prime lenses.
The on-camera LED High-Bright Main Monitor is a 5.5 inch, 1000-nit 1920x1080 touchscreen. The adjustable monitor has a rotating knob centered on the left with a “Home” button above and a “Display” button below. The top and the bottom each have four buttons to access items displayed on the screen.
Pressing the Home button displays Recording, Display, User Setting, and Storage across the top with the highlighted feature appearing in yellow. The bottom of the monitor has System, Lens, Stabilizer, and Transmission.
Activating the Recording button brings up a screen with Video, Audio, and Settings submenus. Left and right arrows allow movement through the various screens. “Display” has four submenus with Exposure Assistant, Focus Assistant, Monitor, and Look. “User Setting” does what the name implies, and “Storage” shows the remaining time on your DJI Pro 1-TB SSD hard drive and/or the internal CFexpress Type-B card.
Activating “System” with the bottom button gives you control over the Fan Mode, Clock, About, and Factory Reset. “Lens” offers “Focus” with the auto focus mode, the sensitivity, and measurement units and the submenu “Calibration” which controls both the auto and manual calibration modes. “Stabilizer” gives three options: Gimbal Settings, Joystick, and Gimbal Calibration, each with numerous offerings to adjust the desired parameters. “Transmission” will link the High-Bright Remote Monitor with the camera system.
The “Display” button will play back the footage shot while giving the aspect ratio, exposure index, iris, shutter speed, frames per second, neutral density filter, and white balance values across the top of the screen.
Four Axis Stabilization System
The Ronin 4D is separated from other stabilization systems by the addition of a fourth Z-axis (vertical) that eliminates camera shake. This functions in conjunction with the integrated gimbal. Sensors built into the body sense where the ground is in each situation and make adjustments accordingly.
The Ronin D4 features “ActiveTrack Pro” which tracks people or objects with continuous autofocusing while the gimbal makes the camera movements more fluid. All of this is possible because of the stabilization algorithm and a built-in barometer and inertial measurement unit.
LiDAR Focusing System
LiDAR is DJI’s light detection and ranging system that sends invisible bursts of light, measures the reflectance off the person or object and maps a real-time 3D point cloud map. As the subject moves, the LiDAR system is constantly updating the distance to the camera.
If you prefer manual focus, this tool will assist with displaying ranging data on both your monitors. “Hybrid Focus” (automated manual focus) combines both auto and manual focus so adjustments may be made while on the move. The “LiDAR Waveform” can display real-time focus position and even if in autofocus, the operator can focus manually.
This system also helps in low-light situations where focusing is more difficult. If using a calibrated manual lens, the LiDAR focusing system and the X9 focus motor can determine the depth of field.
Wireless Transmission and Control System
Taking some of the burden from the camera operator, a Remote seven-inch 1920x1080 High Bright Monitor (1500-nit) may be used to select camera settings, monitoring, and playback because of the Ronin 4D’s DJI 03 Pro video transmission technology.
Promising anti-interference technology and ultra-low latency, this compact video receiver accepts transmissions from up to 20,000 feet. Hopping between 2.4GHz and 5.8GHz, multiple receivers may receive the same transmission or switch between multiple 4D cameras.
Using “Mirror Control Mode,” you can view the same menu system as the 4D camera High-Bright Monitor.
Hand Grips and Remote Monitor
The left and right-hand grips may be attached to the 4D or the remote monitor. The monitor is powered by pressing the power button recessed on the left side and you immediately see almost everything the Ronin 4D sees. Rotating the joystick on the left handle rotates the camera in the desired direction, and a lock feature prevents the remote unit from accessing the camera.
The “EXP” button activates or deactivates the exposure display. To the left is the “Active Track” button—holding the button turns the ActiveTrack on or off. The front of the left handgrip features a “Trigger”—to activate, press the trigger twice to center the subject. If you’re in “Smart Mode,” pressing and holding the trigger will activate ActiveTrack. If you’re not in Smart mode, the trigger switches between the “Lock” and “Follow” mode. On the right side of the left-hand grip is the “M" button, which gets you into or out of the “Sport” mode which essentially deactivates the gimbal and gives you a handheld look.
The right-side handgrip had a large dial on top which controls your focus adjustment (displayed on the right side of the screen). Directly below the dial is the “Record” button which starts and stops the record process. To the left of the Record button is the “Focus Peak” button—this turns the focus display on or off. The “Mode” button is extremely helpful in that pressing it changes the function of the Dial to: ND, EI, or Aperture. The front of the right handgrip also has a “Trigger” which enables the Z-axis by pressing it twice. On the inside of the handgrip is the “Focus” button which switches between manual and auto focus. Pressing and holding the button sends the Dial back to Focus mode.
On the top handle of the Ronin is the “M” button (mirrored on the left handgrip) which activates or deactivates the Sport mode.
High Bright Monitor Screen
Touching the three small dots on the bottom left of the screen opens the Systems Settings Menu with: Connection Settings (Control or Broadcast Mode); General Settings (Screen Settings and Factory Reset); About (Firmware Version and Serial Number); and Help (offering a QR code to scan).
There are a multitude of touchscreen icons displayed, but I believe the Gimbal Mode/Speed Icon (third icon down from the top on the left side of the screen) is worth mentioning. This displays the gimbal mode: Lock; Pan Follow; Pan and Tilt Follow; Pan, Tilt, and Roll Follow; and Sport Mode—each activated mode is displayed by an icon. Gimbal Speed offers: Slow, Medium, Fast, and Custom and Z-Axis Mode: Follow Mode, Lock Mode, Car Mount Mode, and Sport Mode.
In Use
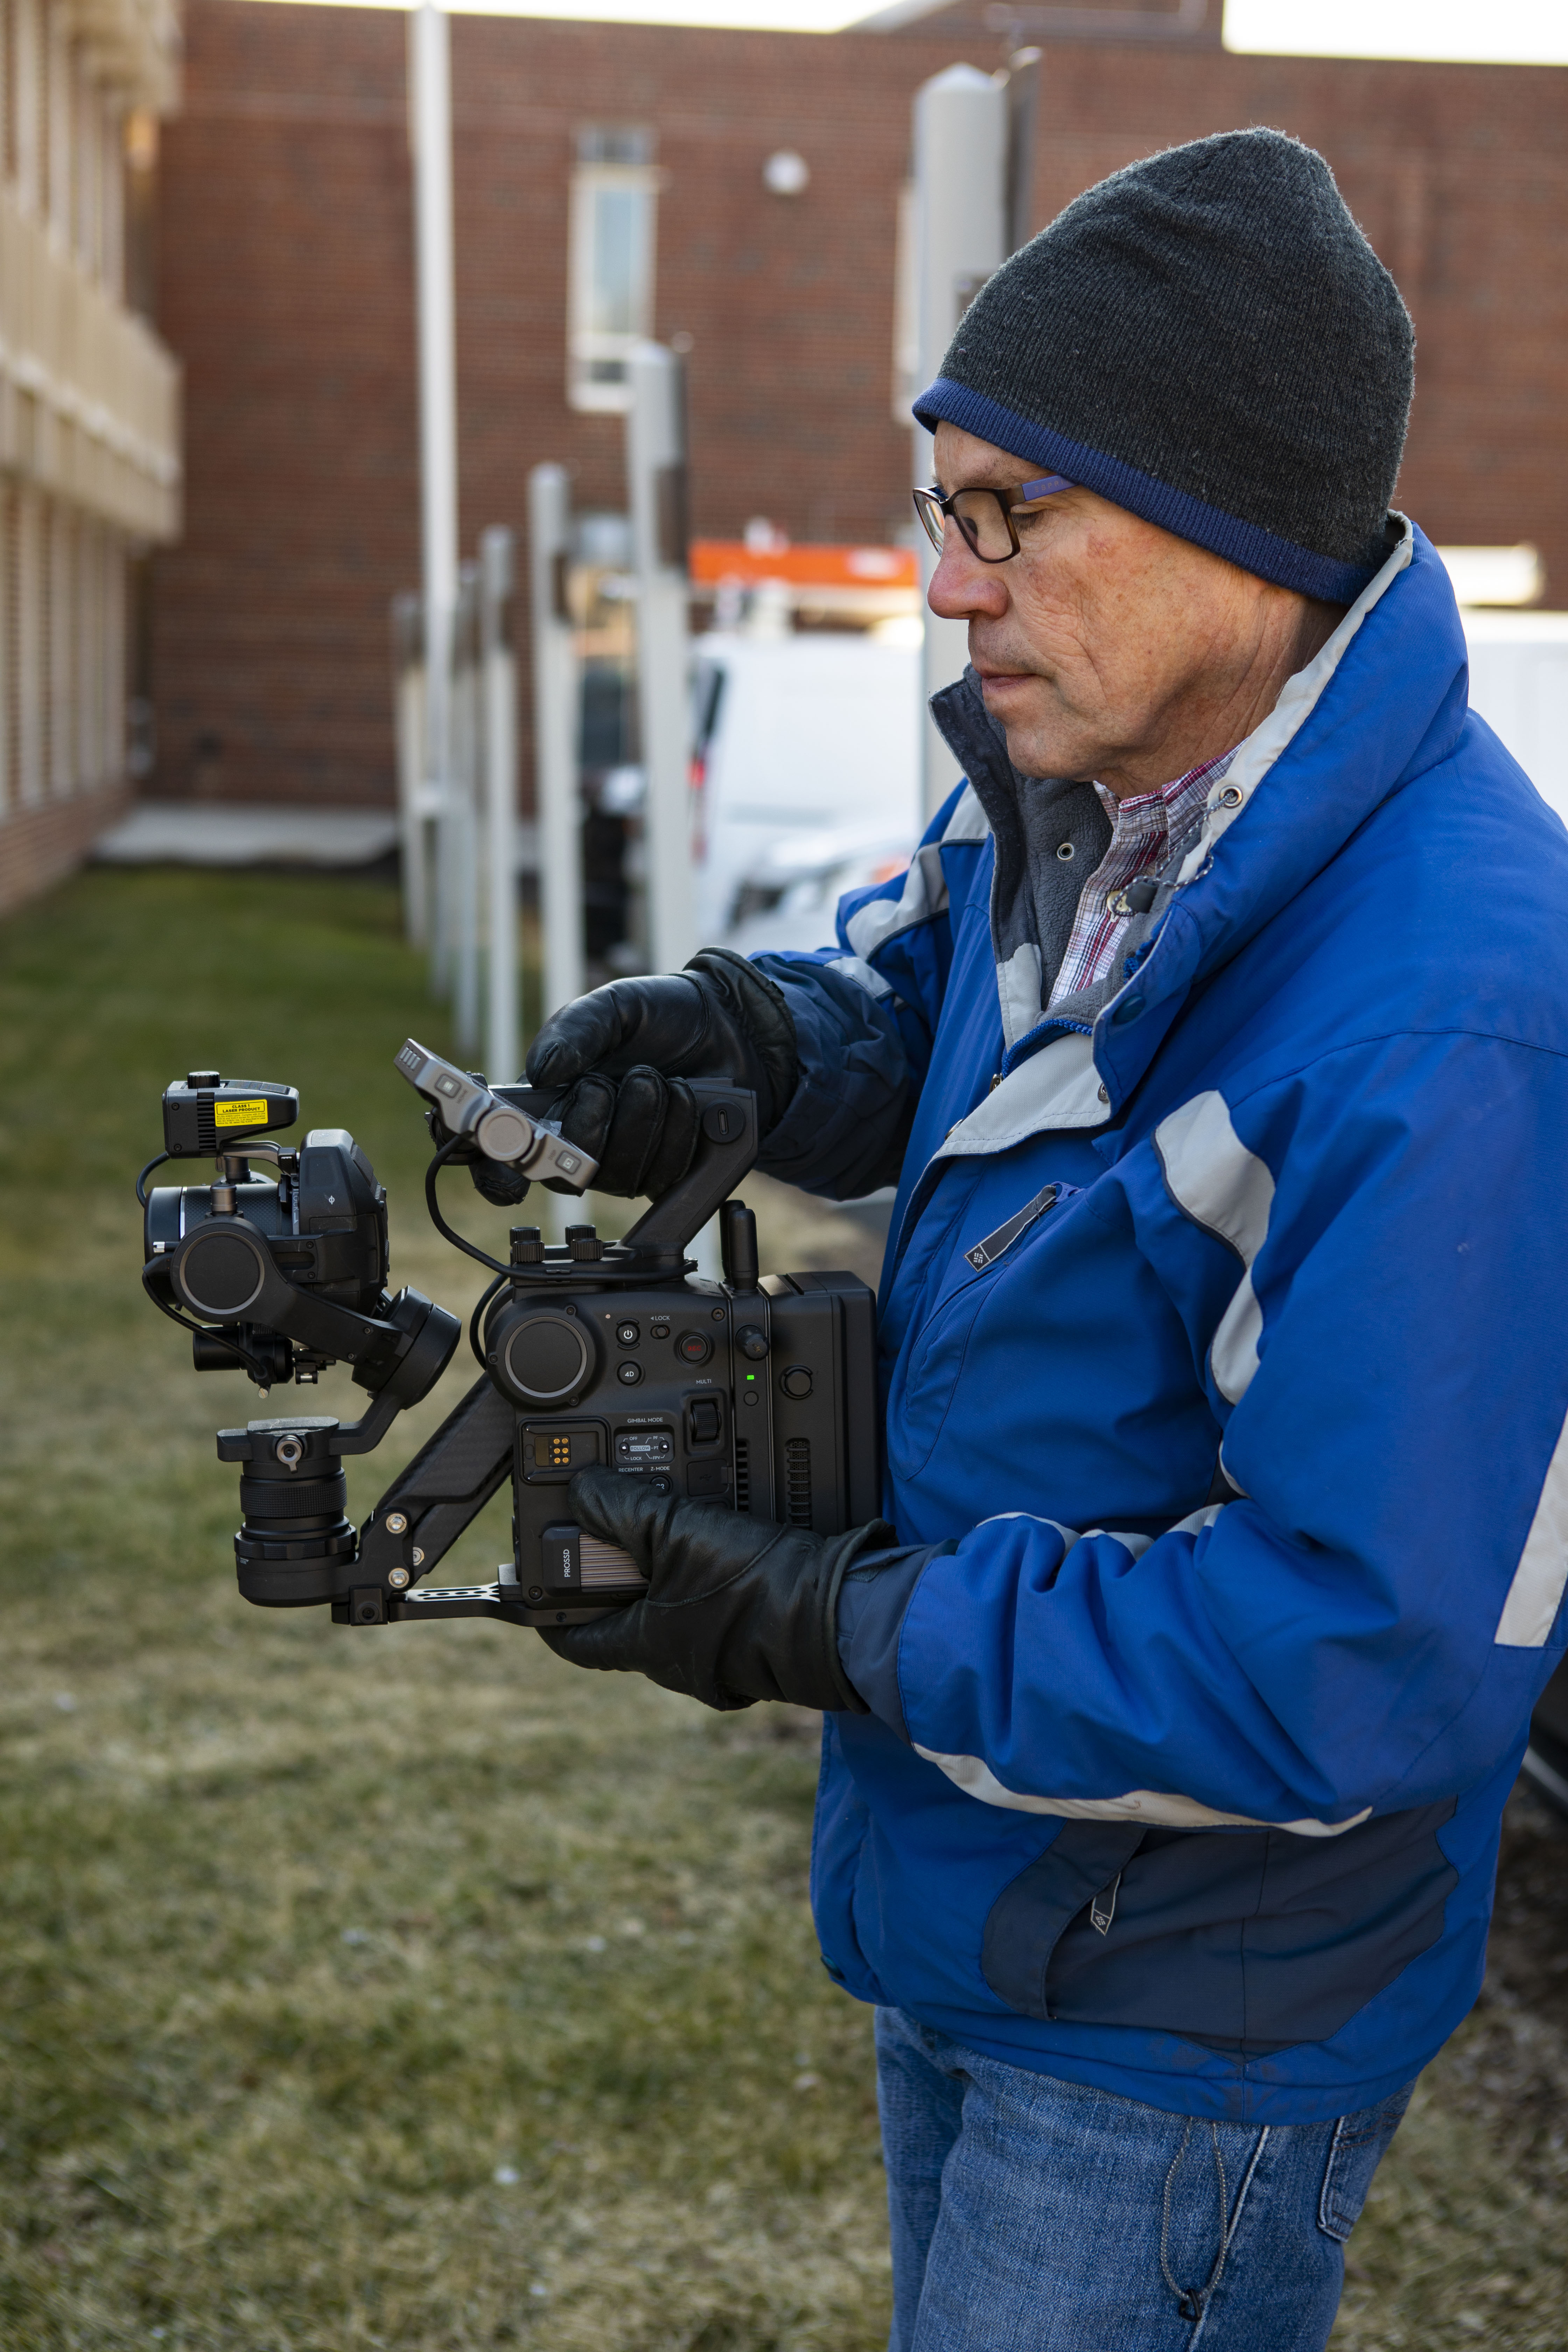
The first thing you notice right out of the Ronin D4’s carrying case is the unit’s weight—around 14 pounds. If it weren’t aluminum/magnesium alloy and carbon fiber, it would be heading into the “anchor” category (Fig. 1).
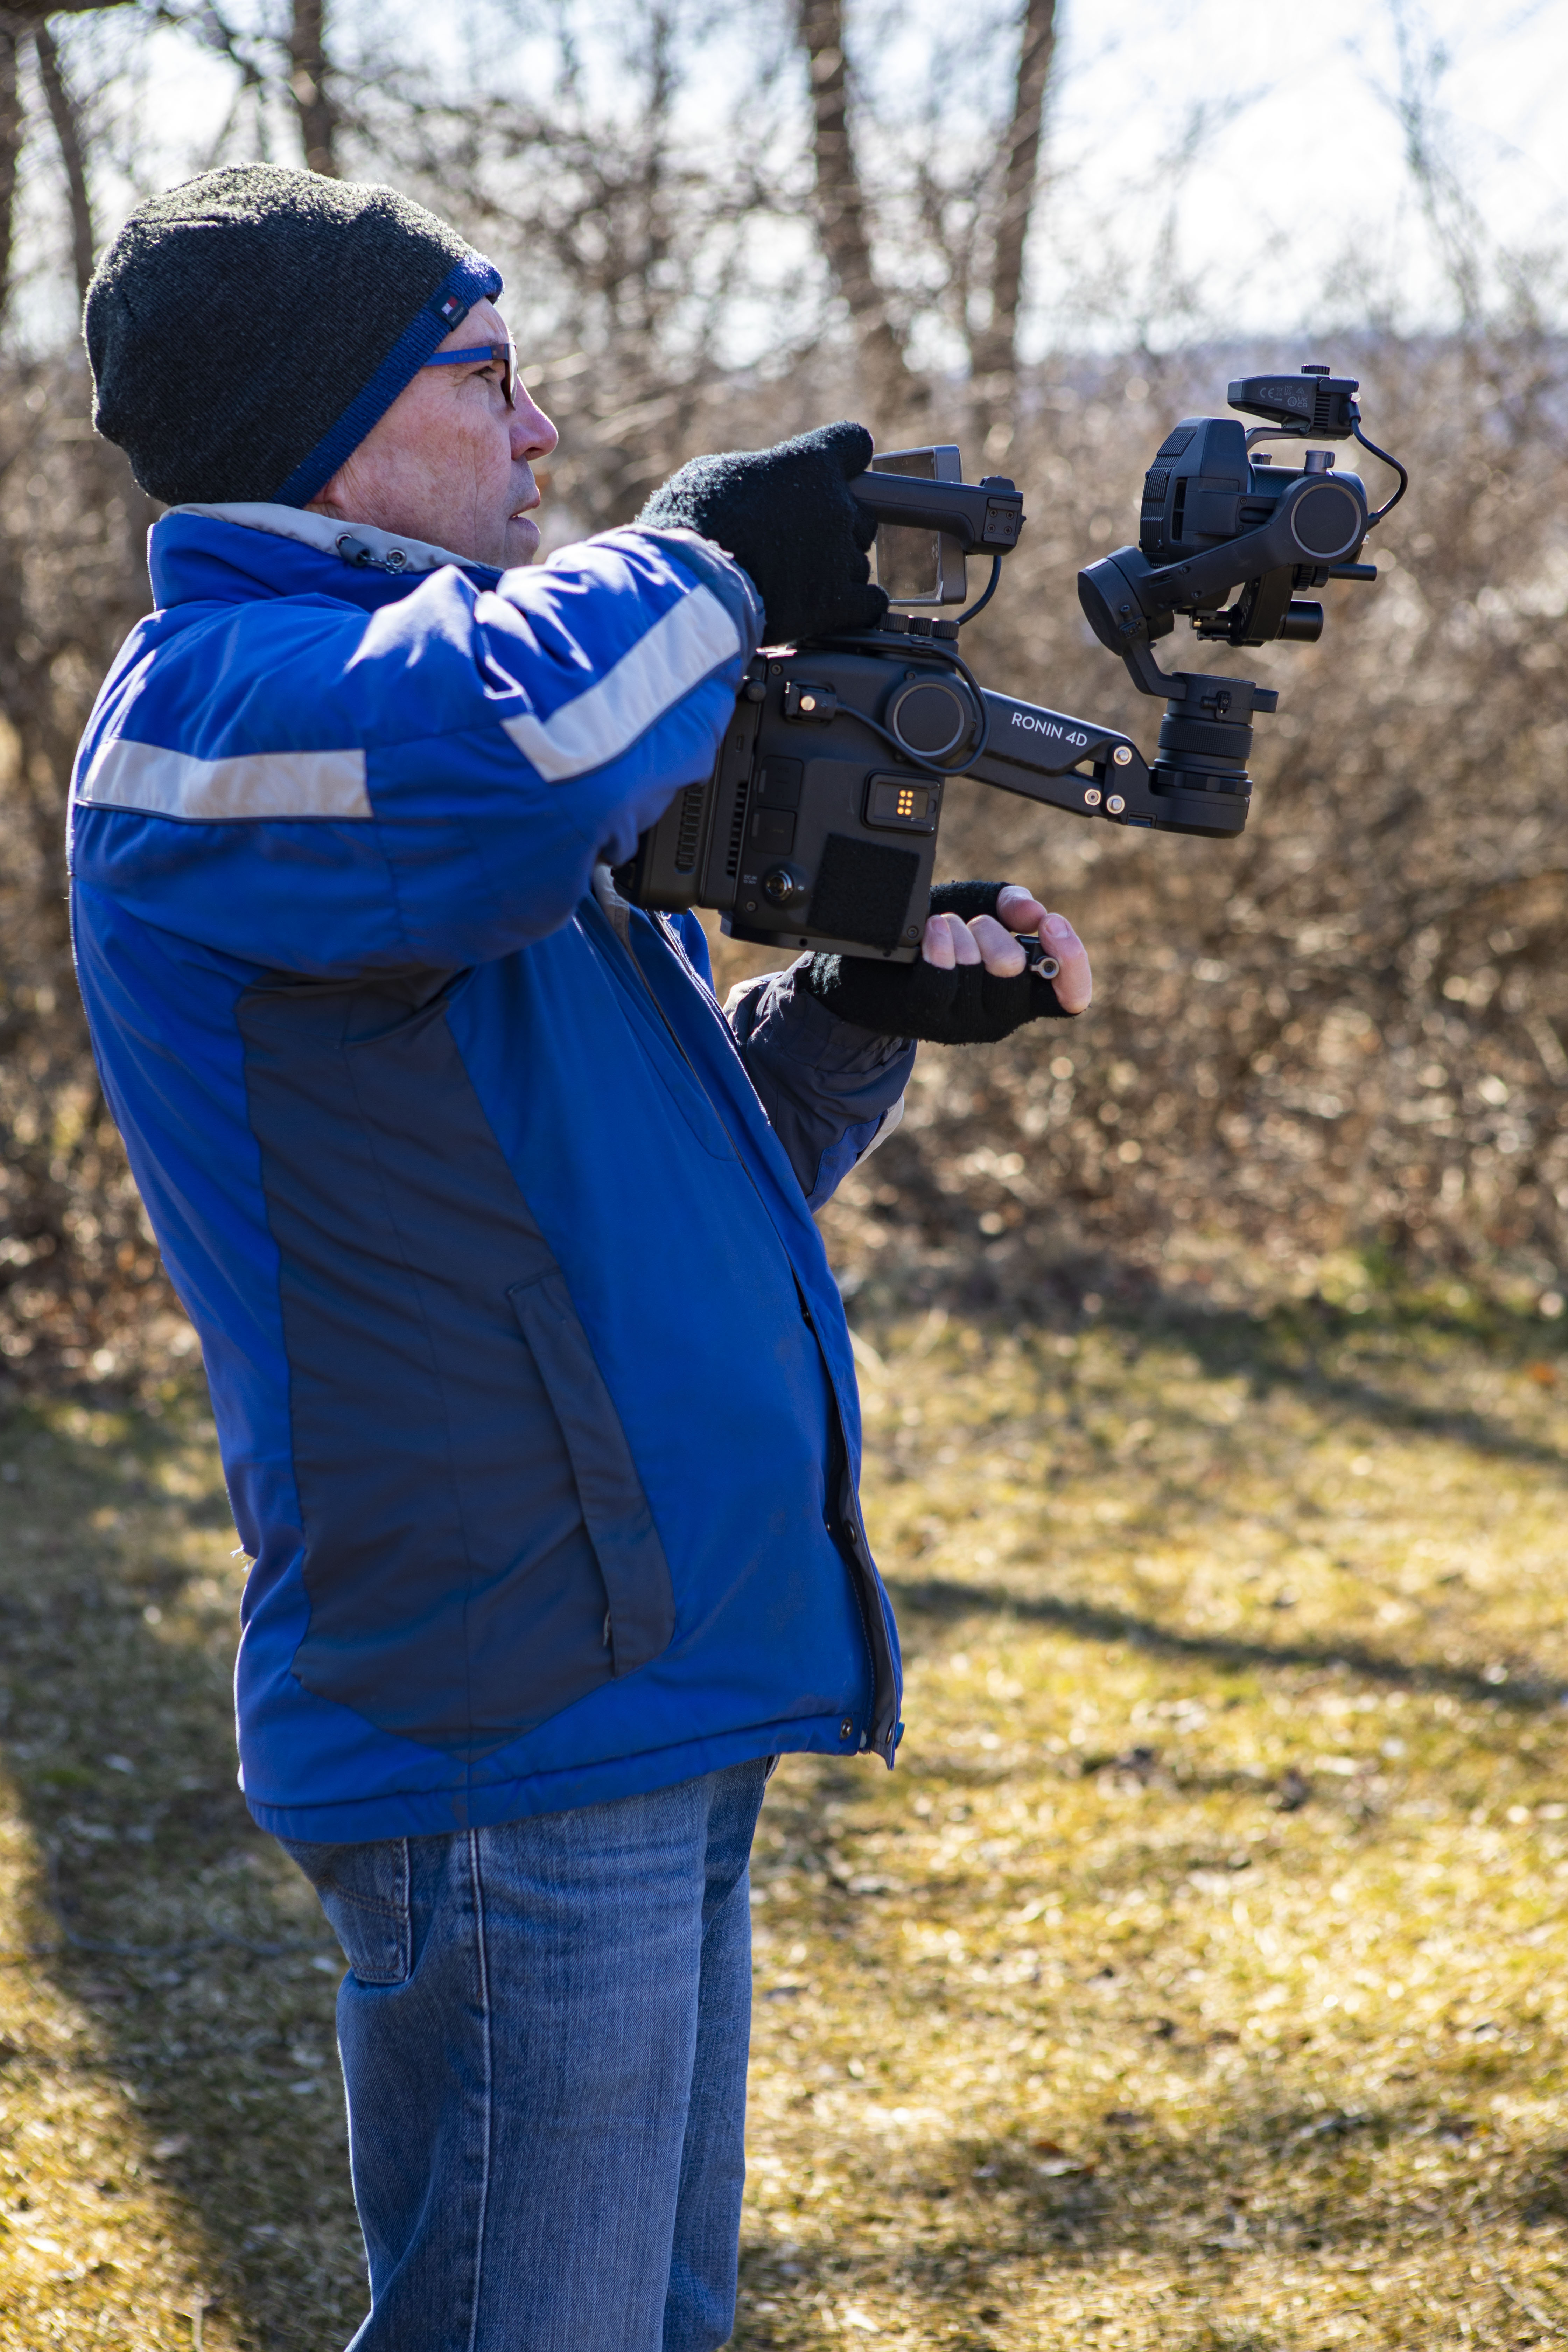
Wanting to test the DJI Ronin 4D in all its modes, I wrote a simple chase script where a young woman goes through elaborate measures to elude her pursuer. Active Track; Z-Axis; Pan, Tilt, and Roll Follow; and Hybrid Focus were all used in separate situations.
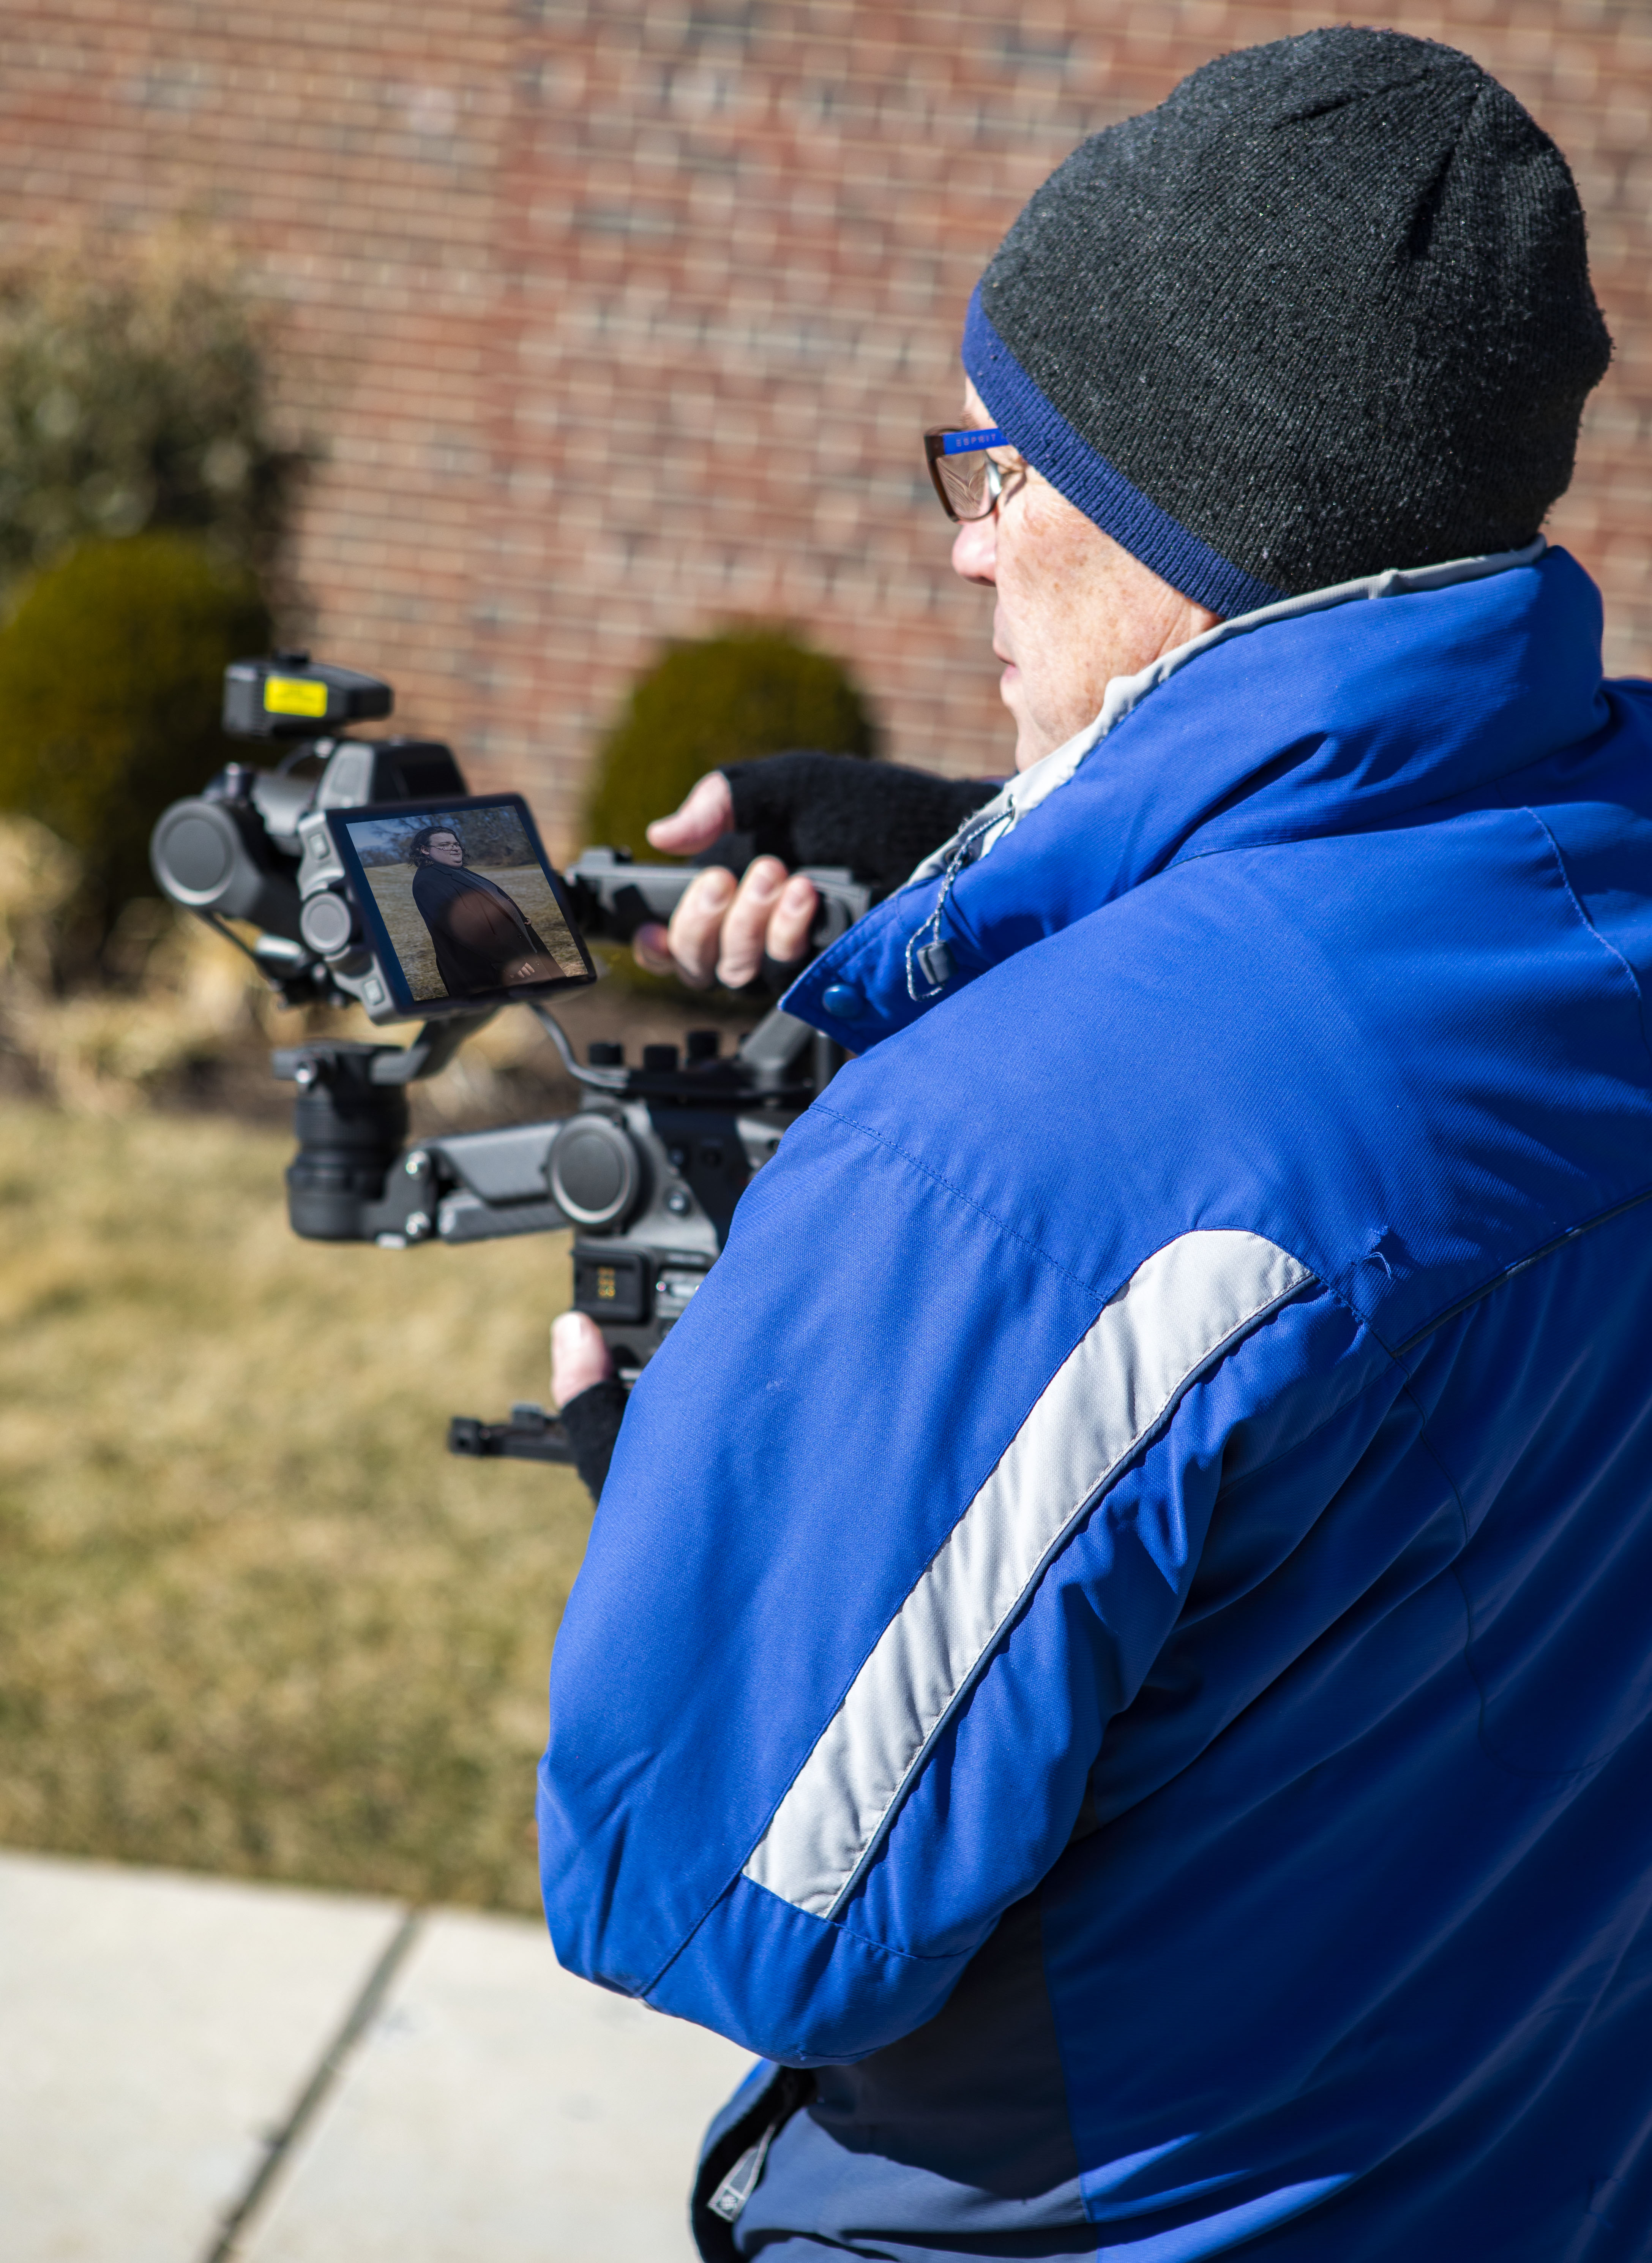
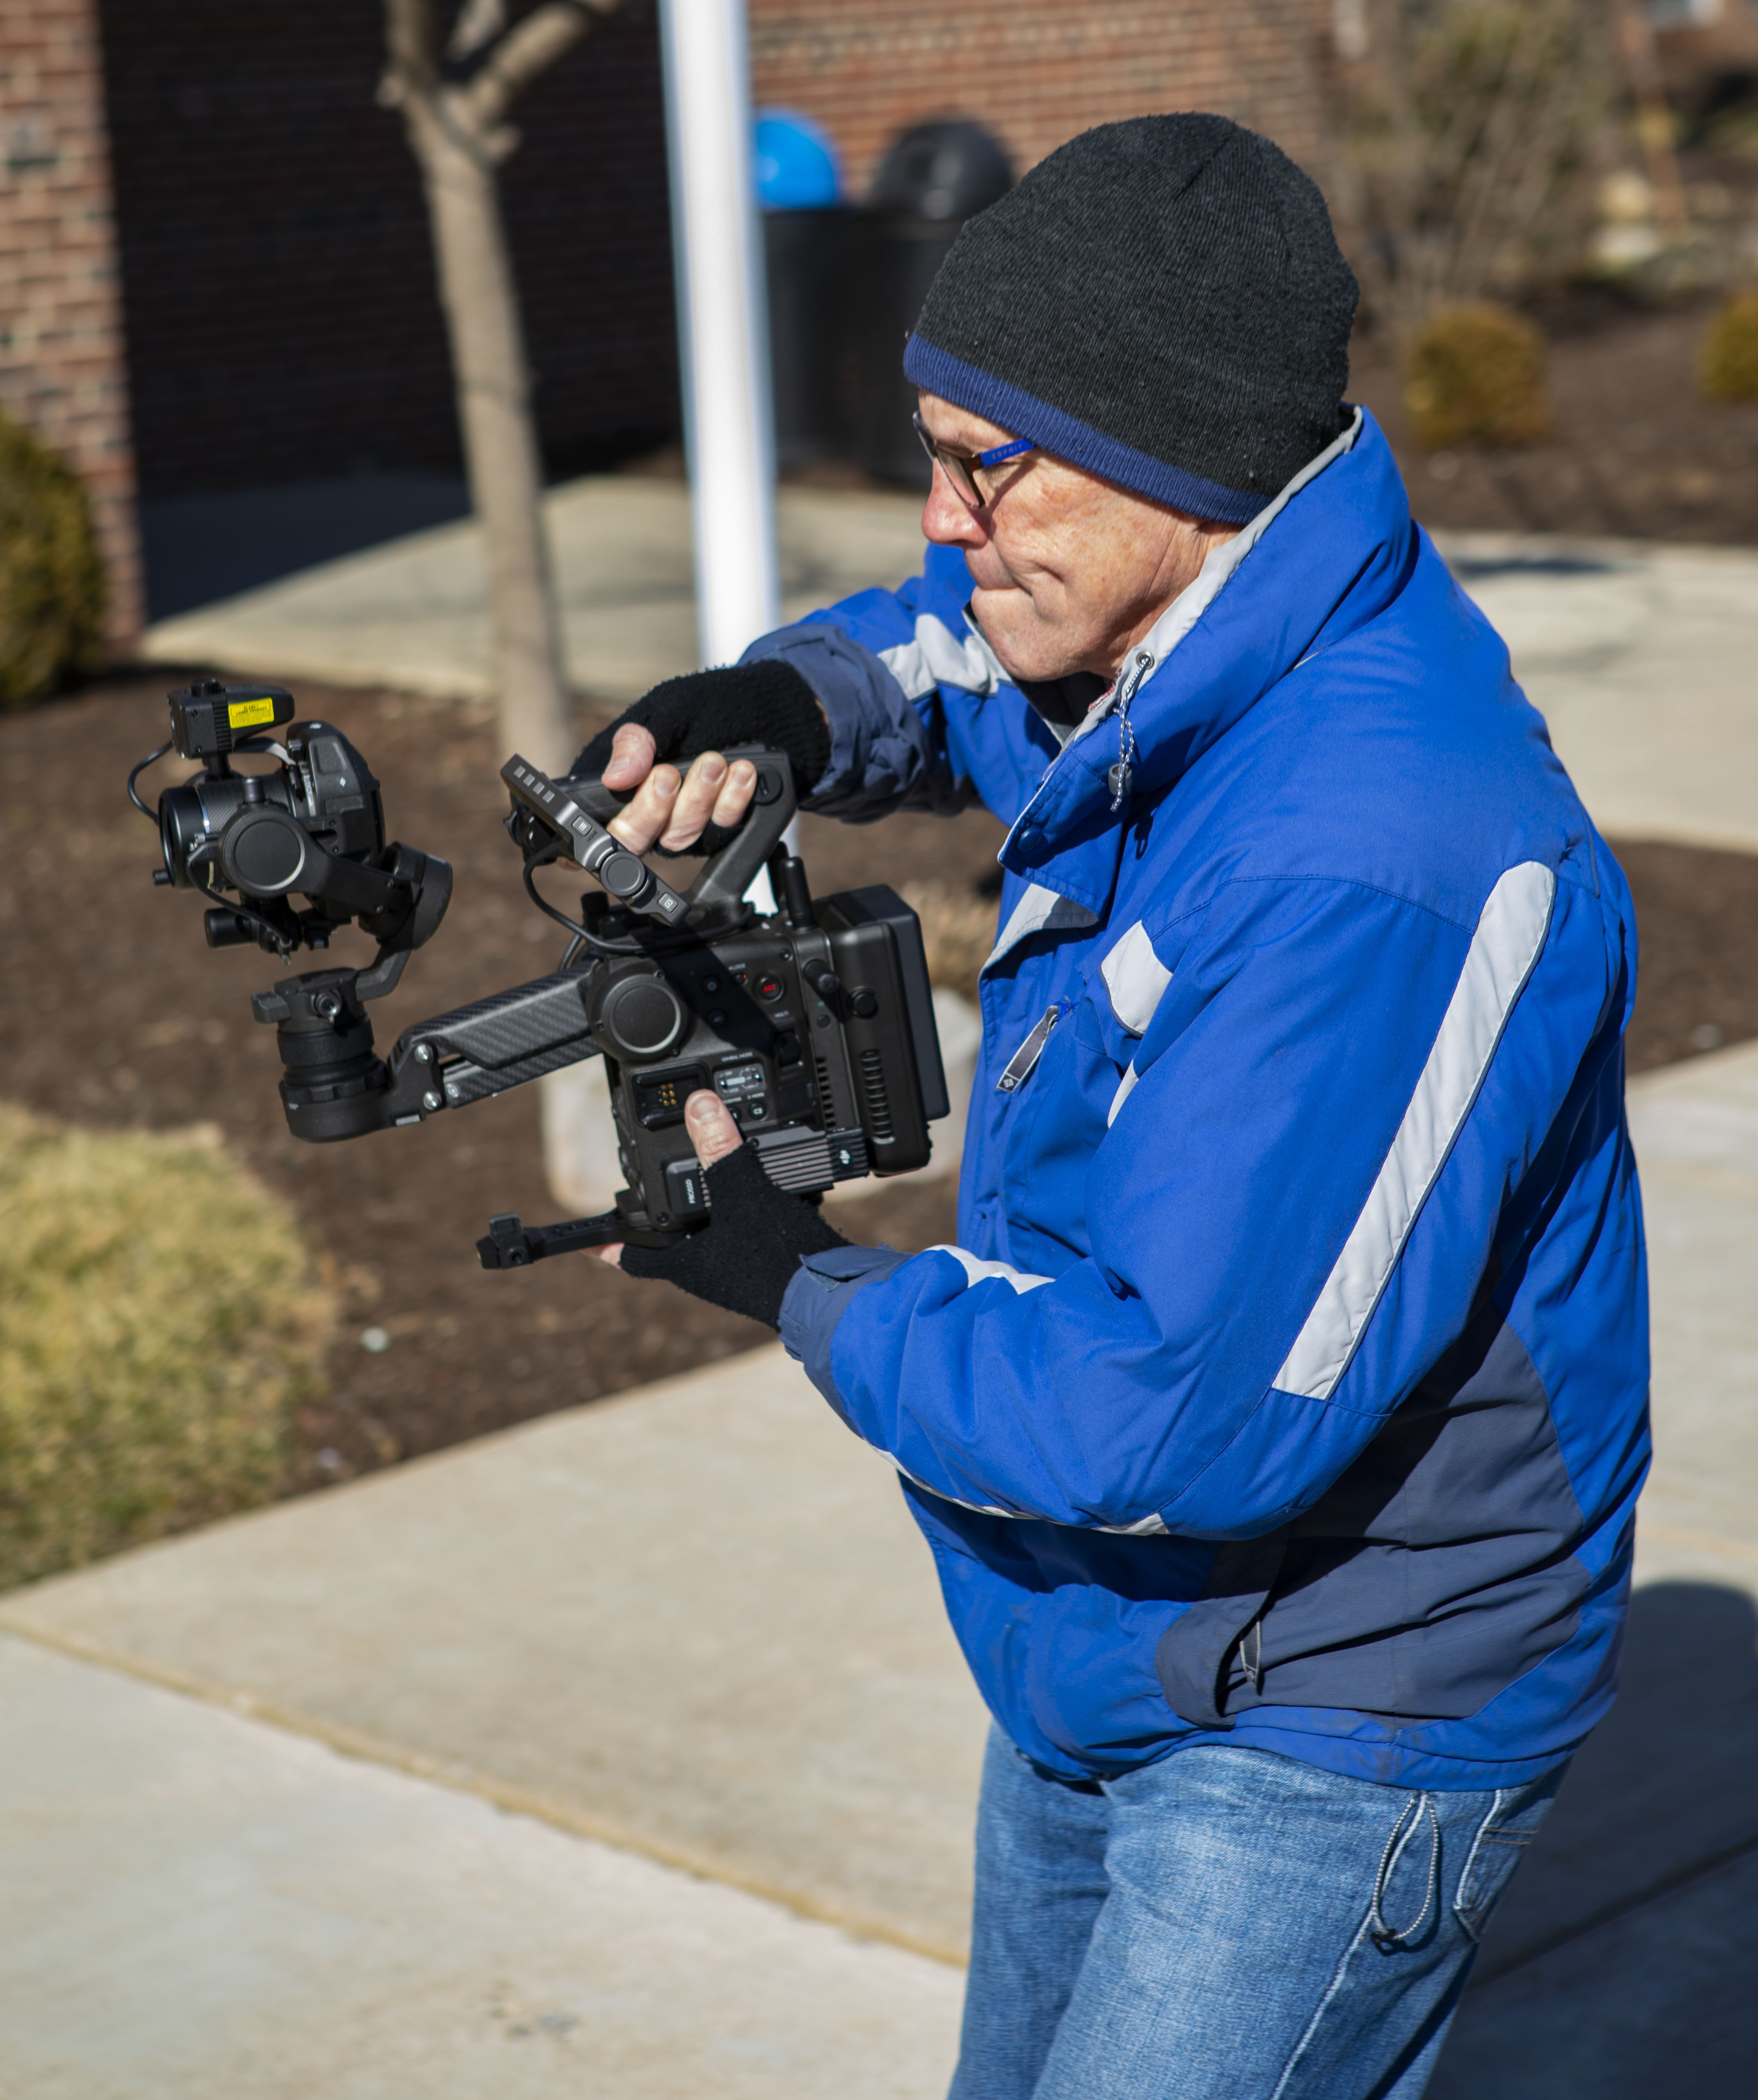
Before shooting, I updated the software from the DJI website. Because of the complicated movements, Greg (my shooter) held the Ronin 4D by its handle (Fig. 2) and Ellie (one of my students) used the remote monitor with the handgrips attached (Fig. 3).
Framing is identical in both monitors, but when we selected the ActiveTrack Mode, only the Ronin’s 4D monitor displayed the focusing box. I believe it is more important for the camera operator to have access to this info, but it would be nice if both monitors displayed this info.
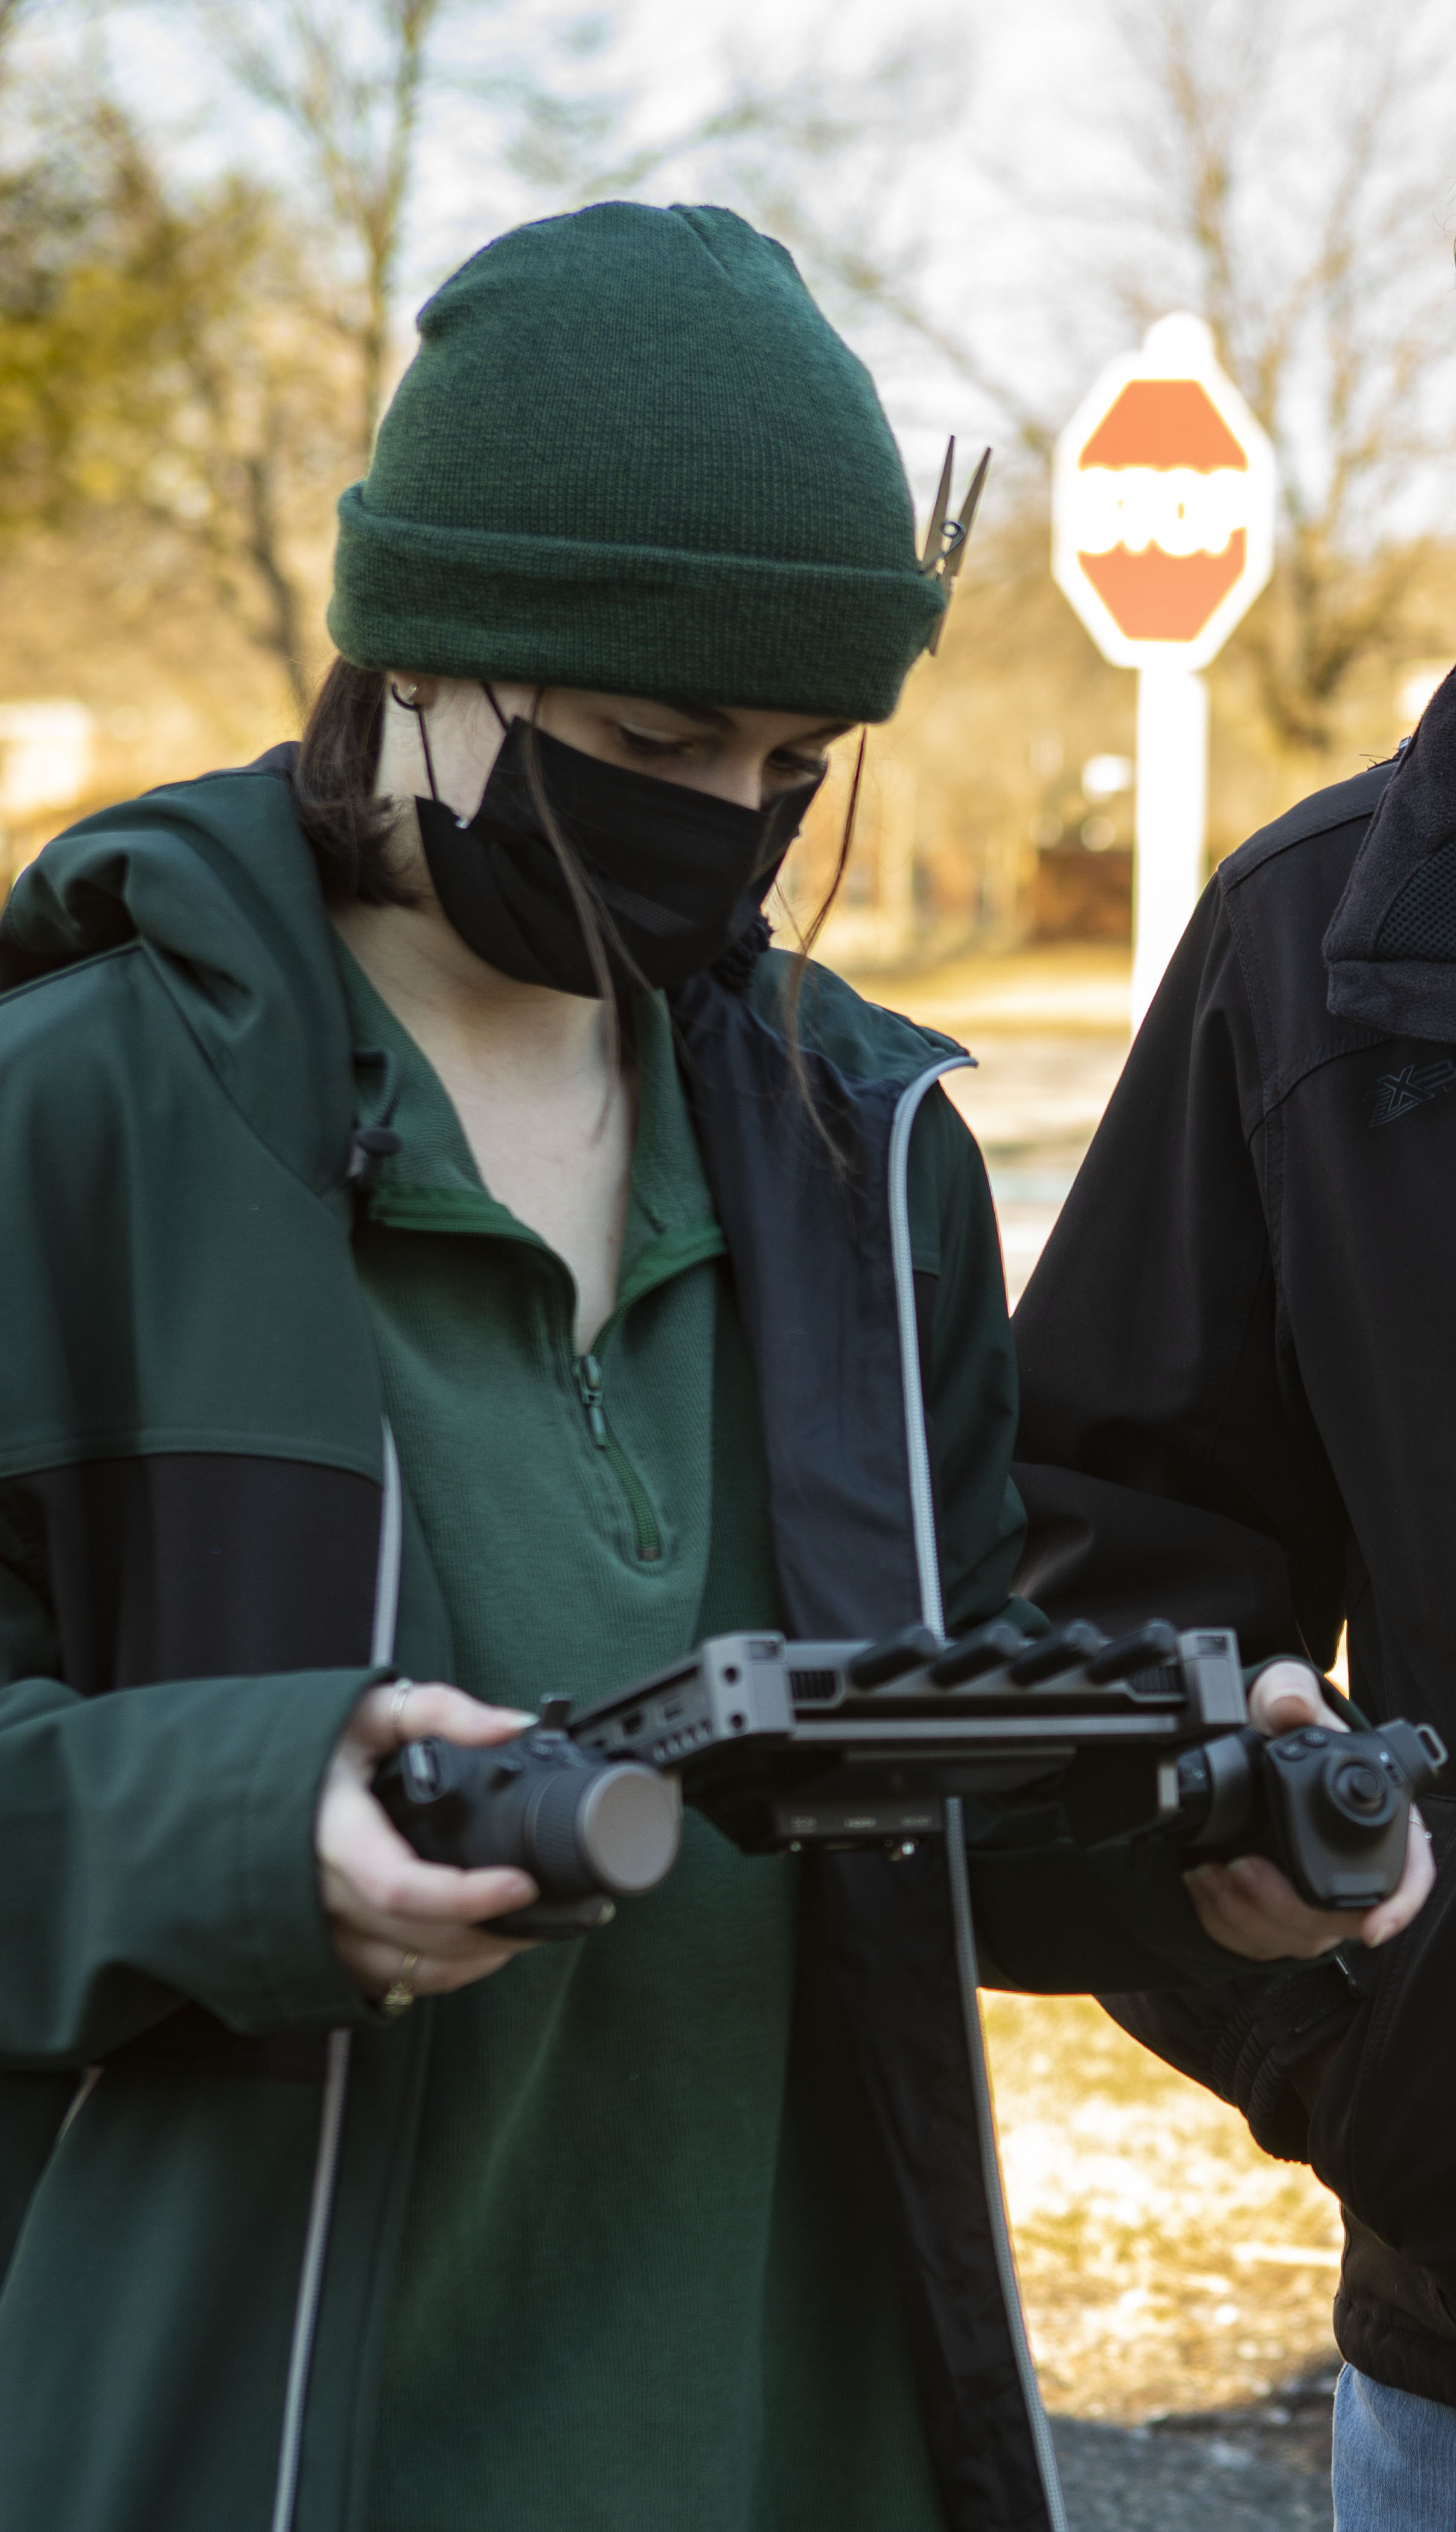
Keeping Hybrid Focus on throughout the shoot gave Ellie the opportunity to use the handgrip’s wheel to override the autofocus for rack focusing. When we had Greg track with the actress running down a steep hill, having the remote monitor was a blessing. Starting off at 800 feet apart, activating the record button on the remote monitor borders both screens in red, alerting Greg to begin shooting.
The next shot involved walking in front of our actress, Fiona, and then following her as she walked into a building (Fig. 4). With the ability to remotely control the ND filters and exposure, we made a seamless transition from outside to in.
Still in the same shot, Greg followed Fiona down the steps, got in front of her on the landing, moved the camera so it was essentially shooting over his shoulder and led her throughout the maze of corridors in the basement (Fig. 5).
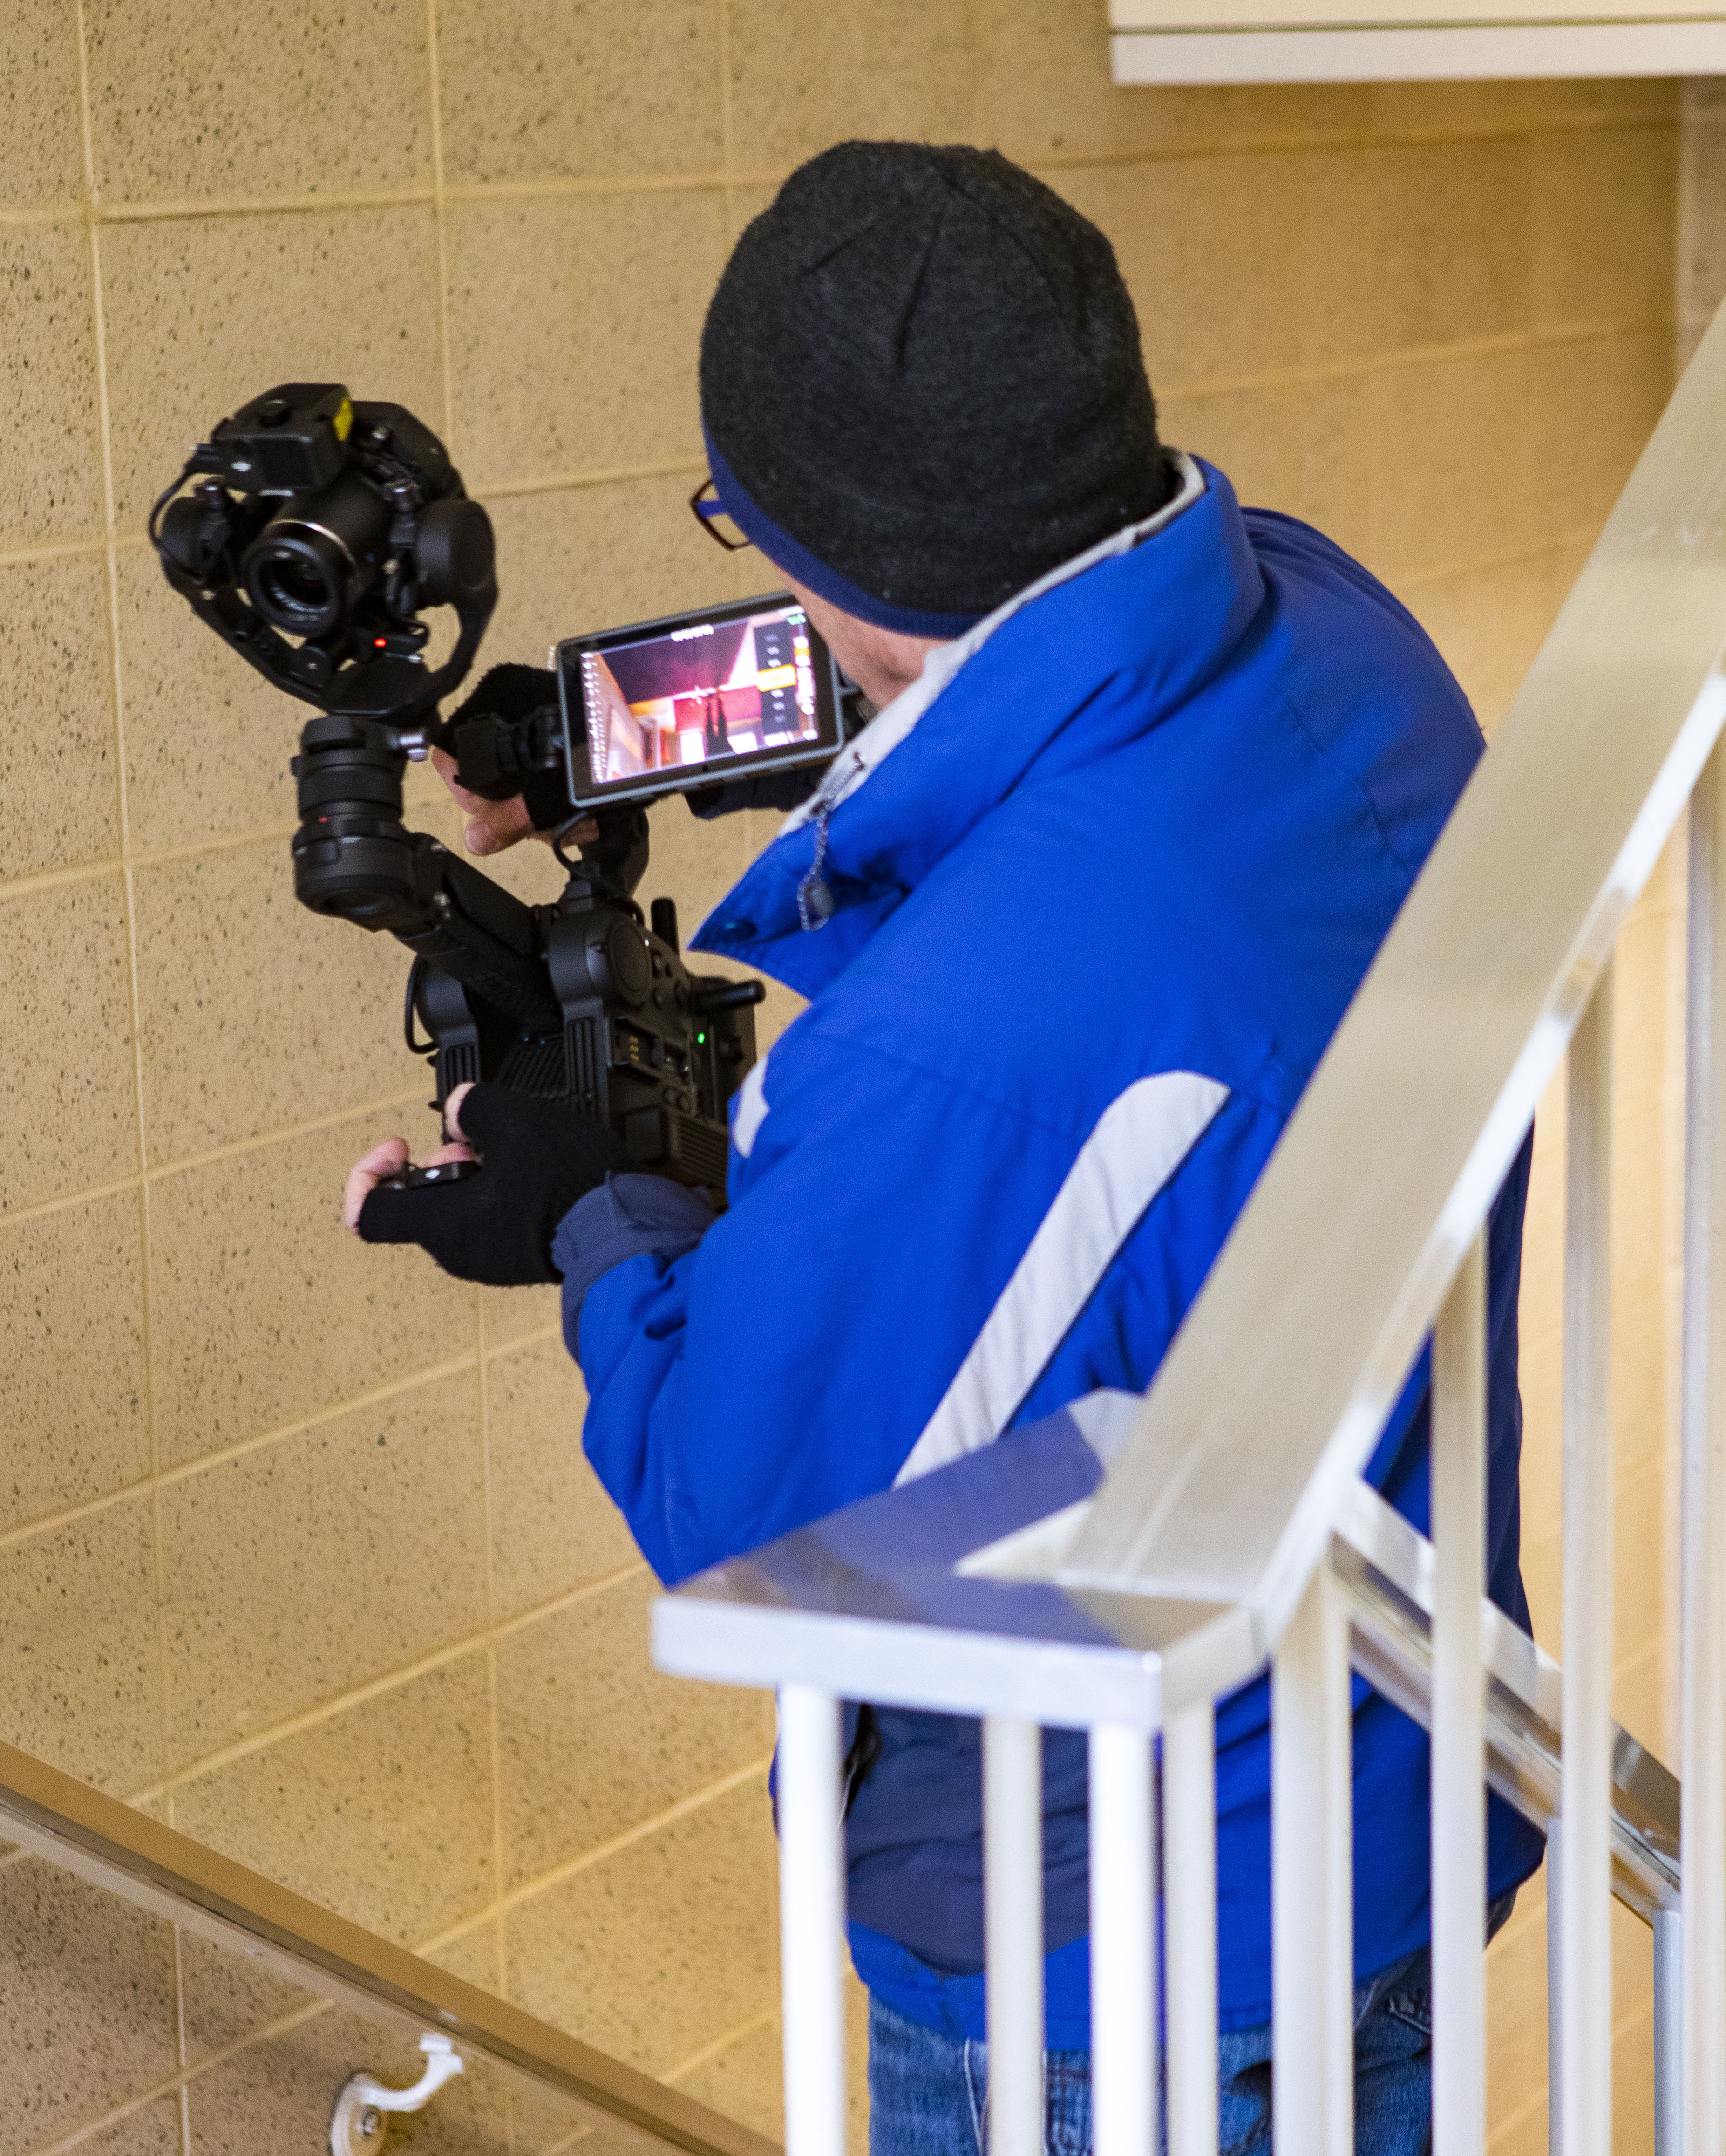
Staying on the first floor, we monitored their progress through the basement. Only when they were over 1,500 feet away, on a lower floor, did the image start to break up on our monitor. We were shooting through concrete, steel, glass, plaster, and drywall. The red recording border on our remote monitor disappeared, but the footage continued to record. Only when the 4D system got within 500 feet of us, did the red border reappear (Fig. 6).
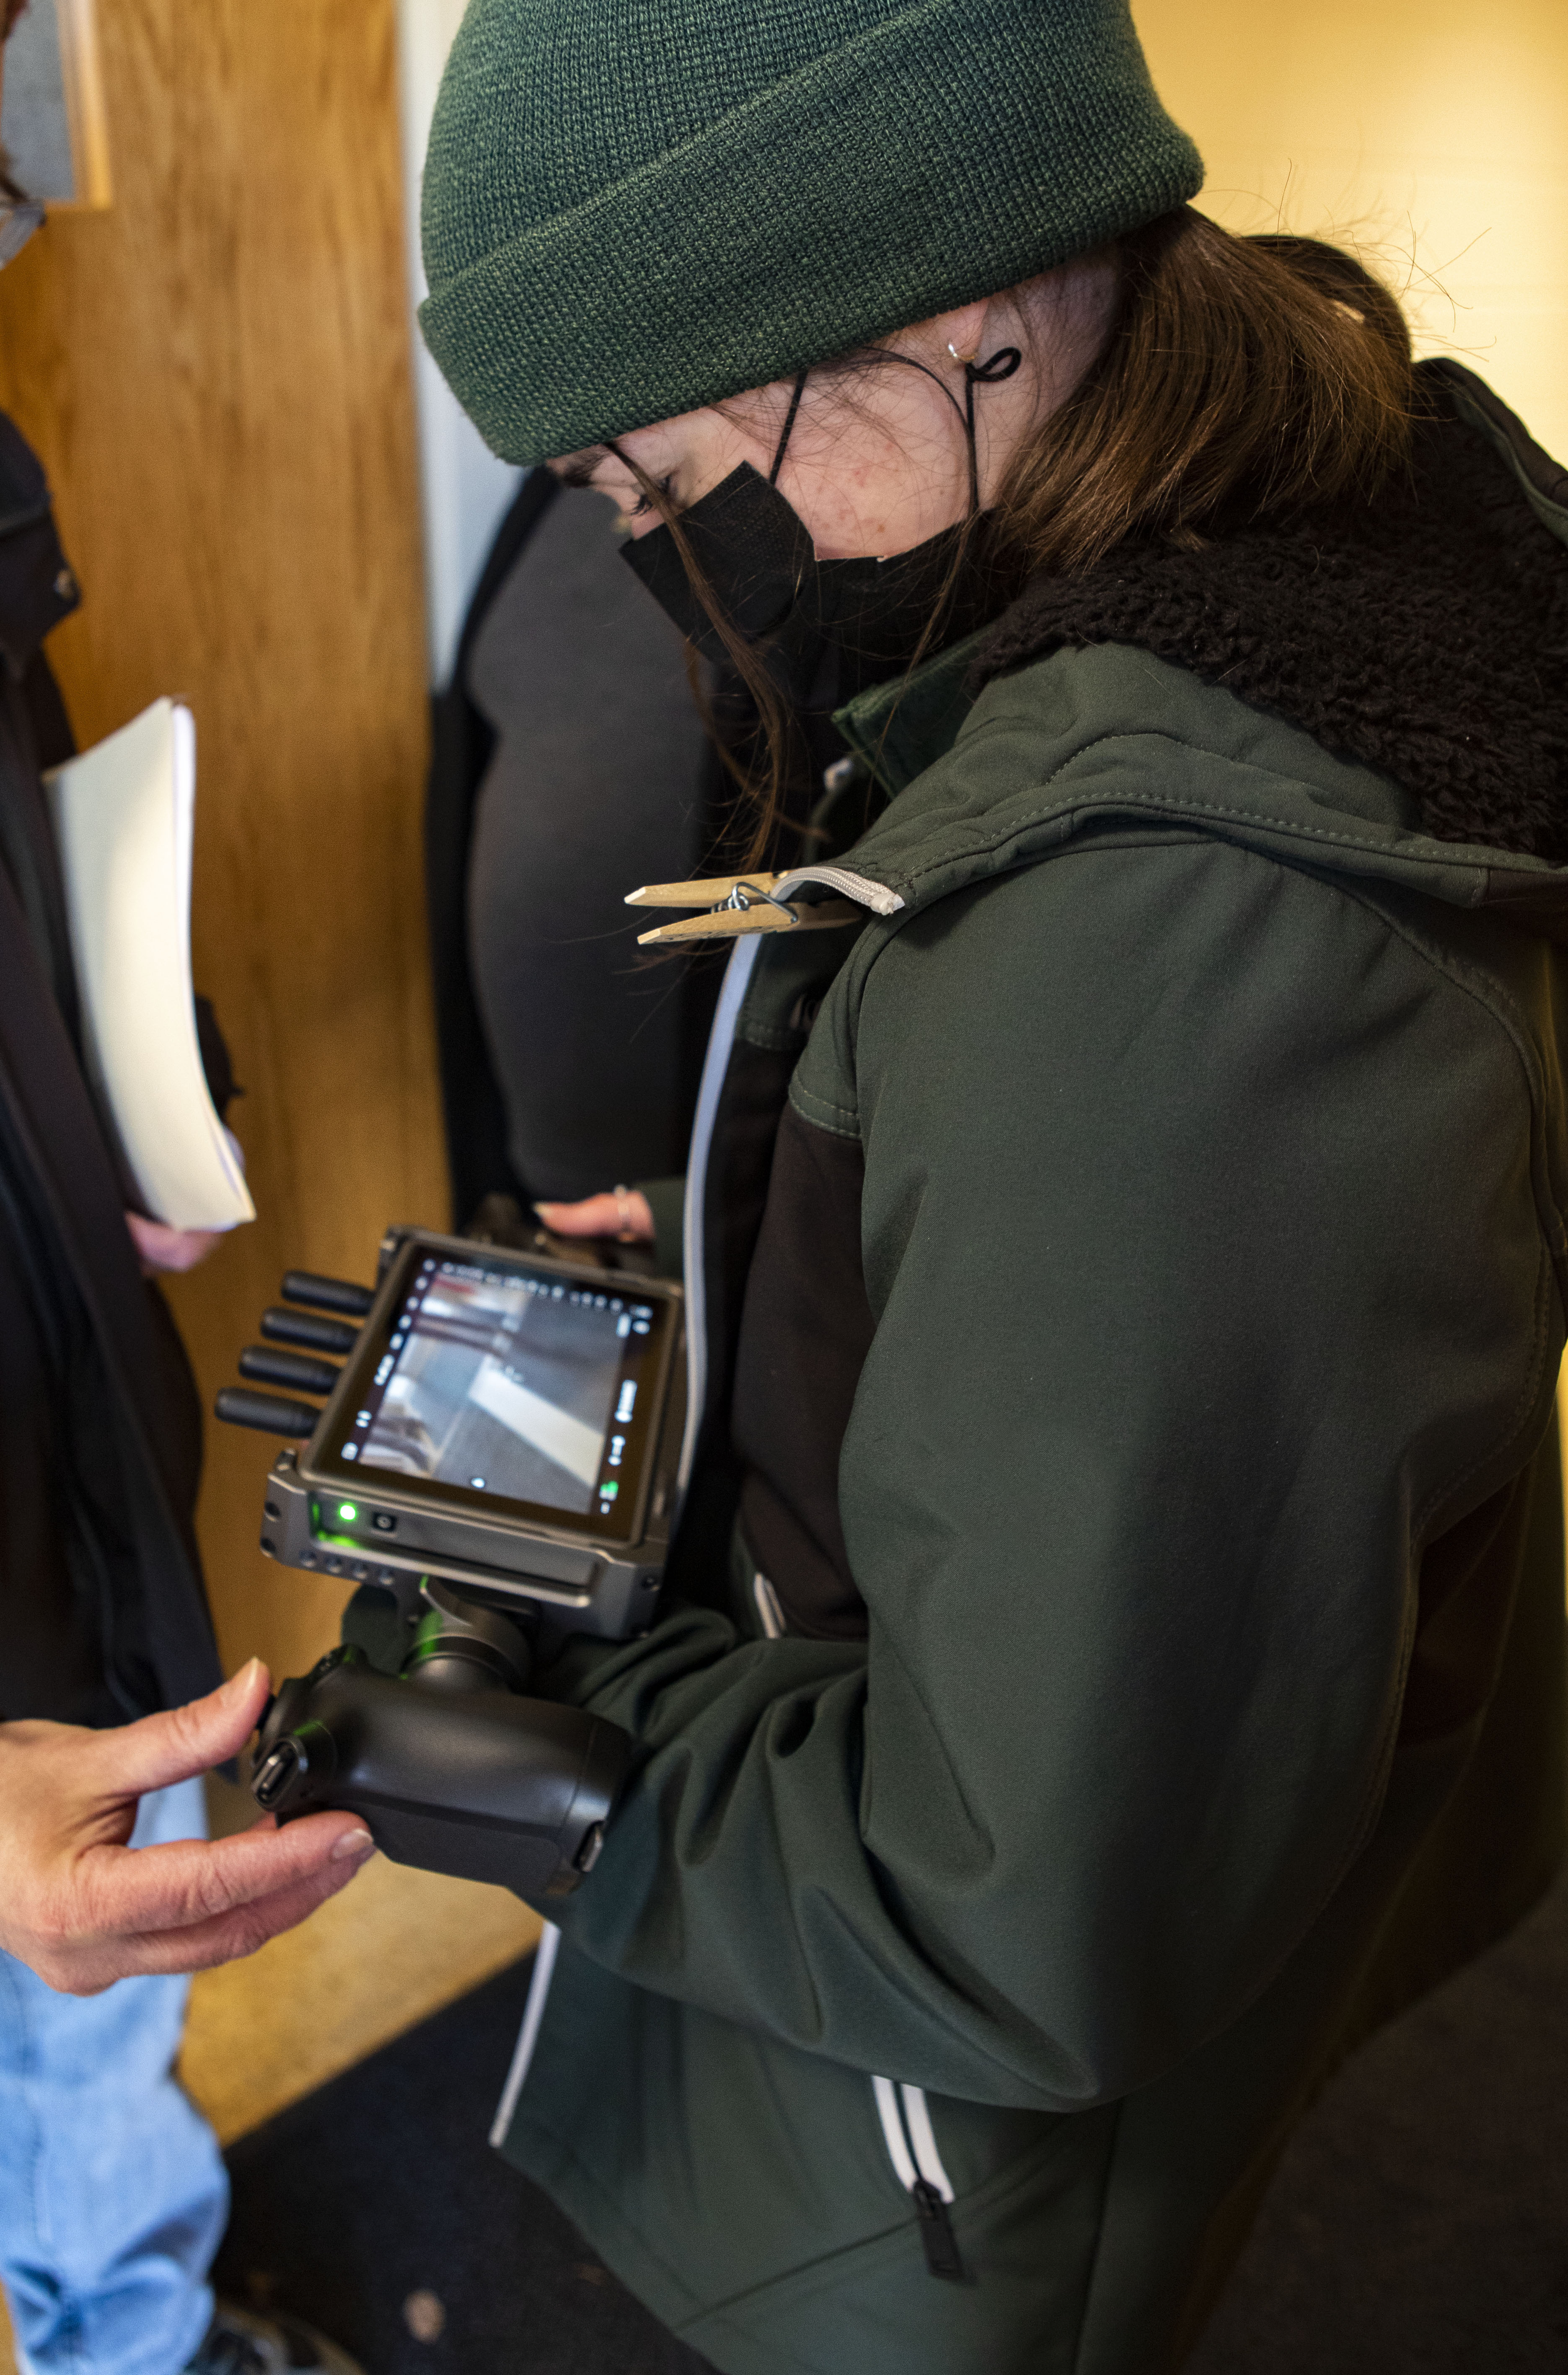
We would never have attempted a shoot like this without the Ronin 4D. Having the 4D Axis on in nearly every shot added to the image’s stabilization. Watching the action on our remote monitor brought “ooh” and “aahs” from the crew—all of us not believing how steady the footage was (Fig. 7).
With shoot one finished, I turned to Adobe Premiere to begin the post process. Shooting the footage in 6K RAW in D-Log, I needed to upgrade my Premiere software to access the D-Log footage. From there it’s just a few steps to see the footage in D-Log and follow your normal post work-flow. In order to color grade the D-Log footage in DaVinci Resolve, I had to export the footage in a ProRes file as DaVinci cannot open the Ronin’s video files. The edited version of “Hunt” may be viewed at https://youtu.be/6iXM5sI3fGU.
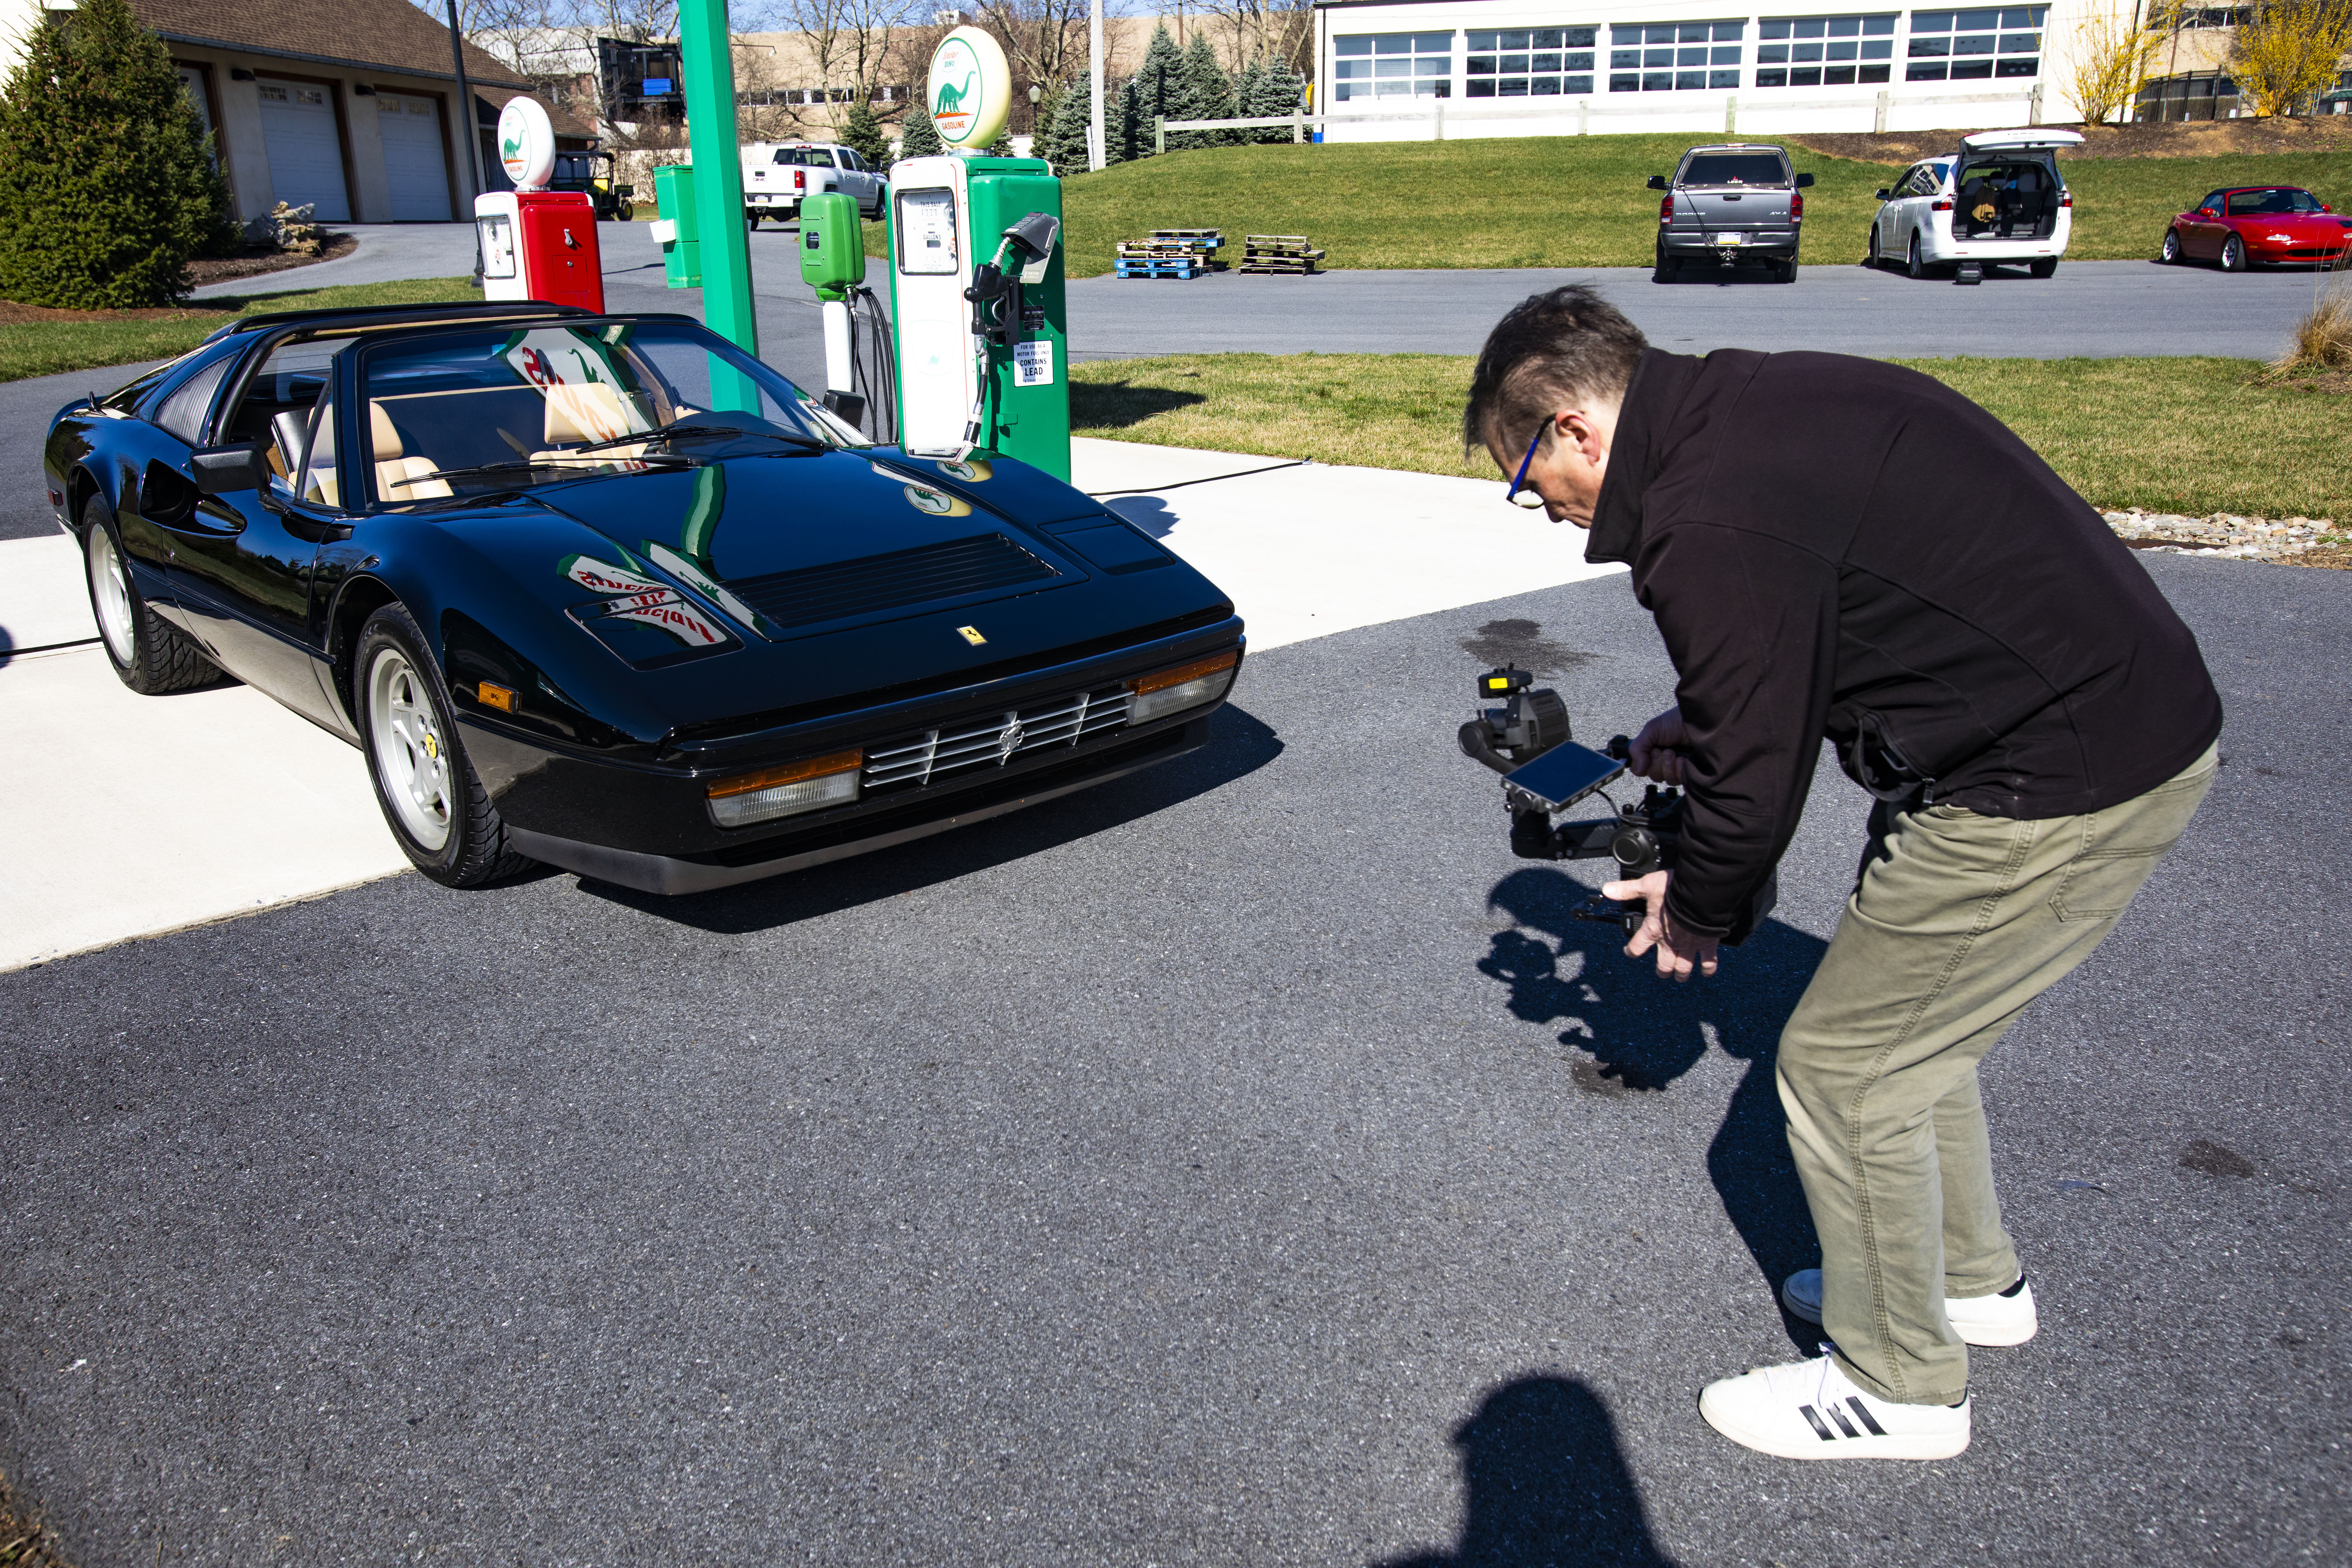
Shoot number two was more visually appealing because it helped satisfy my addiction—classic cars. On a closed track, we had access to a 1986 Ferrari 328 GT and a 1962 BMI 700—both racing to prove which was faster. The Ferrari had a 270 horsepower 3.2-liter V8, and the BMW had a two cylinder, single carbureted, 35 horsepower engine. Even if you’re bad in math, you know which vehicle is faster.

Doing a 360-degree move around both the Ferrari and BMW with the Z-axis enabled, created the perfect fluid shots (Fig. 8). The problem with using any monitor in the brilliant sunshine is being able to see the image. The cloudless sky created a F22 deep depth of field, but shading the monitor was the only way to see anything (Fig. 9).

The key scene to shoot involved our student director, Zac, explaining to both drivers how he wanted their respective cars positioned during the race. Because the Ferrari had the horsepower advantage, we gave the BMW a half a lap advantage (Fig. 10).

To get the best perspective of the race, Greg needed to be in front of both vehicles with the Ronin in the camera van. Hanging out of the back over the third-row seat, we learned on the first take that having the Z-Axis activated was too much stabilization. We could have selected “Car Mount” mode if we had the Ronin mounted to the vehicle, but since Greg was handholding it, the Z-Axis overcompensated the stabilization. That’s why rehearsals are key (Fig. 11).
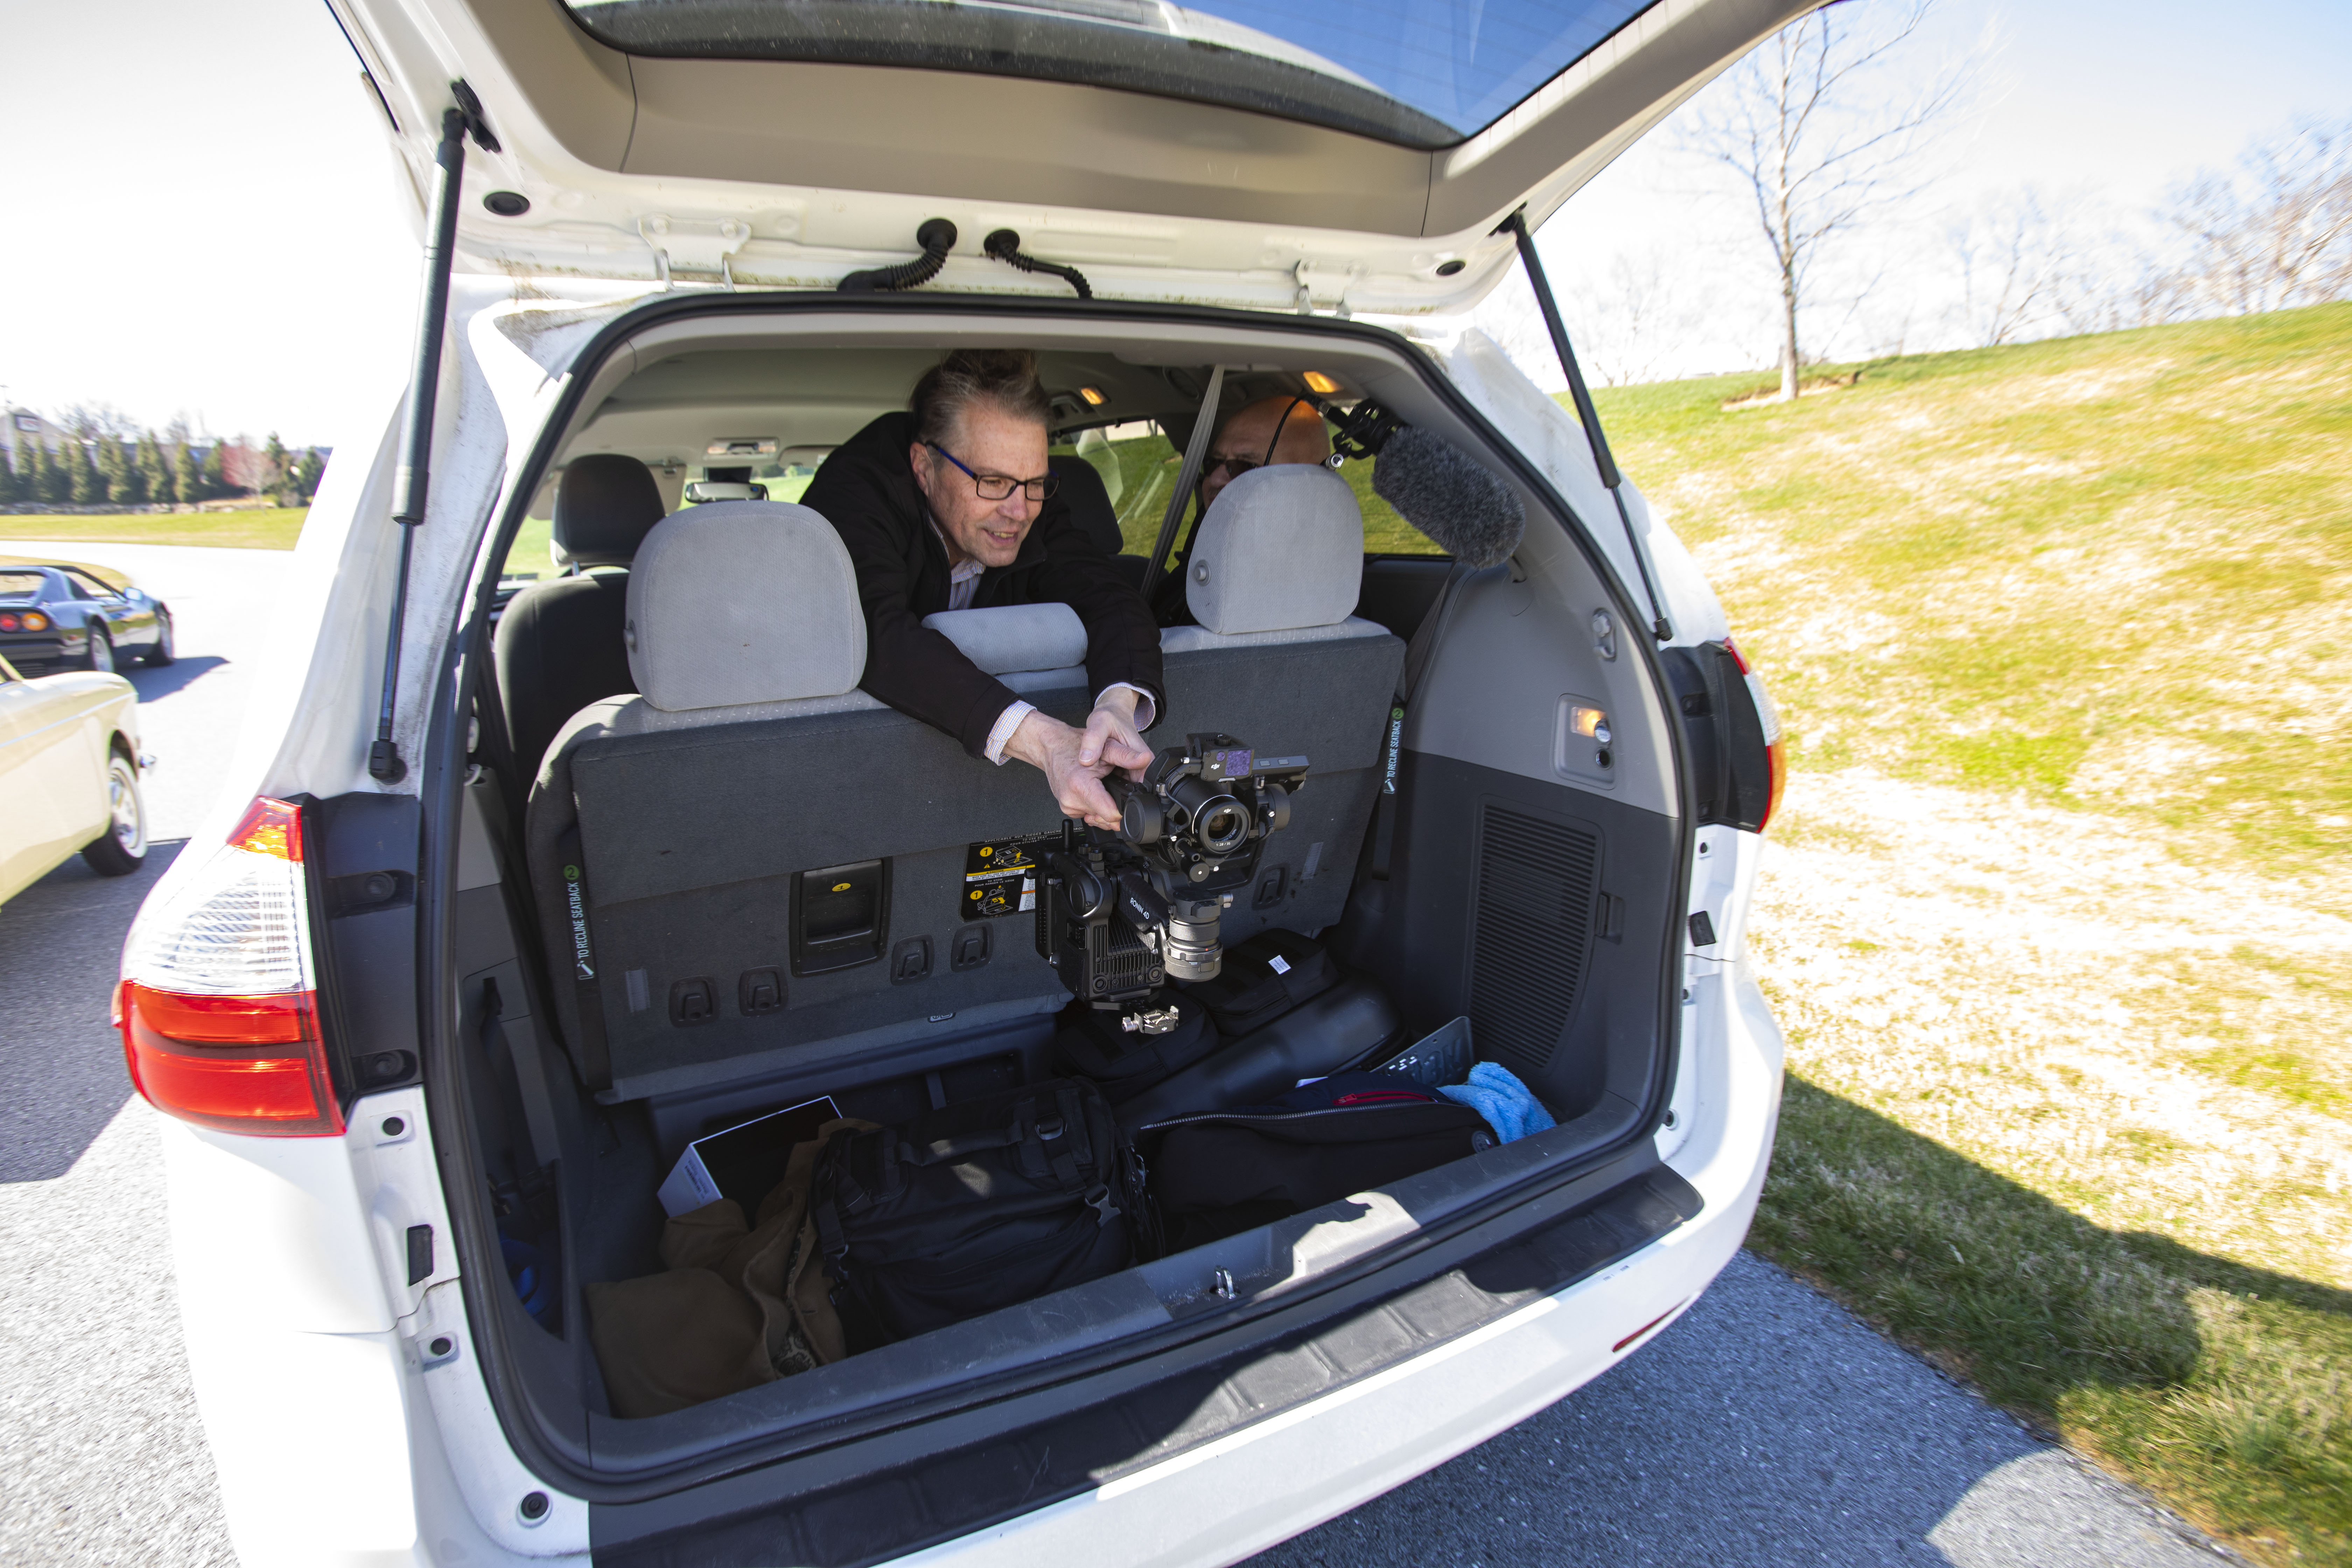
For some side shots of the vehicles moving, Greg opened the sliding side door and positioned the Ronin a few feet outside of the vehicle. With a 25mph wind and a van speed of 35mph, the combination of the two would not let the Ronin stabilize. Backing the Ronin into the van smoothed the shot but narrowed our field of view.
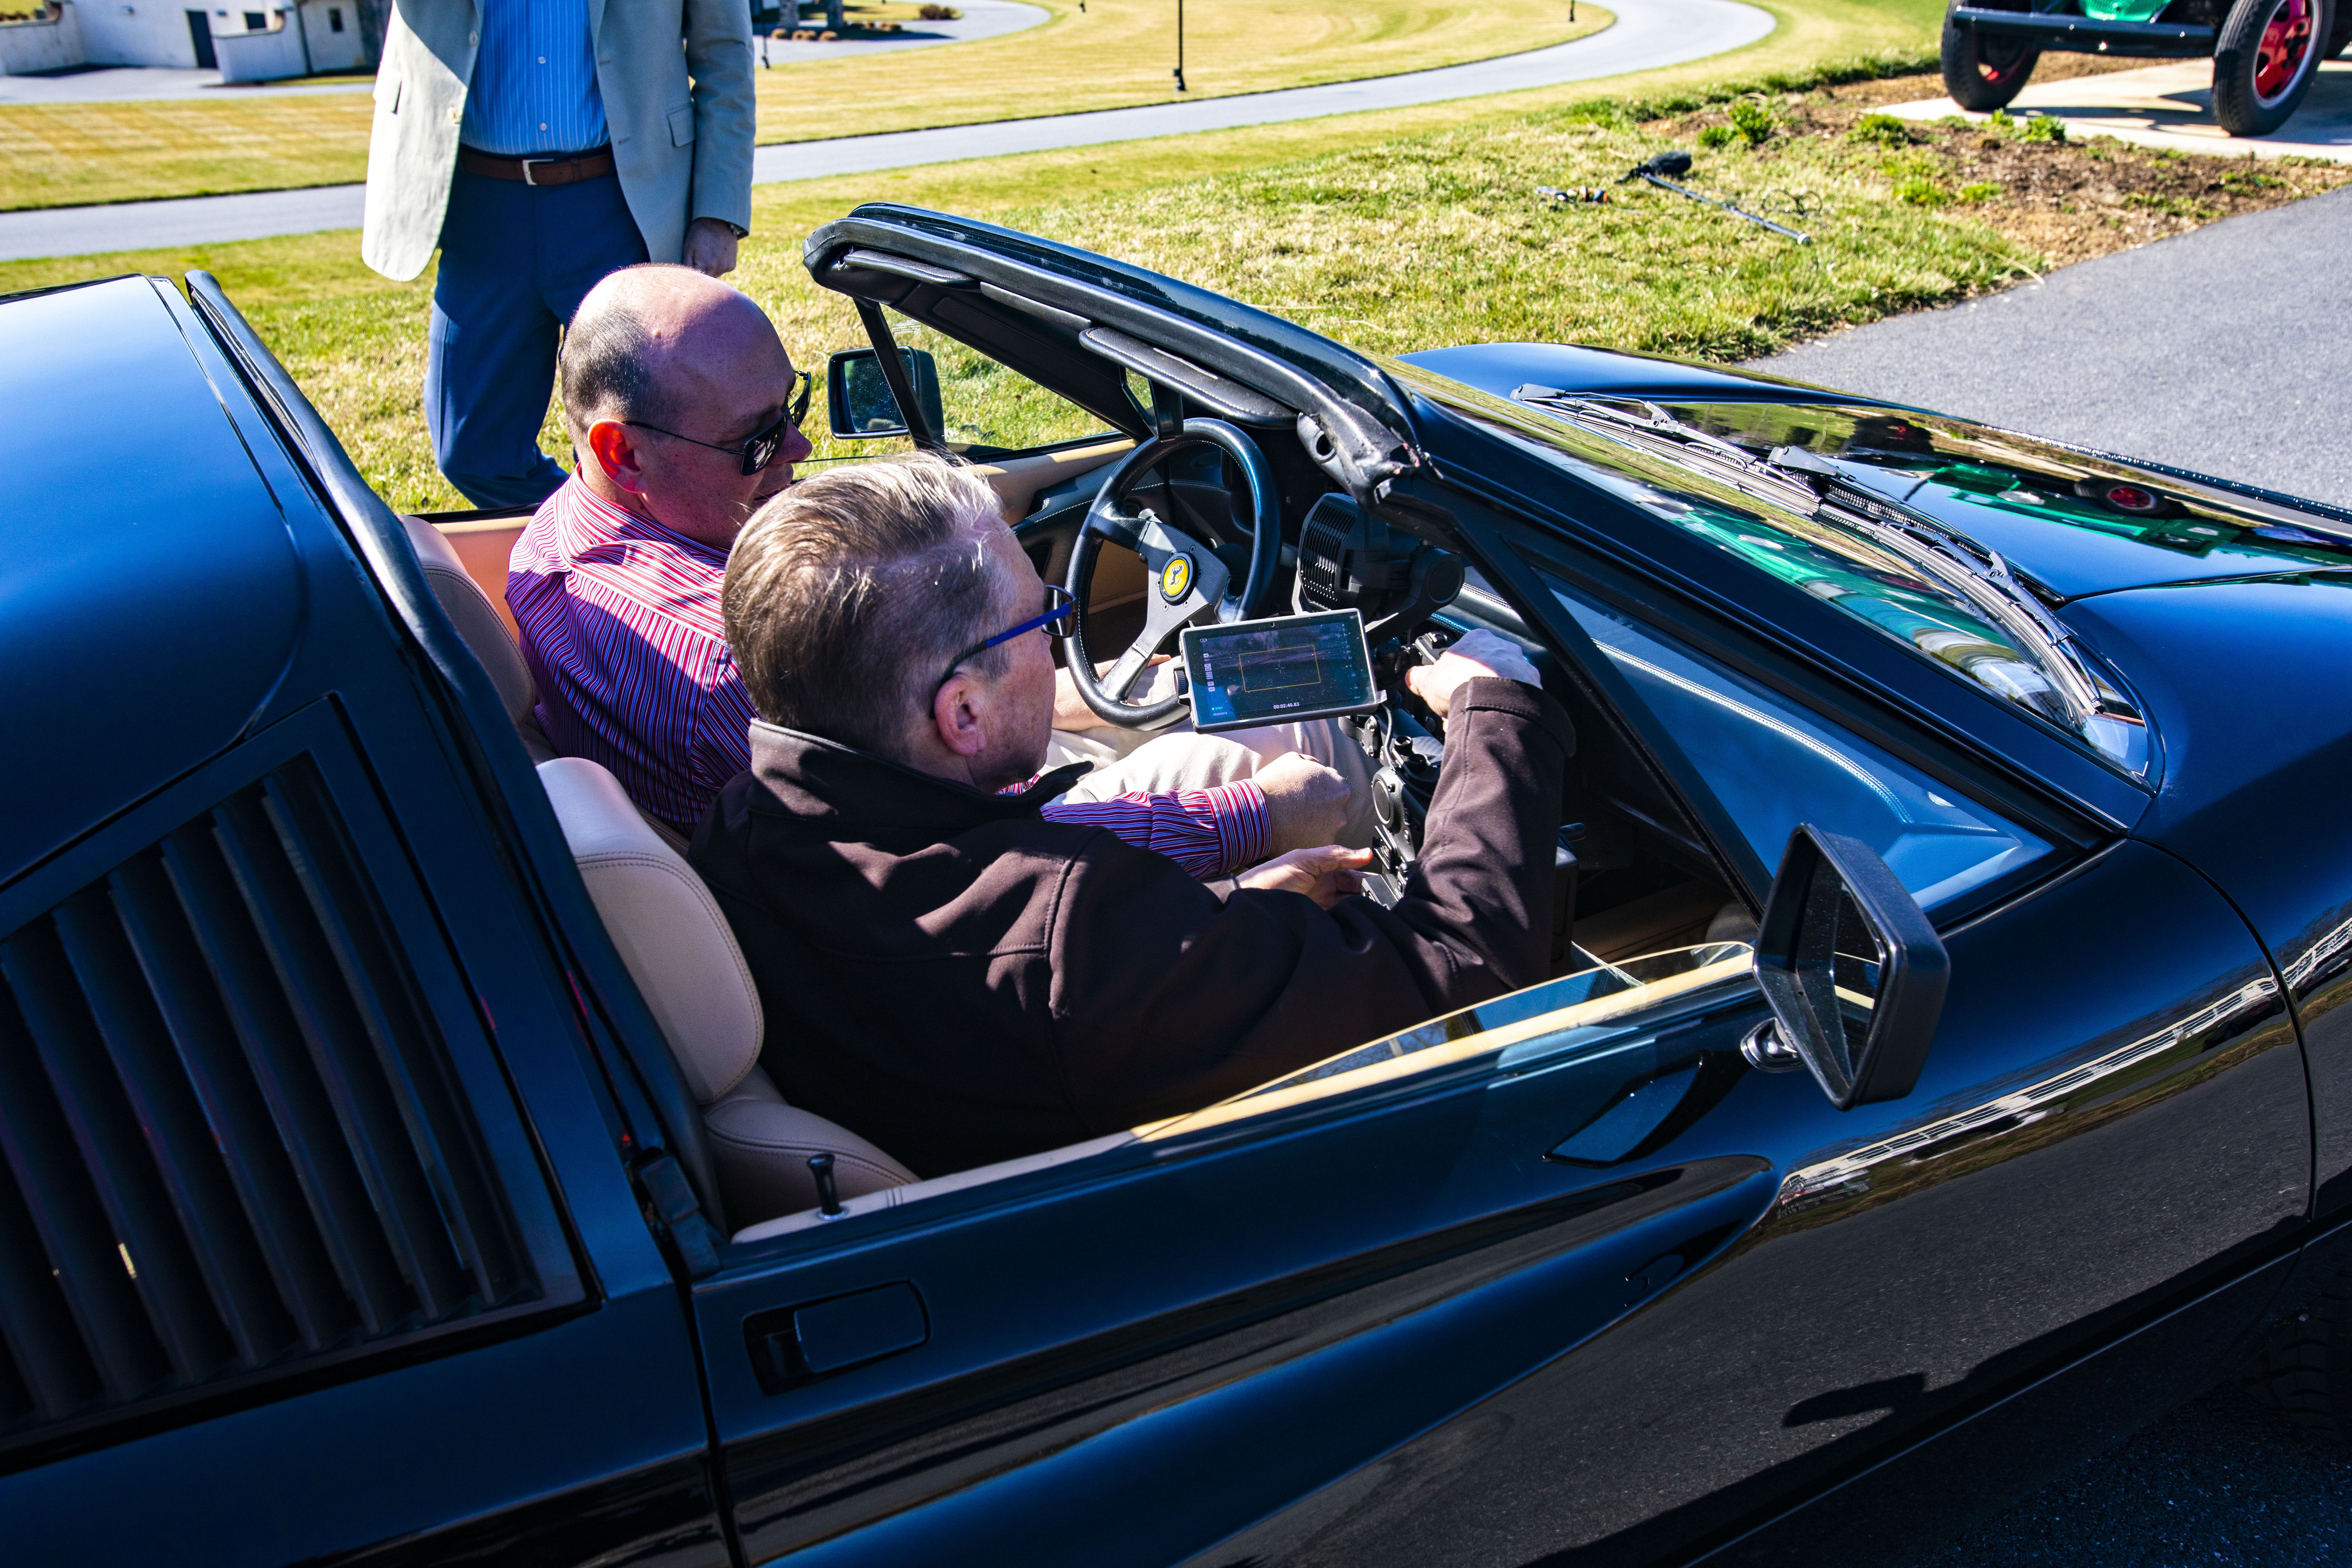
Having completed the “racing” shots, Greg took the Ronin into the passenger seat of each vehicle to get shots of the driver, shifting gears, etc. Because of the cramped interiors, the 35mm lens wasn’t quite wide enough to get the entire cockpit. Again, the Z-Axis stabilization was not needed as the Ferrari took each turn at high speed (Fig. 12).
Shooting everything in 6K RAW, we could easily punch in during post to get closer to the vehicles. I would highly recommend having two batteries for the Ronin as well as the external monitor. Having only one battery for each, we had to charge both during our shoot because the gimbal calibration and cool weather depleted both batteries.
The charging is extremely fast, but we did power down everything between takes (Fig. 13). The Ronin 4D is quite a system. It does stabilize better than most other systems I’ve used. My best advice would be to practice the shot to determine the best mode—you’ll then have videos that everyone will be talking about.

Application
Spending several hours shooting with the DJI Ronin 4D was both exciting and exhausting. This system is perfect for a smaller crew where the camera operator may do everything him or herself, or have an assistant operate the High-Bright Remote Monitor. When using Auto Manual Focus (Hybrid Focus), it is essential to have a good set of eyes on the monitor and dexterity to roll the focus with the wheel. In direct sunlight, it’s difficult to see anything on the monitors.
This worked out quite well in our university setting where the student crew were all in peak physical condition. With Greg and I being in the senior citizen category, we tired much more quickly than they did, and they would attempt follow shots that would have me gasping for breath.
There is very little this gimbal cannot do very well.
There is very little this gimbal cannot do very well. On the car shoot, Zac even took his turn in the tiny trunk area of the Toyota Sienna van. Once in the trunk, Greg and I would never be able to get out. Almost like getting in and out of the Ferrari, being in shape helps.
Key Features
All in one unit with reduced set-up time. Four axis gimbal, multiple lens mounts, remote monitoring, dual internal solid-state storage, variable frame rates, no learning curve, and immediate satisfaction.
Price (Available through DJI authorized resellers and store.dji.com)
DJI Ronin D4 6K - $6,799 USD (Street Price)
DJI PROSSD 1 Terabyte Drive: $799 USD
DJI PROSSD Mount: $229 USD
DJI 35mm lens: $1,299 USD
High-Bright Remote Monitor: $1,699 USD
DJI Zenmuse X9 Focus Motor: $269 USD
Total: $11,094 USD
Contact
DJI Creative Studio
210 S. Victory Blvd
Burbank, CA 91502
818-975-2000
www.dji.com/ronin-4d
Email: pr.us@dji.com
Get the TV Tech Newsletter
The professional video industry's #1 source for news, trends and product and tech information. Sign up below.
Chuck Gloman is Associate Professor with the TV/Film Department at DeSales University.

