Review: Tascam Portacapture X8
No matter what audio environment you encounter, this device can handle it
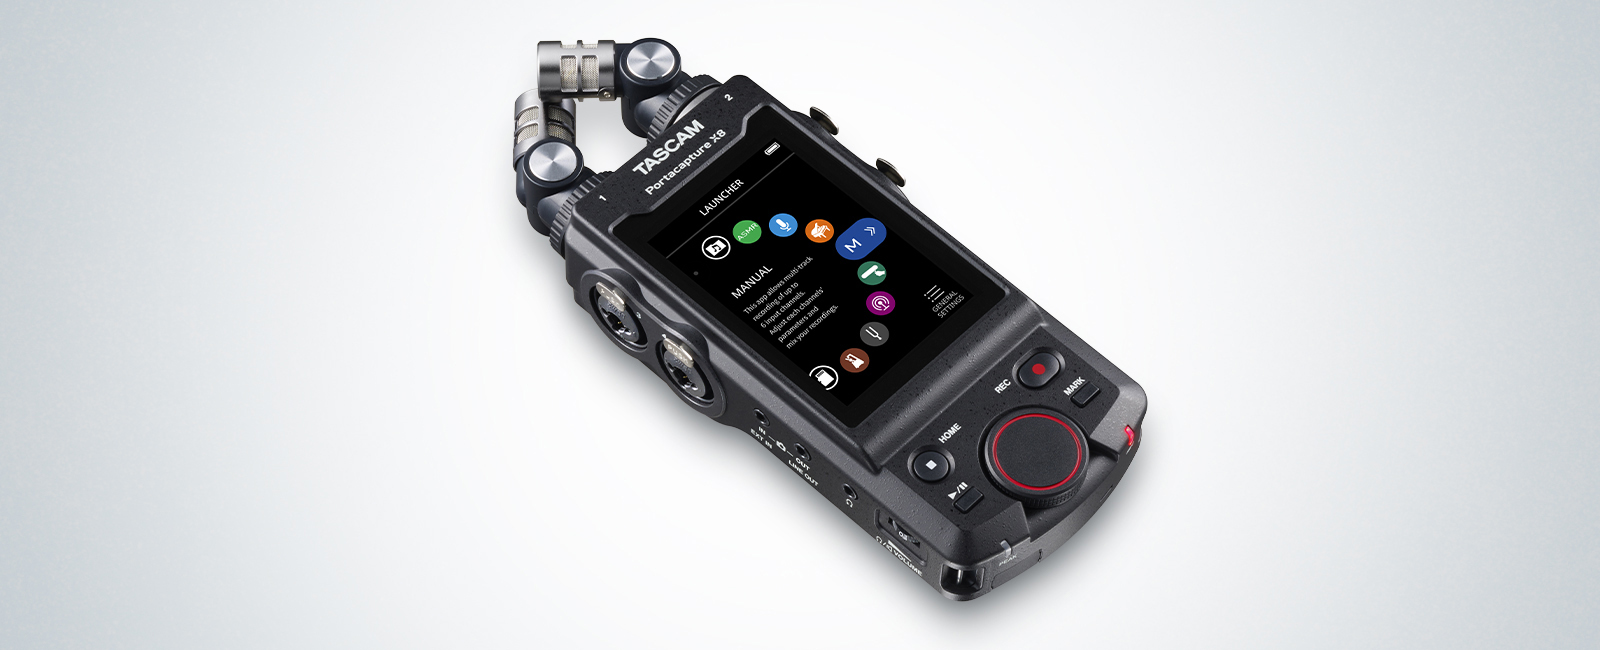
In my opinion, most student films focus too much on the visual, and not enough on the audio. With 4K, 6K, and 8K, the images look stellar; but the often-ignored sound is just as important. With the release of Tascam’s Portacapture X8, you now have a six input/eight track multitrack recorder. The large touchscreen, much like that on a mobile phone, dominates the unit but still makes it user friendly to almost everyone.
Features
The Tascam Portacapture X8 may be powered by four AA batteries or the optional PS-P520U AC Adapter. Its 3.5-inch LCD touchscreen allows access to 10 icons that control most of the recorder’s functions. Before selecting any of these icons, you should first choose the “General Settings” icon on the lower right. That opens: Record Settings, I/O Settings, Camera Settings, Other Settings, System, and Power Display.
The Record Settings allows you to set the parameters of your choosing like “File Format” (WAV/MP3), “Sample” (44.1kHz – 192kHz), “Bit Depth/Bit Rate” (16, 24, 32bit float); “Rec Pause”, “Auto Rec”, “Dual Rec”, “Pre Rec”, and “Time File Increment.”
I/O Settings offers “Phantom Power”, “Mic Trim”, “Speaker”, “MS Decode”, and “Reverb”. Camera Settings has “Output”, “Level”, and “Auto Tone.” Other Settings contains “Peak Mark”, “Auto Mark”, “SD Card Reader”, and “Blue Tooth.” System accesses “Information”, “XRI”, “Date/Time”, “File Name”, “Initialize” and “Media Format.” Last, you’ll find Power Display with its “Auto Power Save”, “Battery Type”, and “Power Save Mode.”
Selecting Launcher opens the main menu with: Browse which shows the contents of the microSD card; ASMR for stereo recordings; Voice, as the name implies, is for mono recordings of interviews and blogs; Music offers reverb effects in different environments; Manual is used for multi-track recordings; Field for double system or for sound design/effects recording, foley recording, environment recording, etc.; Podcast records up four people and sound effects; Tuner gives you the option of tuning instruments; Metronome activates the metronome; and SD Card Reader, if you want to plug the Portacapture directly into a computer.
The front of the Tascam is ruled by a 3.5-inch color LCD touchscreen which accesses all the unit’s functions. Directly below are Stop, Record, Play/Pause, and Mark with a rotary knob to adjust levels. The bottom has a Peak and Record LEDs, and the top has two detachable 14.6mm Condenser Microphones that may be configured in the X/Y or A-B positions.
The left side has XLR/Quarter Inch inputs 3 and 4, two-eighth inch mini jacks – Ext In and Line Out, the headphone output, and the headset volume adjustment. The right side has XLR/Quarter Inch inputs 5 and 6, power switch, microSD card slot, and a USB – C output. The back holds the four AA batteries and has a cold shoe mount and a 1/4-inch threaded female connector.
In Use
I always recommend my students play with the equipment to understand it better before they go out on a shoot. Not following my own advice, I went on location with a shotgun microphone to record some sound effects.
The first thing I noticed was that there was too much handling noise being picked up by the two onboard microphones. I was unable to select inputs 3 through 6 because they were greyed out. Going to Input Select on the Main Menu, you can choose which microphone inputs you want Inputs 1 and 2 to be. In all the modes but Manual, only Inputs 1 and 2 are active.
Therefore, you must select Input 3 and 4 or 5 and 6 to go to Inputs 1 and 2 if you want the other features (Music, Outdoor, etc.) to be active. To make it a little more complicated, if you choose Inputs 1 and 2 to be Inputs 3 and 4 in Music, you must do the same thing in Field—it doesn’t remember your settings from a previous menu or when you power off the system. I guess that does make sense, but I can’t see where you’d ever want Inputs 1 and 2 to be the onboard microphones unless the Portacapture were mounted on a tripod (probably not handheld) and you weren’t recording outdoors because of the lack of a windscreen.
There were so many different uses I had envisioned for the Portacapture X8, I decided to limit it to six different “tests.” In the first test, I used six microphones to record a small combo consisting of an acoustic guitar with an omnidirectional lavalier clipped to the guitar’s body and a cardioid on a stand pointed at the guitarist (XLR inputs 3 and 4).
Another cardioid was placed near the bass guitar’s amp (XLR input 5). The vocalist had his own Fathead ribbon microphone (XLR input 6) and the onboard cardioid microphones (inputs 1 and 2) captured the ambient sound of the TV studio at a lower level. Tom selected Manual on the touchscreen and got levels for each input.
The six audio channels where mixed to a WAV stereo track which was displayed on the top of the LCD screen. Wanting the best quality, he recorded in 32-bit float.
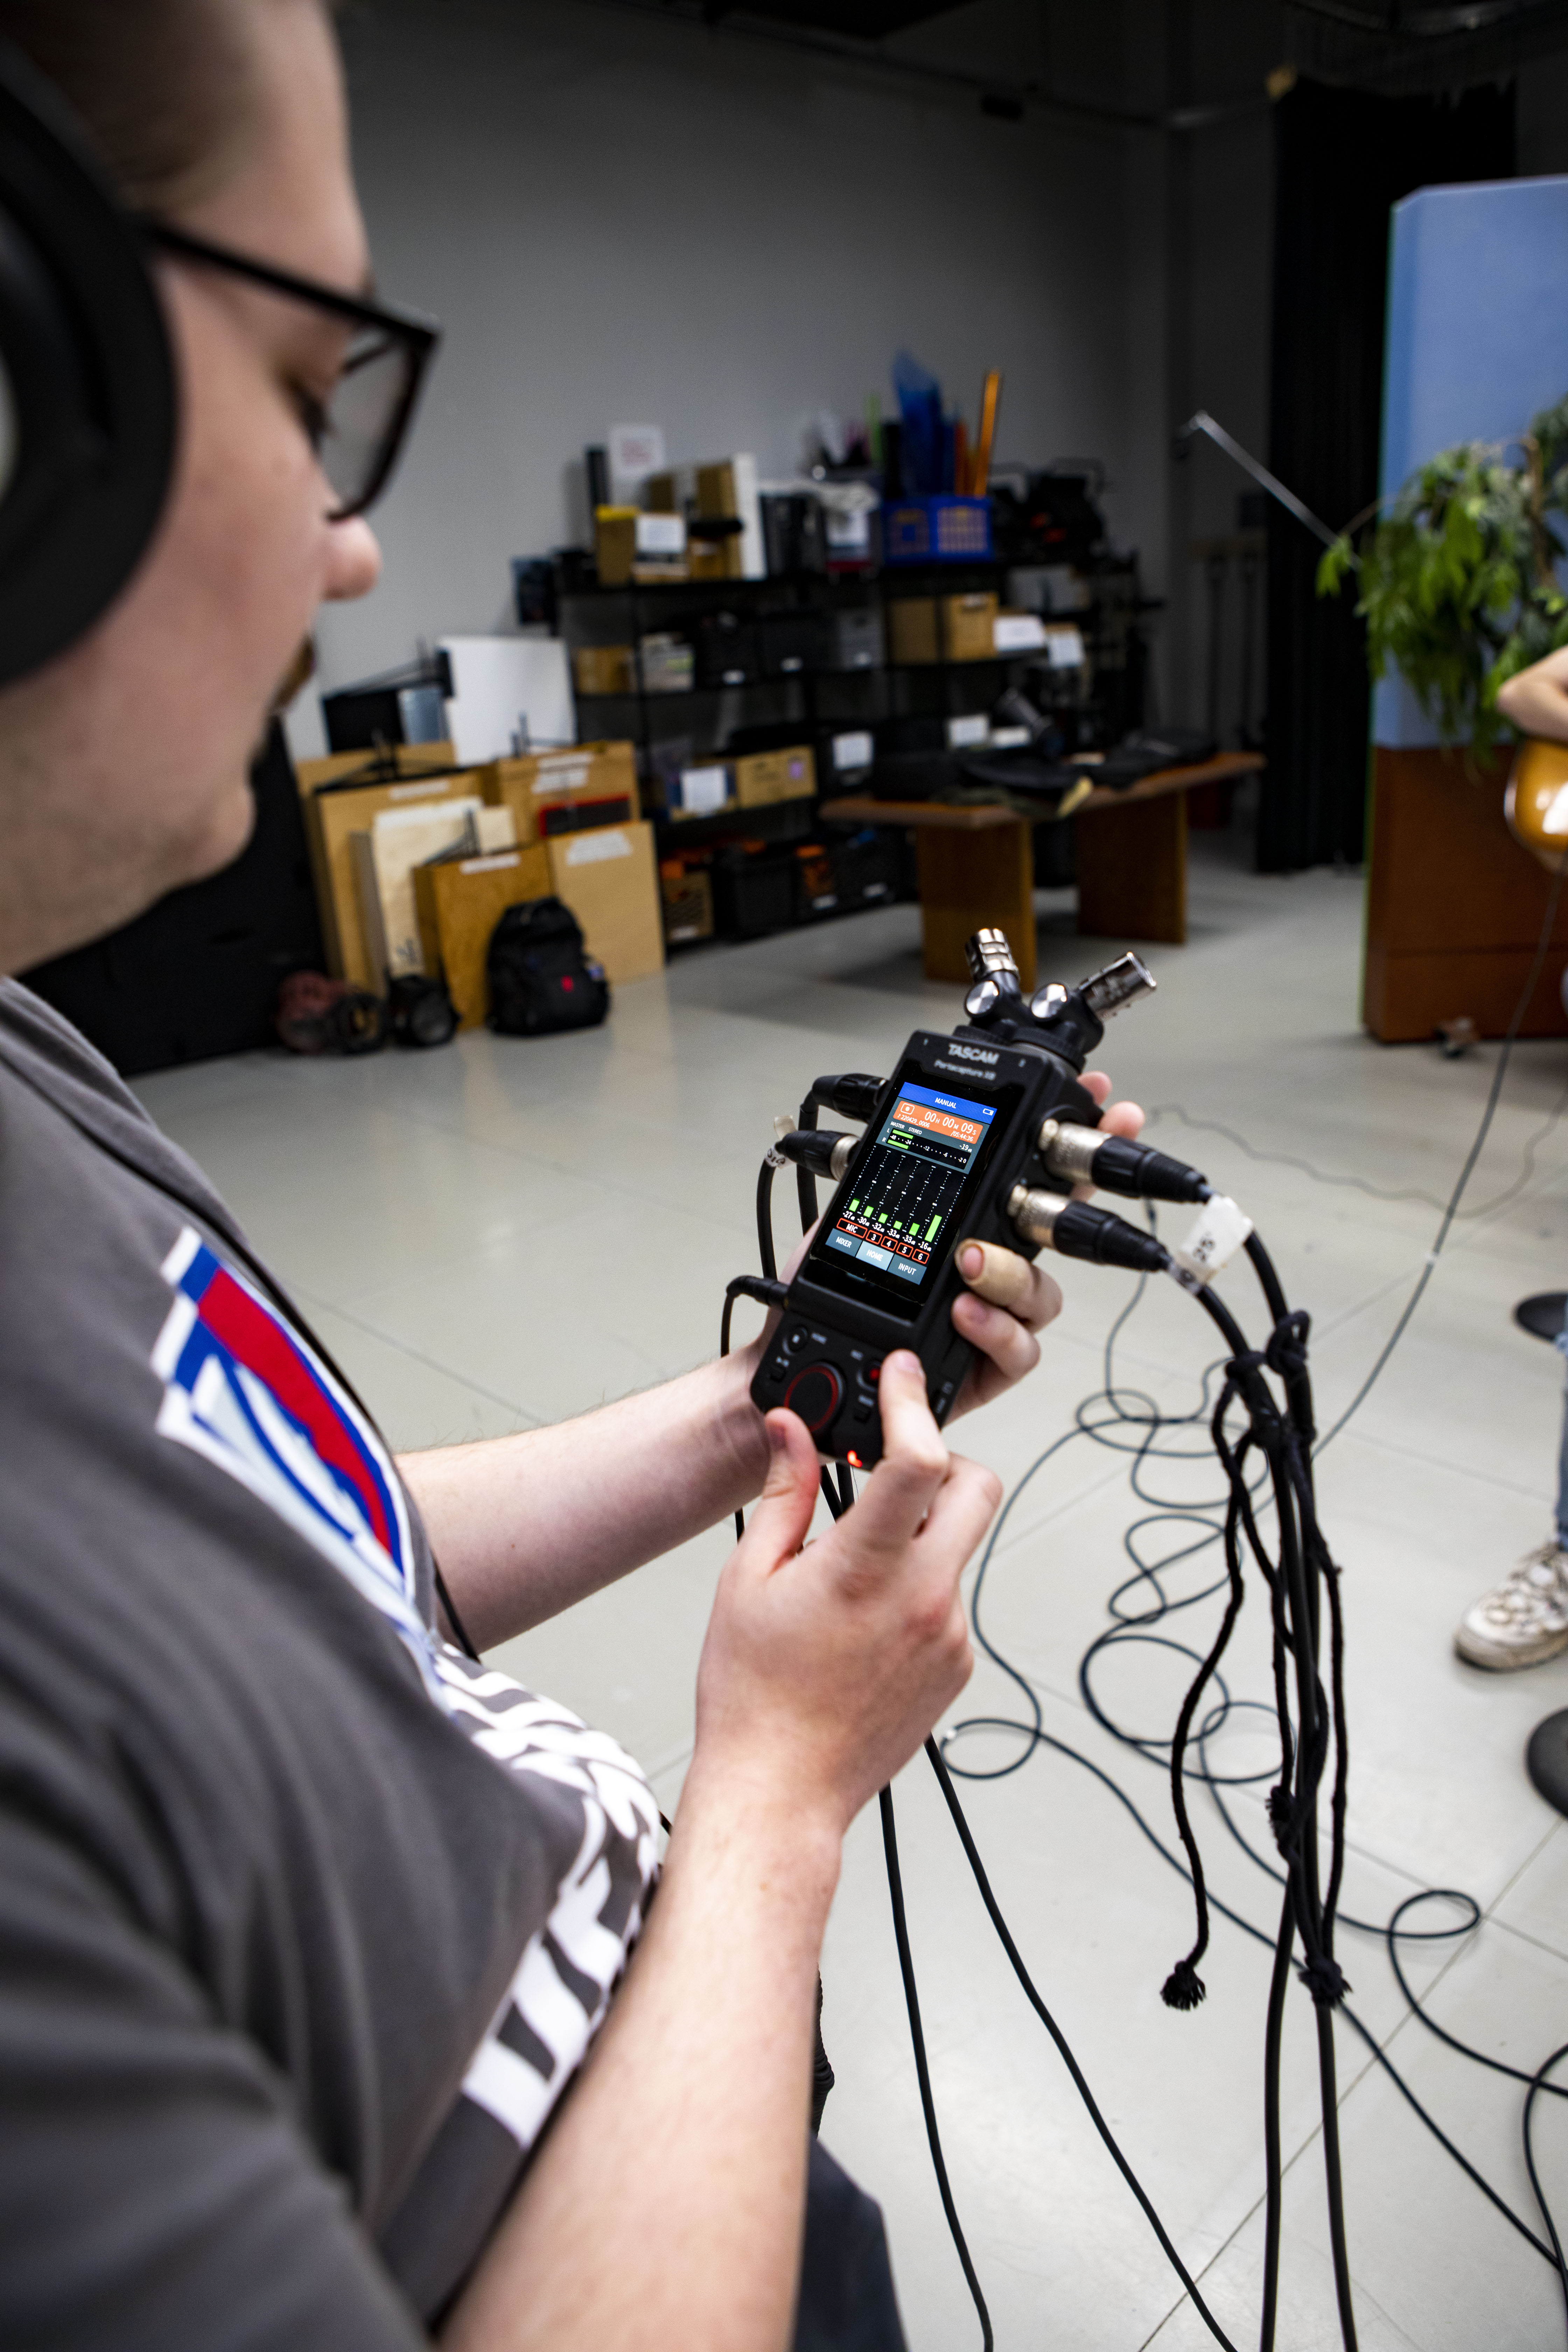
Our university has dozens of Tascam 2 input recorders. Not having access to 32-bit float on those recorders, I wanted to see what this new setting had to offer. I know the files would be much larger. They were, but audio files are much smaller than video files and still load quickly. Could I hear the difference between 32-bit float and those recorded at 16 or 24 bit? Yes, I could, and I also believe it justifies the larger file size. I couldn’t really tell the difference between 16 and 24, but 32 is “clearer” sounding that 16 in my opinion.
Tom is one of the few people who can remain totally motionless when handholding the Portacapture.
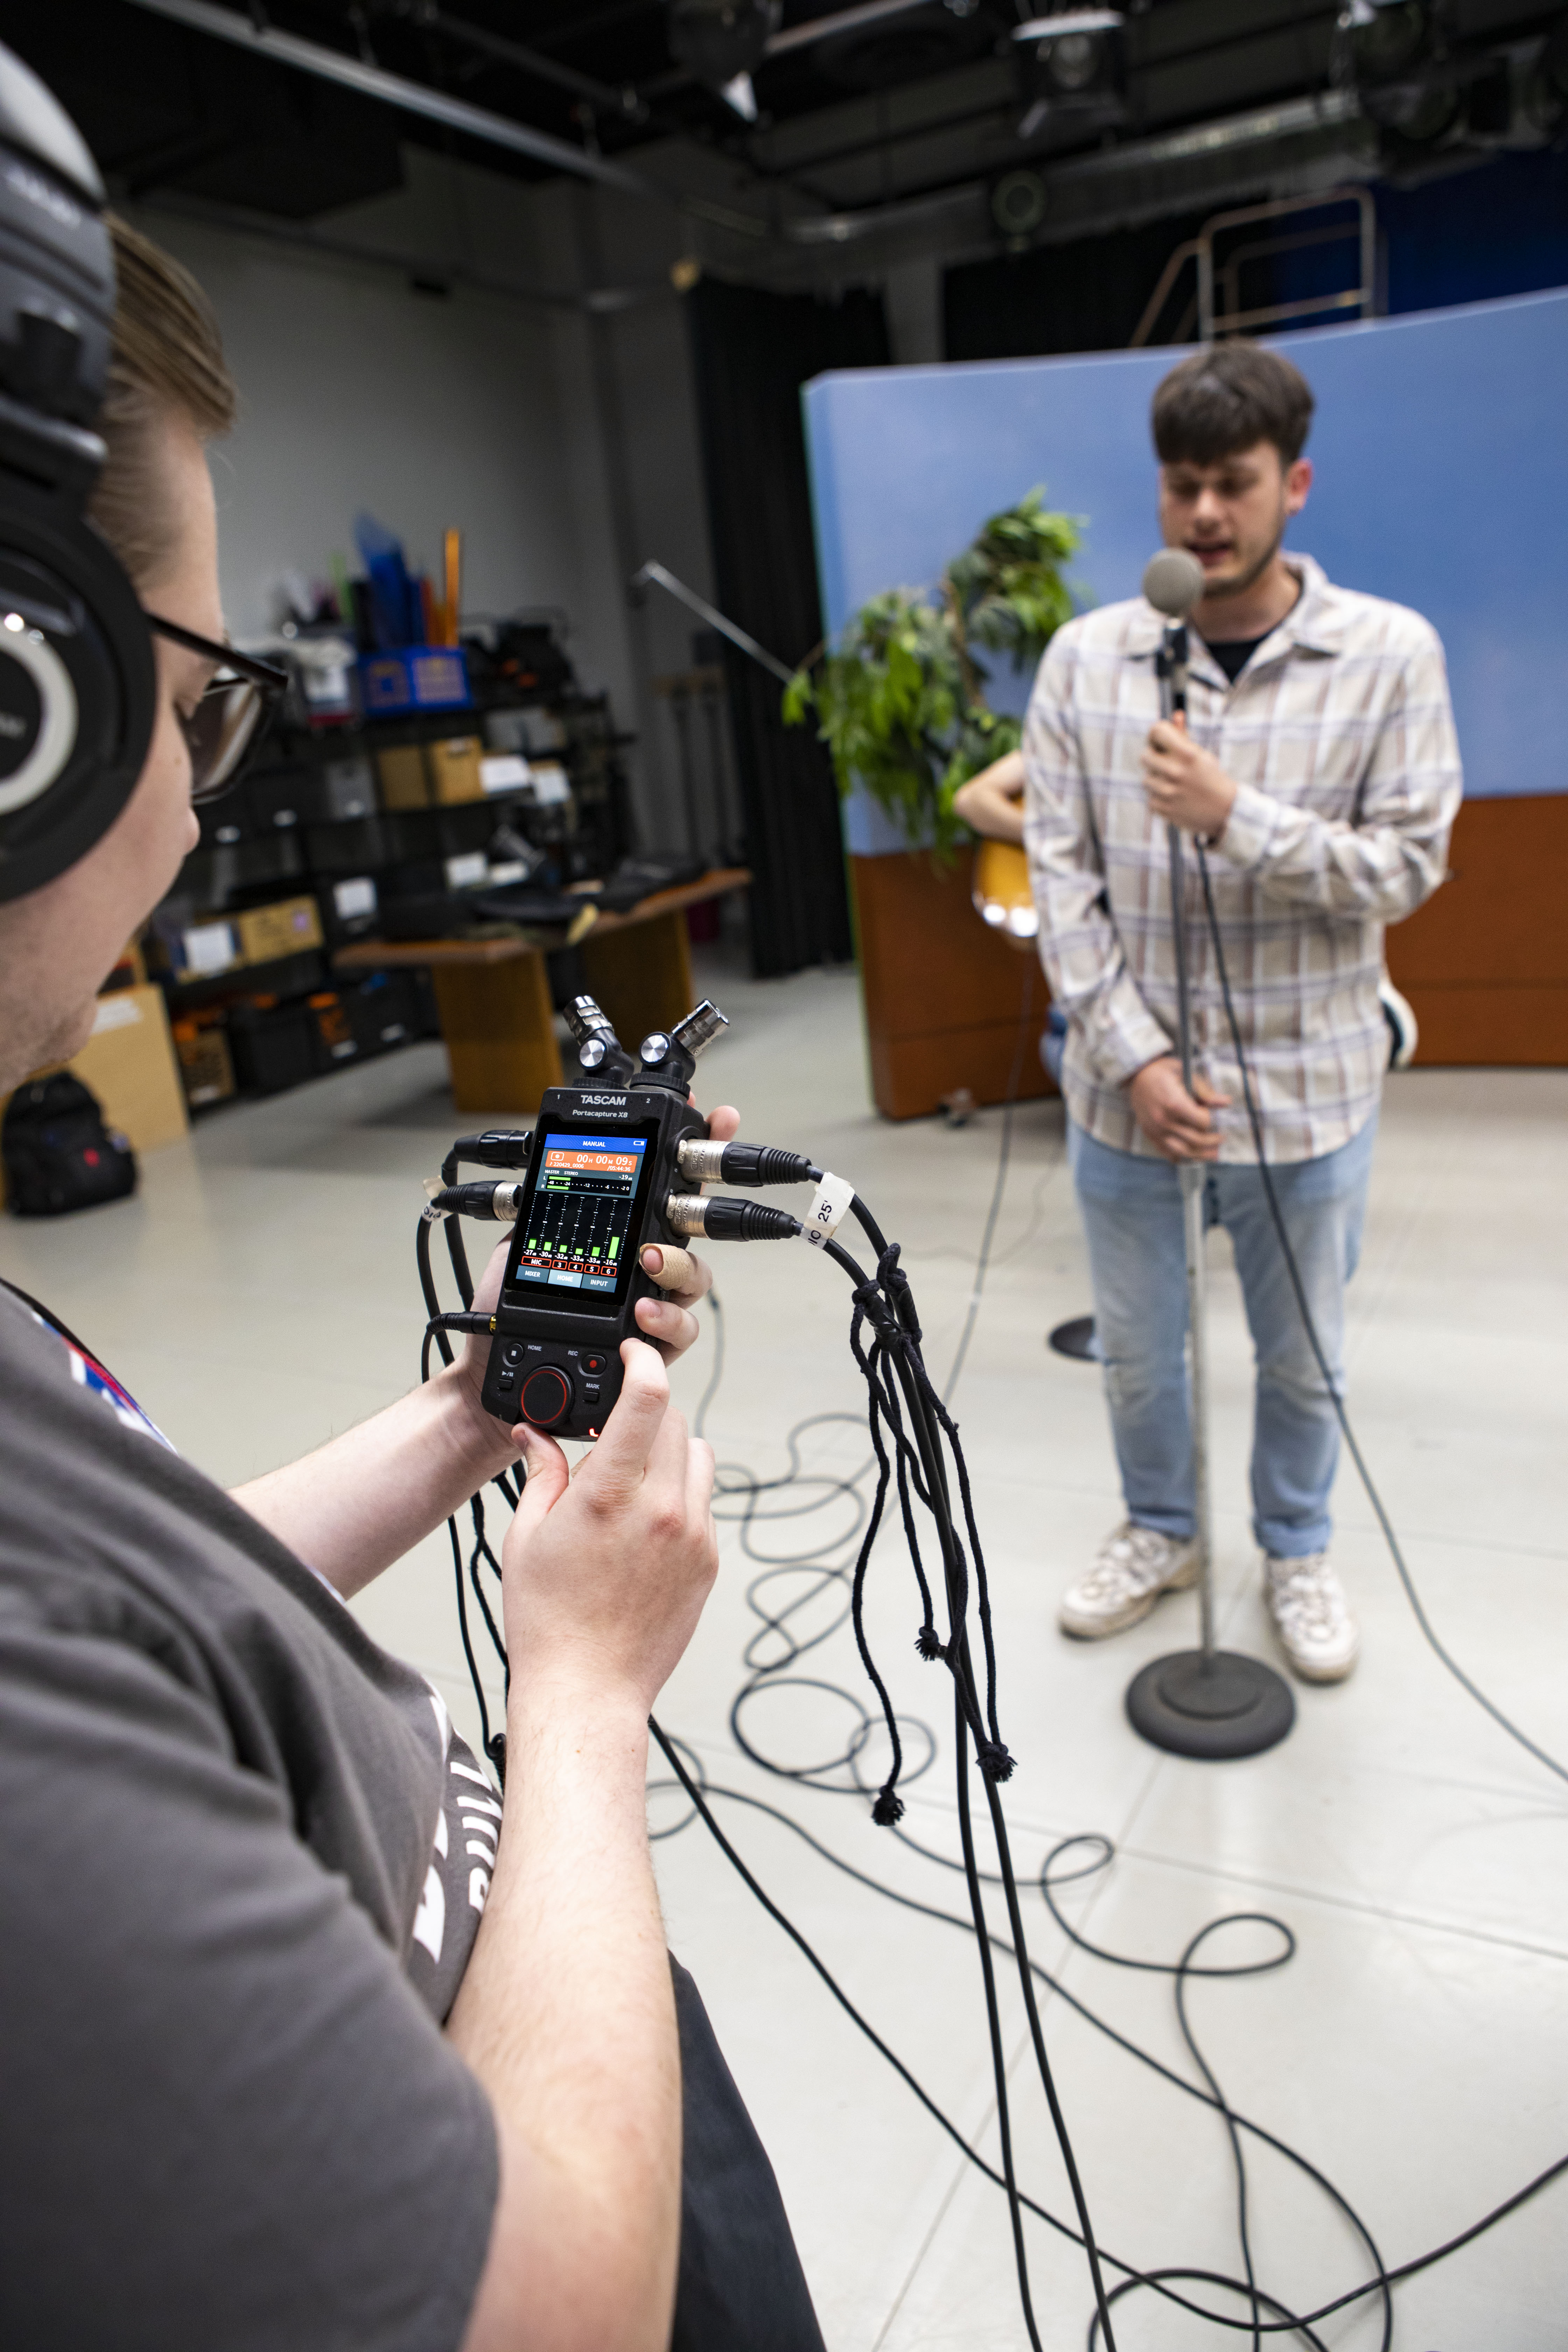
Wanting to add some reverb to the female vocalist on the next song, Tom switched to the Music icon and dialed it in.

Another exciting feature that was new to me involved the process of downloading files from the Micro-SD card onto a computer. Instead of just having one stereo file to download, the Micro-SD card contained individual files for: 1-2 Wav, 3-4 Wav, Wav 5, Wav 6, and MIX Wav. This way, I can input each track onto an NLE Timeline and remix them or simply use the Mix track supplied—thanks, Tascam! You now have control of each file.
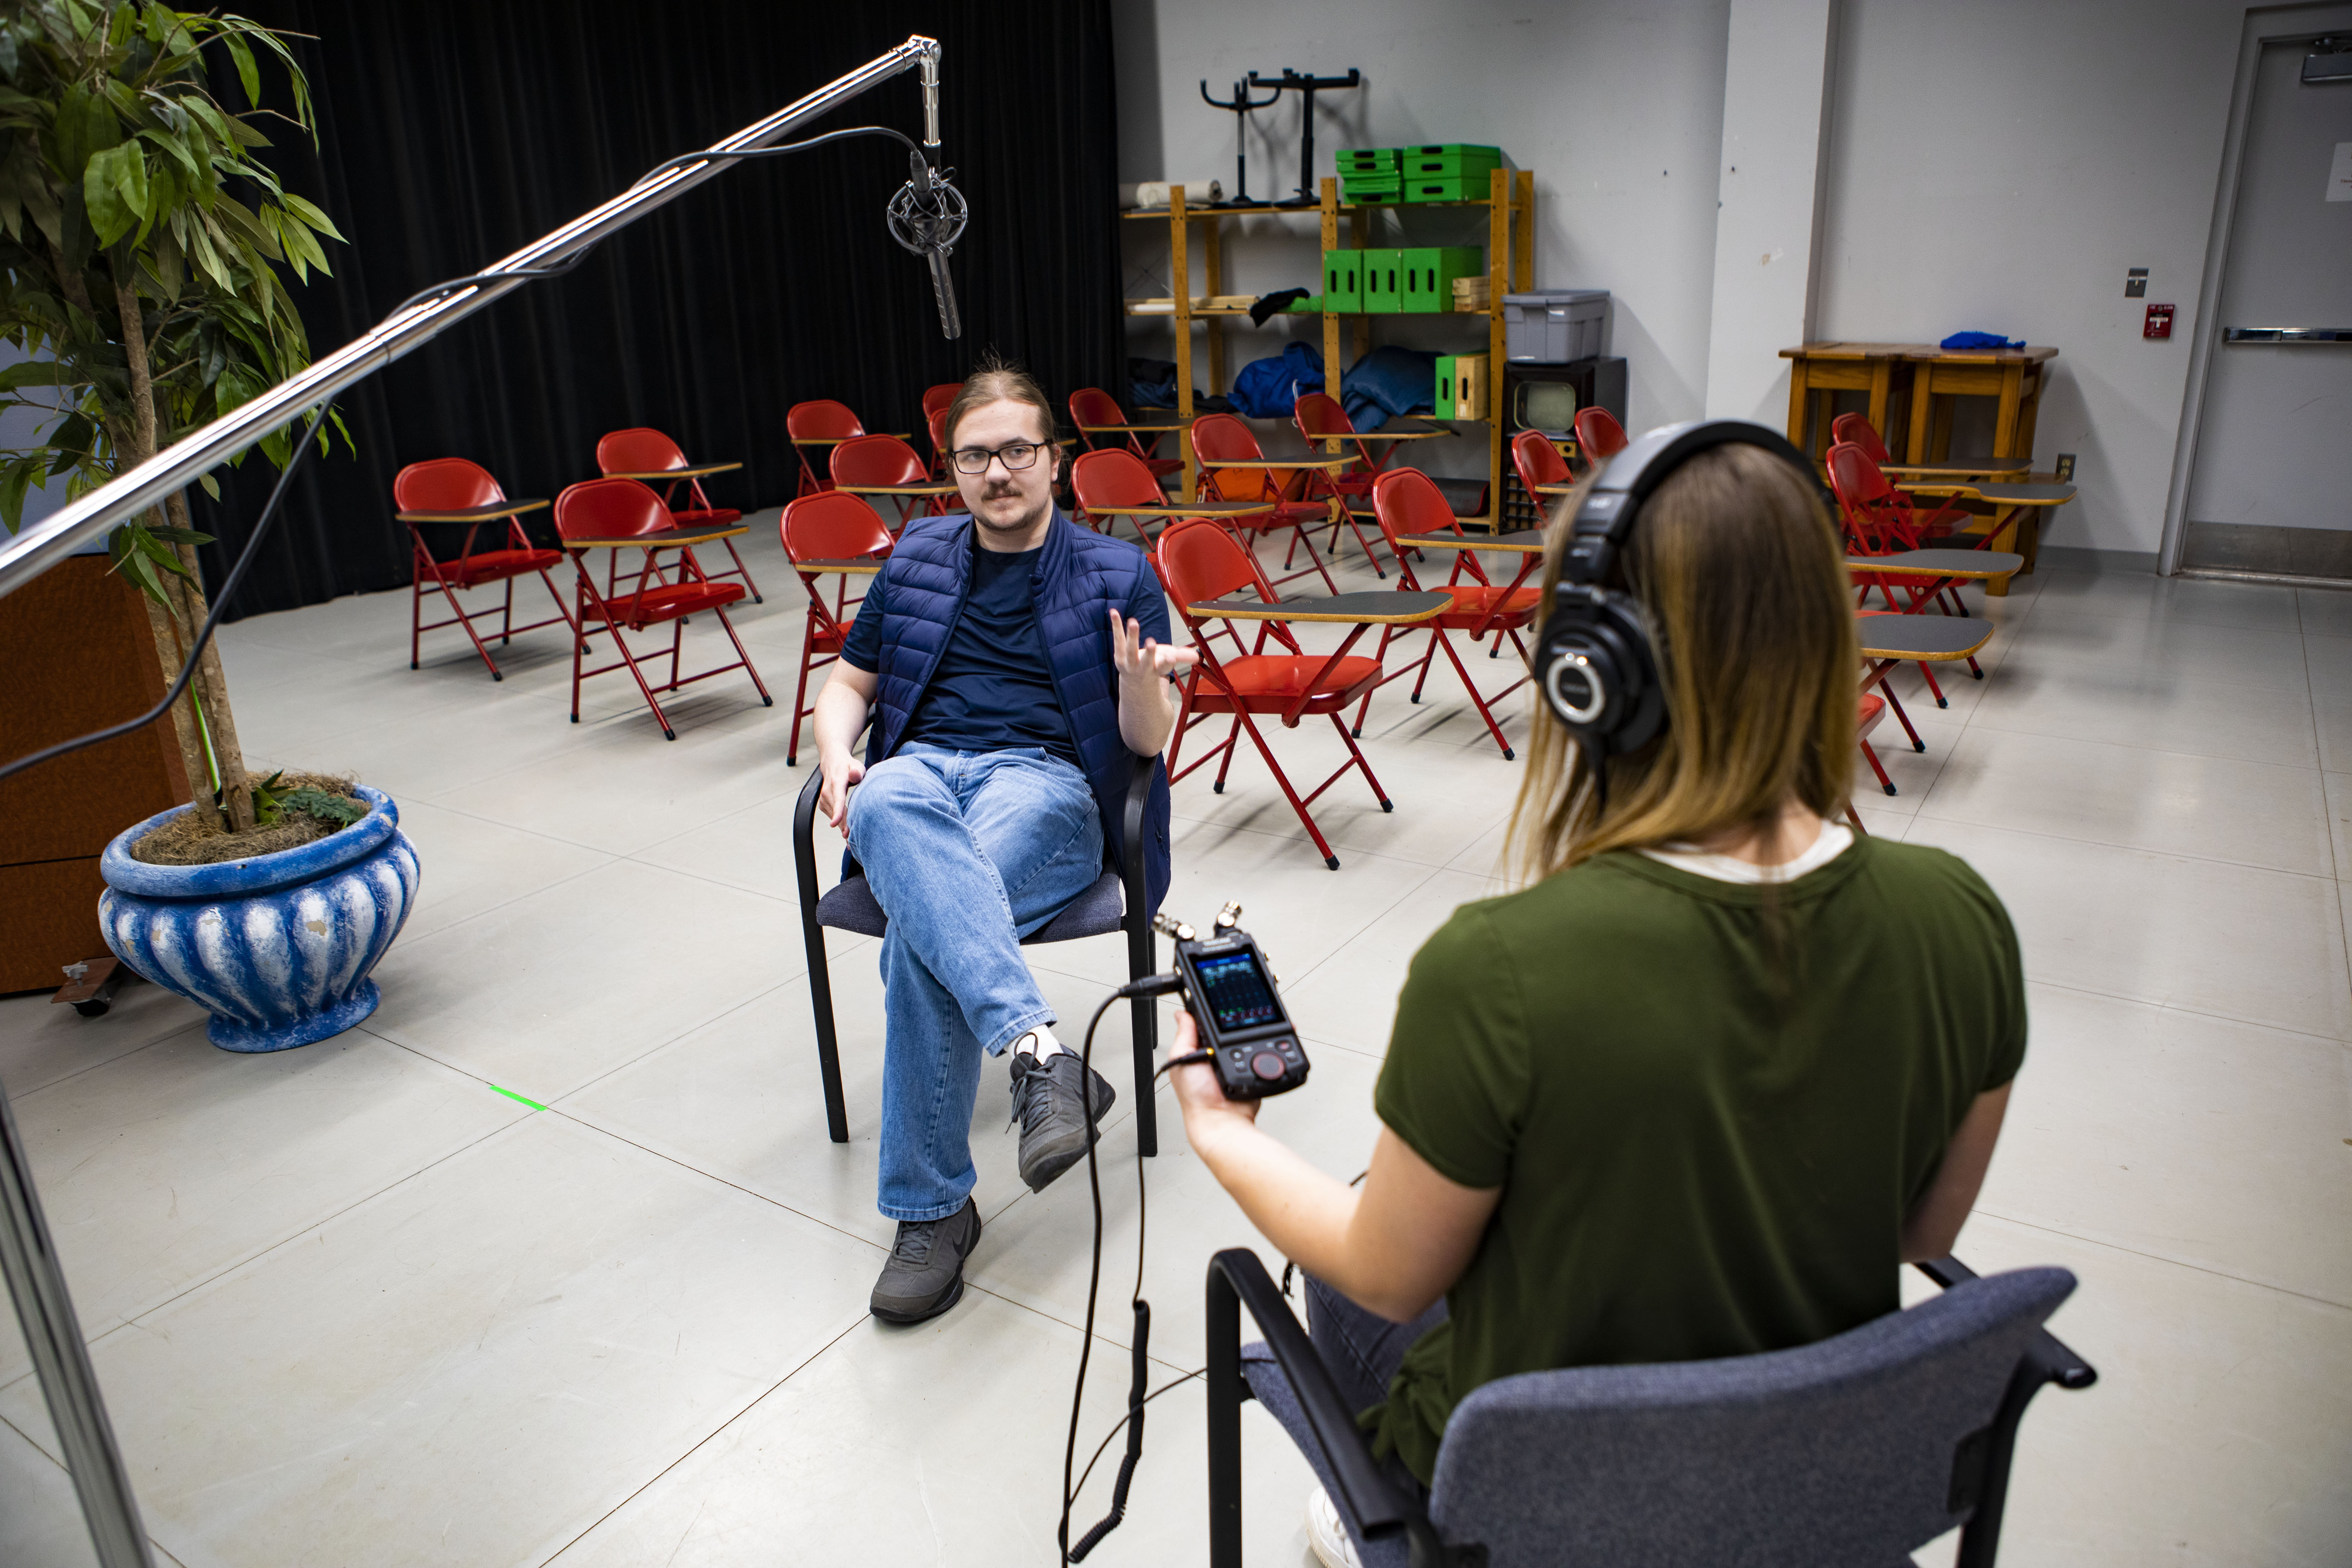
In my second test, I used the Portacapture to record a Portuguese audio track while the narrator watched the screen. Setting up the boom stand with a Sennheiser 416 shotgun microphone, Ellie selected Manual again, disabled microphones 1 and 2, and connected the XLR into input 3. She found it easier to use the touchscreen to adjust the level because the rotary knob was more of a finetuning adjustment.
In the third test, we recorded a Steinway Grand Piano and a very talented freshman musician. Choosing the "Music" icon, I used the onboard microphones on Inputs 1 and 2 because we were indoors and the two microphones were separated enough for a good stereo configuration. I chose the "Large Hall" preset with a reverb level of 54 even though we were recording in a TV Studio. This added bit of reverb accentuated the sound of the piano.
While in college, I was always taught to record at the fastest speed to obtain the best fidelity. Back in my day that meant using the Nagra 4.2 at 15 inches-per-second (IPS) rather than 7.5 IPS. In the digital world, tape doesn’t “move” but the bit depth is essentially “increasing the recording speed” when you increase the bit depth. For me, 24 bit was a happy medium.
The fourth test involved recording audio for a short film—in several environments. Choosing the "Field" icon brings up a Dynamics Preset allowing you to choose City, Nature, Vehicle, Bird, or No Preset as your ambience background. This was especially helpful when I chose Vehicle when I wasn’t shooting in a vehicle. It lowered the background ambience, so it wasn’t as strong—much like when shooting in a vehicle with the windows up to dampen the outside noise.
“Background levels” are very different on each environment selection and it does make your sound more pristine. However, when recording outside, the touchscreen is difficult to see when in bright sun, especially when the operator is wearing polarized sunglasses.
In the fifth test, we used the Portacapture with a vintage Sennheiser MDS 1 Stereo Dynamic microphone. Bringing 1960s microphone technology over 50 years in the future with the Portacapture was an interesting combination. Wanting to see if the microphones functioned, I plugged the left 1/4-inch plug (red) into Input 4 and the right (yellow) into Input 6.
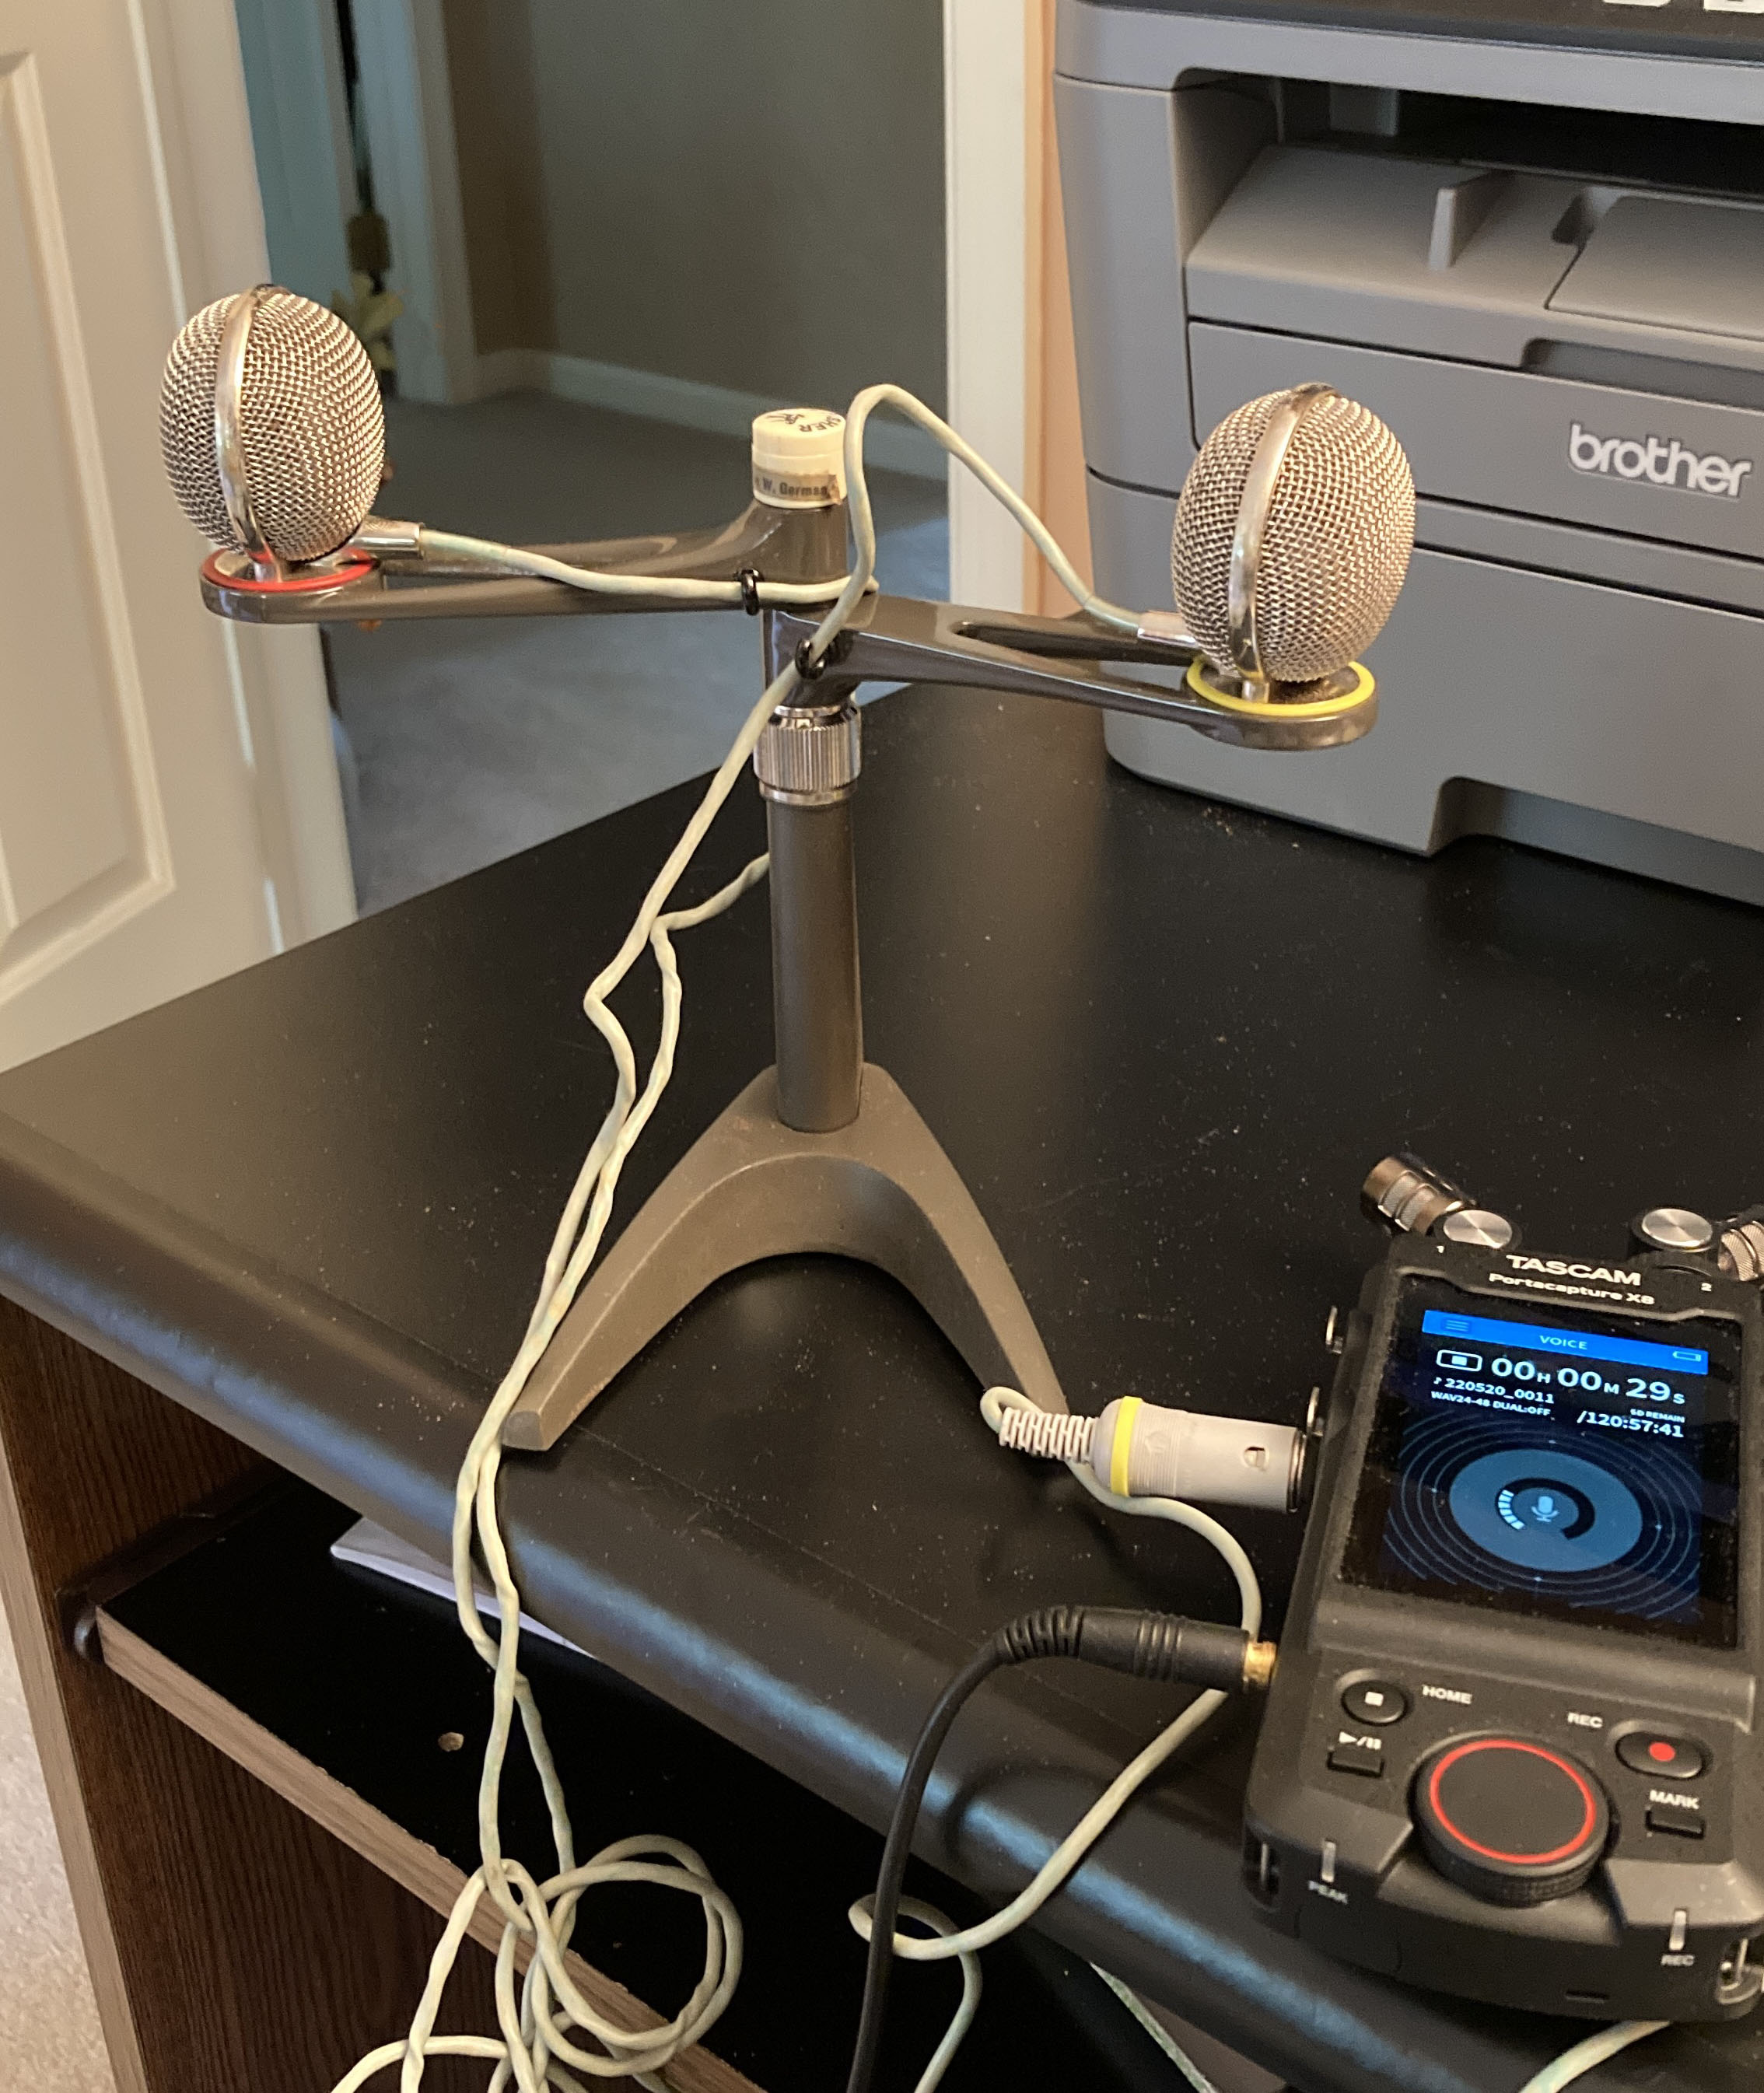
Not needing an XLR to Quarter Inch adapter, I plugged each cable into the center of the XLR port. The sound quality was fantastic and mounted on a stand—could be used to record two singers.
The final application was something I had missed in the previous versions of the Tascam and that was to record a line input. Our Tascam recorders are set to record microphone inputs rather than line inputs. I did a high school radio show back in the 1970s and had a reel-to-reel recording of our last show. Wanting to transfer the analog recording to digital, I would have had to purchase two attenuators to convert the stereo line outputs of the reel to reel to a microphone input.
With RCA outputs from my Teac X300 Reel to Reel Deck, I got an 1/8-inch male mini adapter with two female RCAs and plugged that into the External In on the Portacapture. It’s amazing how I could use a 40-year-old Teac and hook it into a 21st Century Teac/Tascam recorder!
The fidelity on the 1/4-inch tape was a bit “dull” when I monitored it with headphones connected to the Portacapture. Using the new digital file from the Portacapture, I brought it into Adobe Premiere Pro, used the Tube Modeled Compressor, and had a file that sounded just like I remembered.
There are so many other features on the Portacapture 8 that I wanted to try: instrument tuning, Blog recording, metronome, and others. With the six different recording environments I chose, the unit performed flawless and was the perfect recorder.
Lastly, I would recommend investing in the optional AC power supply as the 4 AA batteries don’t last very long because of the touch screen’s energy consumption.
Breaking News
I just learned that the Portacapture X8 and Atomos now offers wireless Bluetooth connectivity with several devices. By purchasing the optional Tascam AK-BT1 dongle, you can wireless connect with your camera—video, mirrorless, or DSLRs.
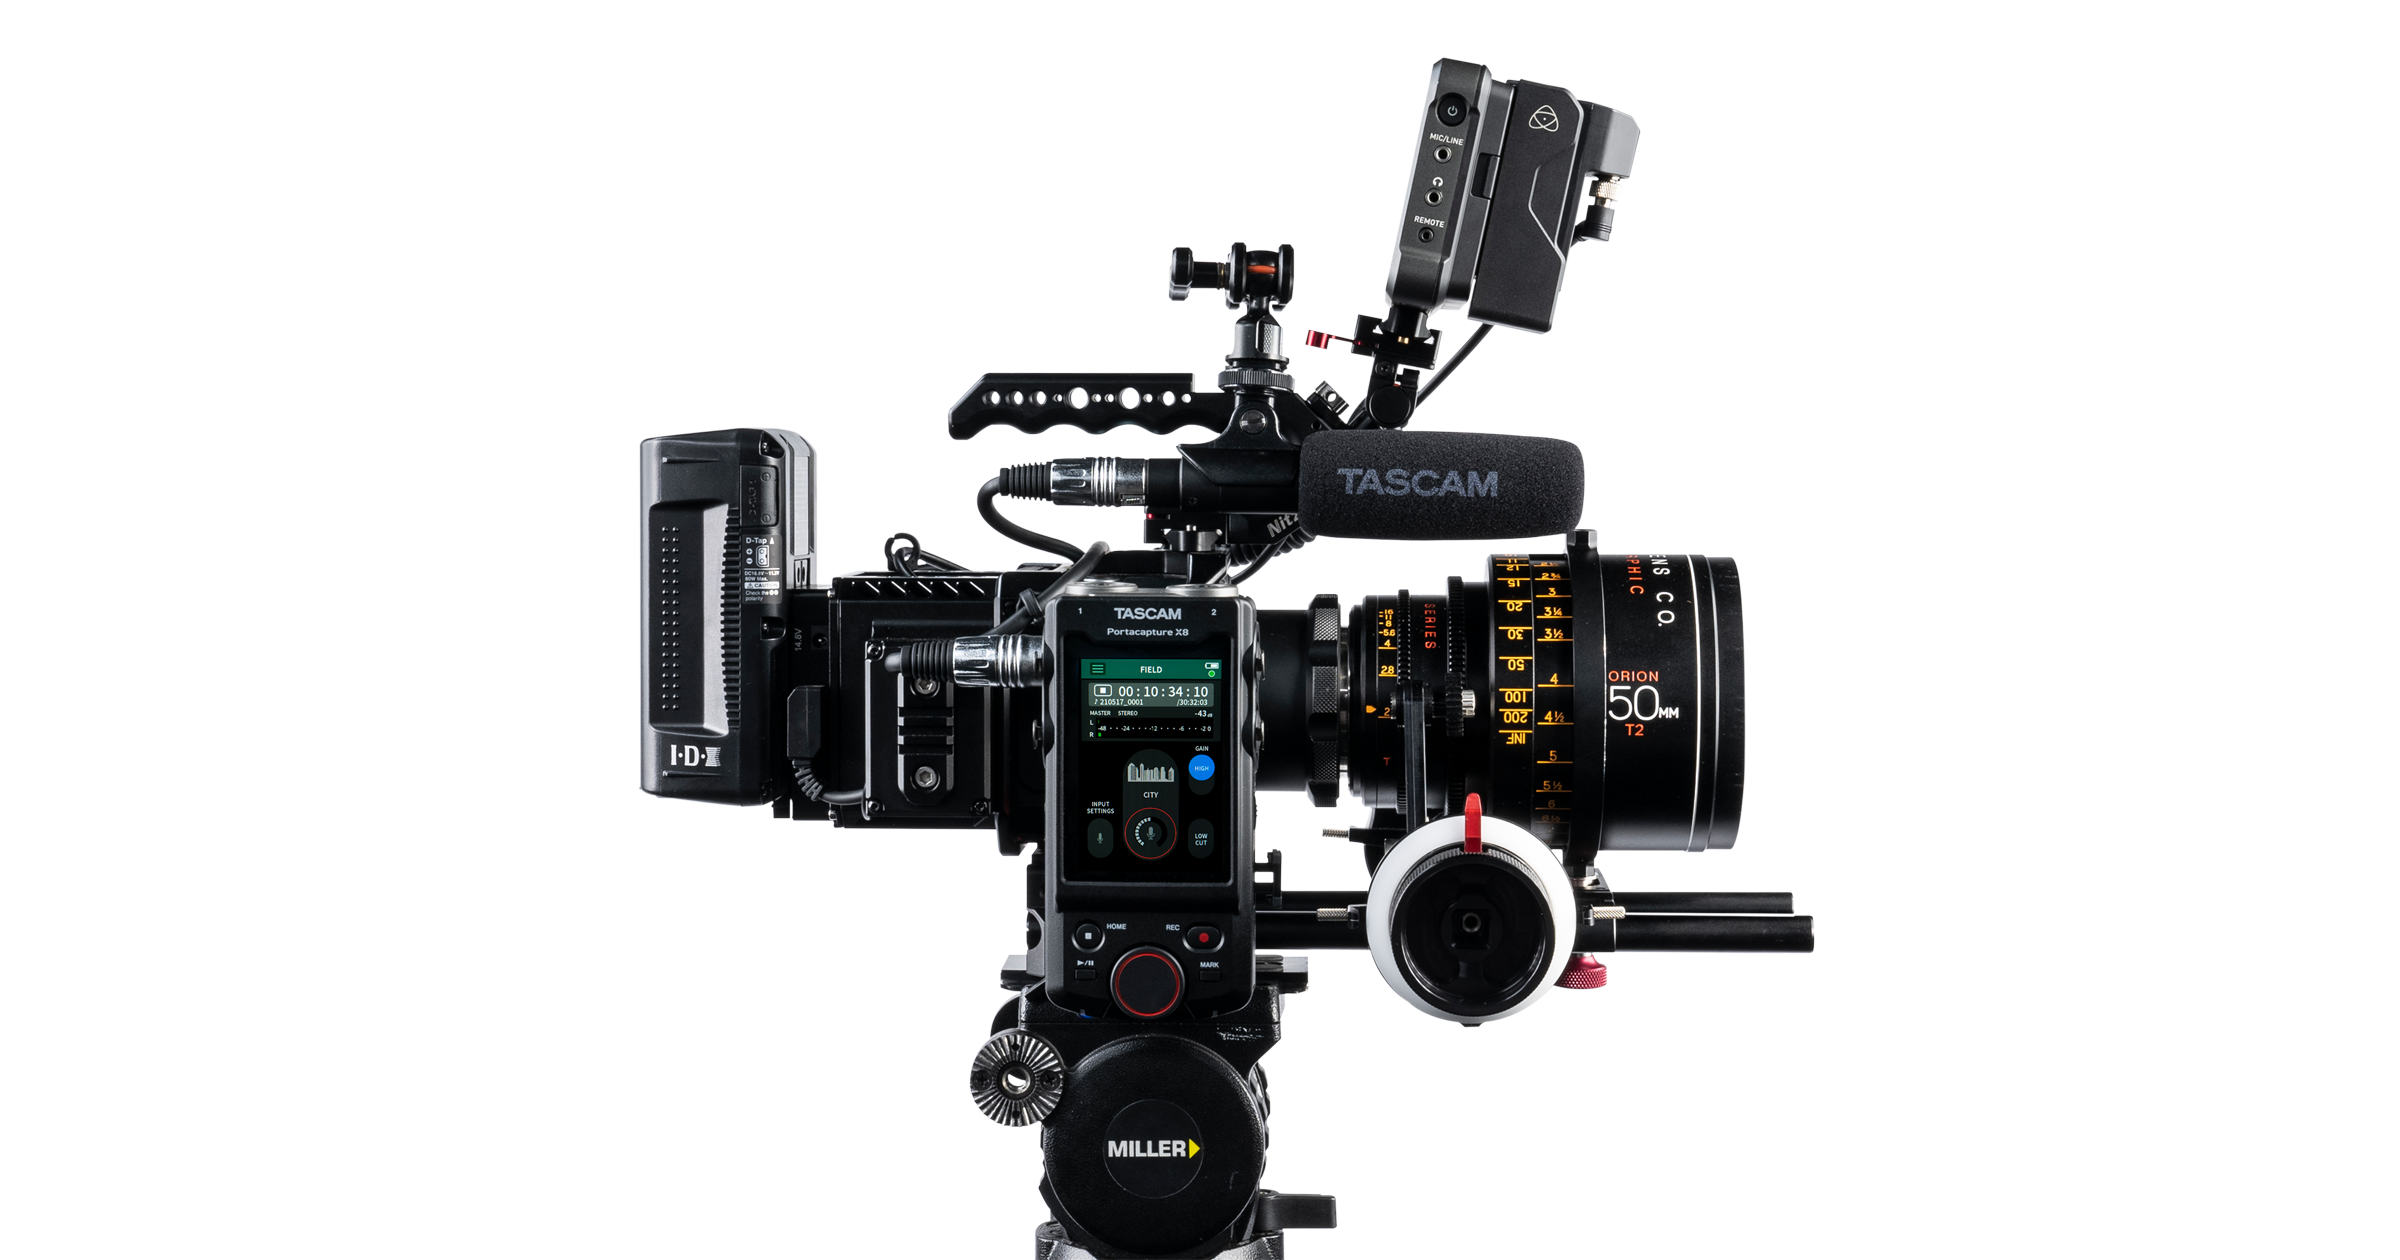
Ditching the wire is just the first step. If you’re shooting double system—recording the visuals and sound on two separate devices, sync-ing the picture and sound is time consuming. From as far away as 30 meters, timecode can be generated by the Atomos Ultrasync Blue and any camera and the Portacapture X8 will be wirelessly synchronized.
This will revolutionize the way we shoot location video at the university. With Bluetooth everywhere, huge amounts of time may be saved with this wireless connectivity. There’s so much more the Atomos can do and I’m looking forward to trying the AK-BT1 on my next location production.
Application
I can foresee the Tascam Portacapture X8 being used in any situation that requires a digital audio recording. All of its features make it more versatile—blogs, field shoots, instrumental recordings, etc. Do you need everything it offers? No, but no matter what environment you encounter, this device can handle it. It may be intimidating on its first use, but once you know its capabilities it quickly becomes routine.
Key Features
Multitasking unit with fast touchscreen access. Multiple inputs eliminate the need for an external mixer with several recording options.
Price
Tascam Portacapture X8 - $499 (Street price)
Contact
Teac America
10410 Pioneer Blvd Unit #1
Santa Fe Springs, CA 90670
323.726.0303
www.tascam.com
Get the TV Tech Newsletter
The professional video industry's #1 source for news, trends and product and tech information. Sign up below.
Chuck Gloman is Associate Professor with the TV/Film Department at DeSales University.

