Review: Blackmagic Micro Studio Camera 4K G2
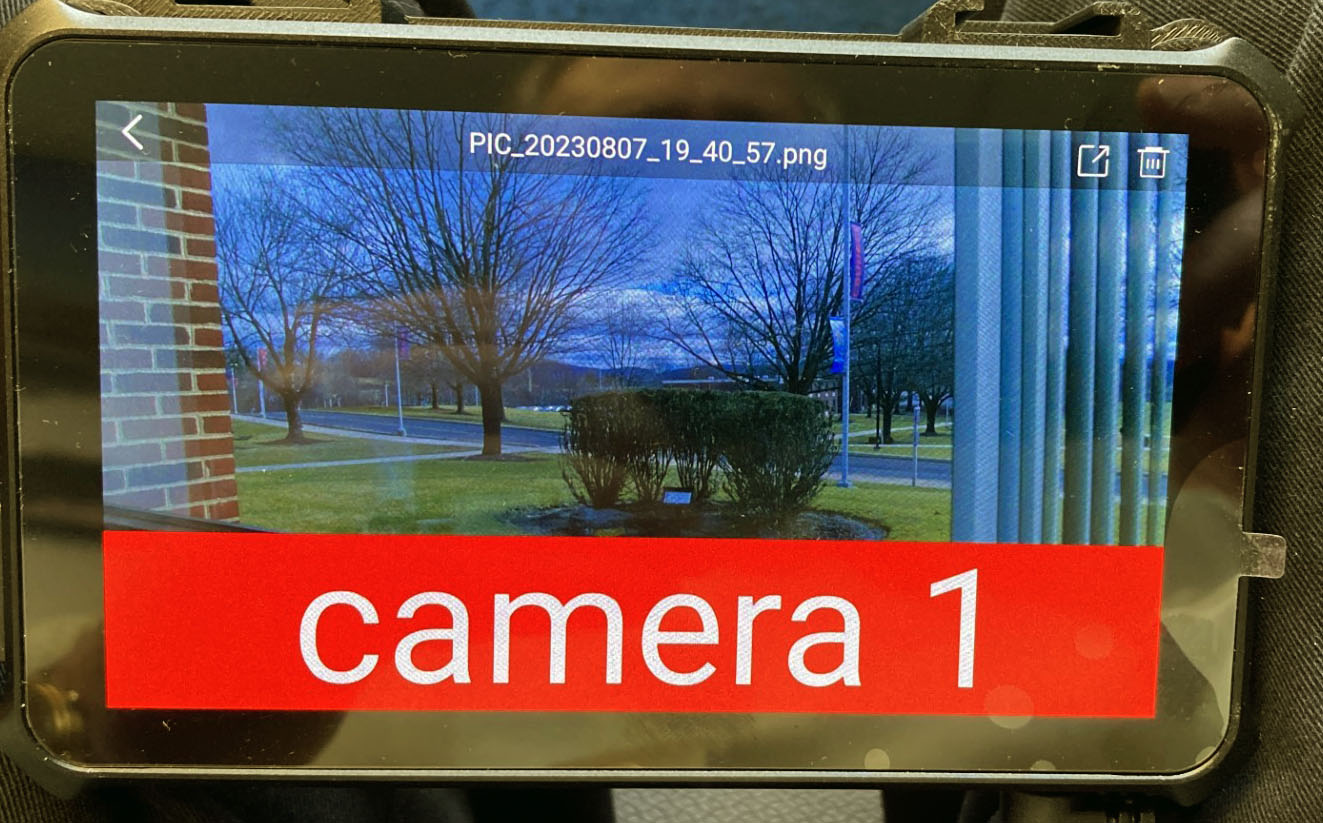
Gloman and his students test the Micro Studio Camera 4K G2 at DeSales University

Touted by Blackmagic as “The world’s smallest Ultra HD broadcast camera”, the Micro Studio Camera 4K G2 has a 4096 x 2160 sensor that comprises most of the unit’s miniscule bulk. Featuring an active micro four-thirds mount, HDMI and 12G-SDI outputs, this AC or DC micro camera will fit almost anywhere and still deliver stunning ultra-high-definition images. Used in both live, location, or studio productions the Micro Studio Camera will more than pull its weight.
Features
The 3.3 x 2.6 x 2.74 inch, eleven-ounce camera truly fits in the palm of your hand. Using the same 17.78 x 10mm CMOS low light sensor as Blackmagic’s Studio Camera 4K Plus G2, this micro four-thirds camera accepts the active MFT mount (which allows remote lens adjustment) and may be adapted to accept other lenses.
Most importantly, this tiny camera still outputs 10-bit 4:2:2 images to a switcher or other source using its 12G-SDI or HDMI cables. Remote functionality allows control of its internal color corrector (or RAW capabilities if using a USB connection), tally light and talkback, and a thirteen stop Dynamic Range.
The “magic” is contained in the low light sensor with ISO capabilities from 100 to 25,600 with a dual native 400 ISO (0db gain) and 3200 ISO (+18db gain). Video may be output and/or recorded at: 23.98, 24, 29.97, 30, 59.94, and 60 fps in 3840 x 2160 in ProRes or DNxHD and the same frame rates in high definition’s 1920 x 1080. RAW recording also uses the same frame rates at 26 to 190 megabytes per second.
The front of the camera features a tiny red/green tally light above the lens mount. Flanking the tally light are two microphones—one on the left and one on the right. Facing the camera on the left are the menu button, up and down toggle buttons, the set, and power button. On the same side, directly behind is the full-size HDMI camera out, USB-C expansion slot for recording to an external drive or addition zoom and focus capabilities. On the bottom is a twelve-volt DC power adapter input.
On the right side is the 3.5mm microphone audio input, the 12G-SDI camera video and audio output and the 12G-SDI camera control and genlock input. The rear of the camera has space for an optional battery.
In Use
Wanting to add a fourth camera to our university’s TV Studio, I looked forward to the arrival of the Blackmagic Micro Studio camera. Using an Olympus 12 – 40mm F2.8 Zuiko Digital lens, the addition of this glass instantly tripled the weight of combo.
The first test was to attach the Micro Studio Camera to our Roland V-60 HD switcher. Using an HDMI cable from the camera to the switcher, I immediately had an image as input five on the switcher. Across the top of the monitor screen was displayed all of the pertinent information.
Pressing the menu button brought up: Record (Codec, Resolution, Dynamic Range, Framerate, Time-lapse, Detail Sharpening, Drop Frame, Color); Monitor (Clean Feed – this switched off the displayed information of the HDMI feed, Display 3D Lut, Zebra); Audio (Ch1 and Ch2 Source and Level); Storage (Media 1, Format Media); Setup (Name, Language, Software, Hardware); LUTS (Gen 5 Film to Extended Video, to Rec 2020 Hybrid, to Rec 2020 PQ, to Video); Presets (Create, Update, Report); and Slate (Slate for, Reel Number, Scene Number). Having total control of the image was just like using the remote paint system of our three-studio camera.
The three other cameras in our studio had 1080p 2/3 inch CMOS sensors with remote paint and iris capabilities. I needed to adjust the settings on the Micro camera to better match our older $75,000 studio cameras.
Another reason new technology is so exciting is that I can match a palm-sized camera’s image with a twenty plus pound, pedestal mounted camera from ten years ago, and no one can tell the difference—we now had four matching cameras. Obviously, the Blackmagic camera could do much more at a fraction of the price.
My students needed to complete a live, in-studio interview project. With the traditional interview set-up – camera one was on the Interviewer, camera two on a wide two shot, and camera three focused on the Interviewee—everything was covered.
We added the Micro as a fourth camera mounted on the top of the set looking down on the action as well as the three cameras in action—we now had a more modern approach/view of a traditional studio with a bird’s eye view shot of the studio in action. Most TV studios always switch to an overview shot like this before going to commercial. The students appreciated their cameos as we showed a functioning TV studio in action.
The next scenario was to have the Micro G2 operate on a remote shoot at a basketball game. The purpose was to record the action of the entire game in a wide shot for both archival and training purposes. Not having a battery wasn’t an issue because the camera was mounted on a tripod high in the bleachers next to an AC source. Using the internal stereo microphones as our audio feed and recording to a Blackmagic approved SSD via the USC-C output, the 59.98fps Ultra HD event looked flawless.
We didn’t even scratch the surface of what the Micro G2 camera could do – RAW recording for editing, color correcting using the LUTS, etc. We really got used to having this tiny friend at our disposal and we’re looking forward to adding a few to our arsenal.
Application
Any situation where a 4K camera is necessary including live studio or location shoots.
Key Features
Portability, AC or DC operation, live or recording capable, high quality sensor, great price, and the Blackmagic Design name you can trust.
Price
Blackmagic Design Micro Studio Camera 4K G2 – MSRP - $995.00
Contact
Blackmagic Design
2875 Bayview Drive
Fremont, CA 94538
Phone: 408 954-0500
Website: www.blackmagicdesign.com/
Get the TV Tech Newsletter
The professional video industry's #1 source for news, trends and product and tech information. Sign up below.
Chuck Gloman is Associate Professor with the TV/Film Department at DeSales University.

